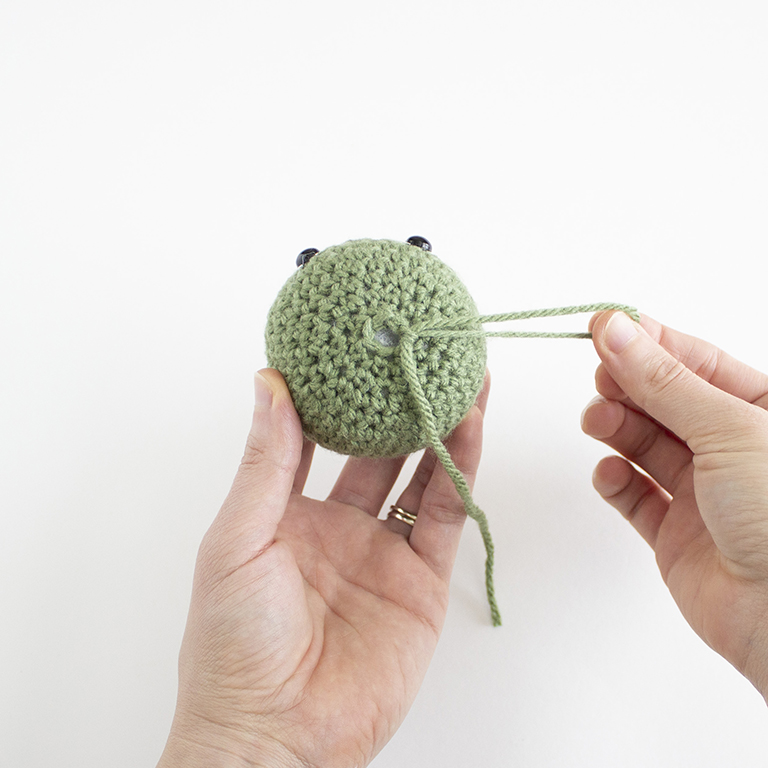
Hi Friends! In this how to crochet amigurumi post, I will teach you about closing up your project!
Closing your pieces is a super important step when crocheting plushies. This gives you the final look any good plushie should have. Since amigurumi usually shouldn’t have it’s fiber fill falling out!

Check out my other crochet how to stitches and techniques!
Follow along with the video or scroll down to see the written tutorial with step by step photos for how to close your amigurumi.
To Close Your Crochet Piece
I like using this closing technique because it gives the piece a more finished look and the closure is nearly invisible.
Step 1: When you’ve reached the end of the piece, cut the yarn and leave a tail for closing. Pull yarn tail through the loop on the hook and pull to secure.
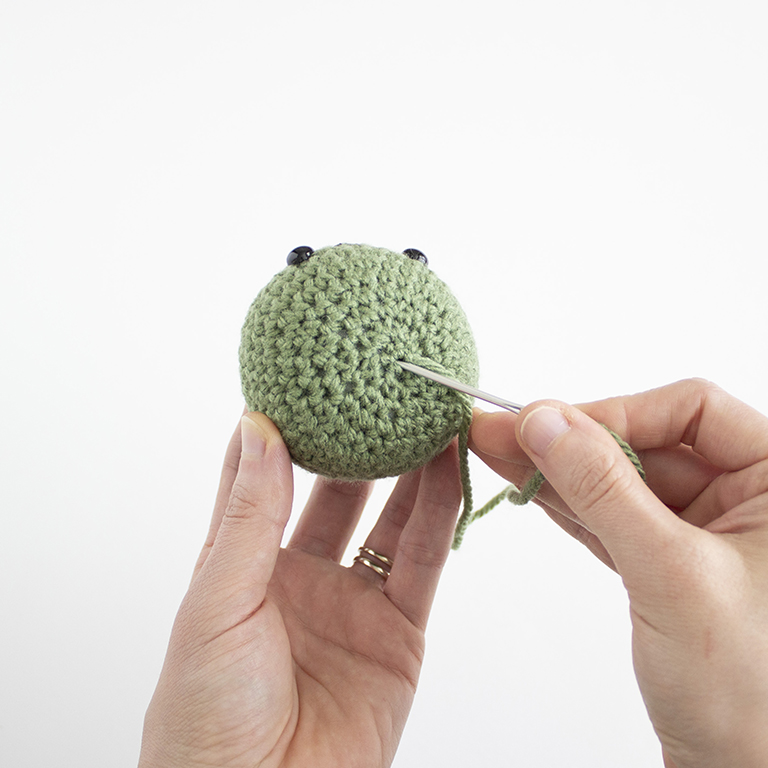
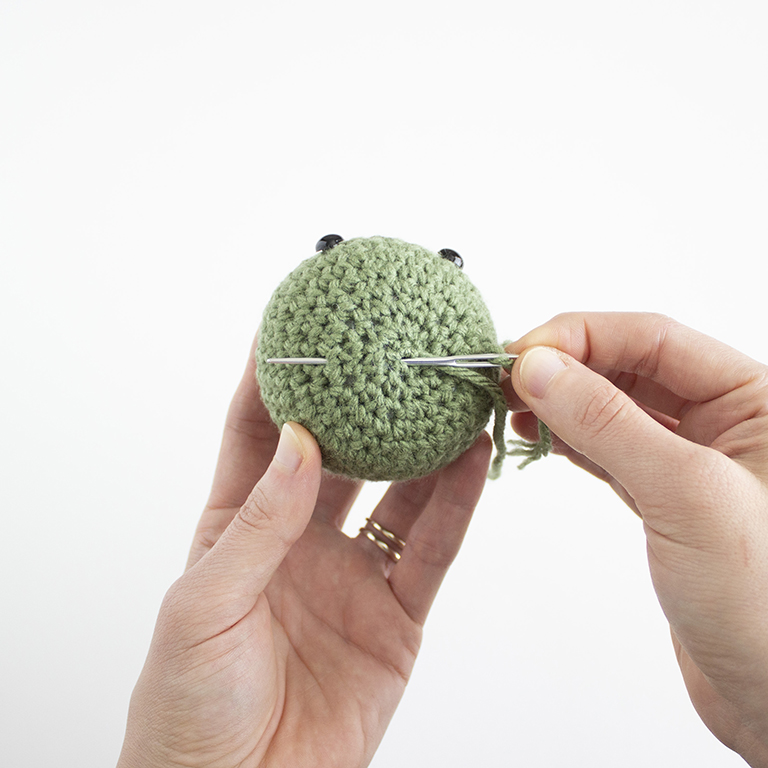
Step 2: Thread the yarn tail onto the needle. Insert the needle into the front loop of the first stitch, working from the center to the outside. Pull the needle through. Continue going through the front loops of the remaining stitches.
Step 3: Once you have reached the end, pull the yarn tail and the hole will close.
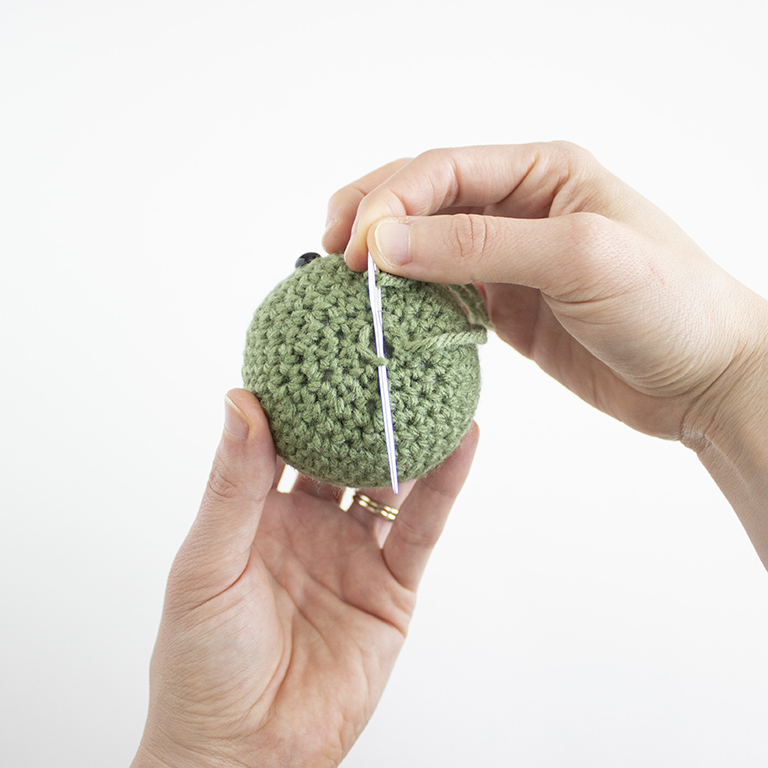
Step 4: Insert the needle into the center of the hole and bring out on the side of the piece. Secure with a knot, trim tail and hide inside piece.
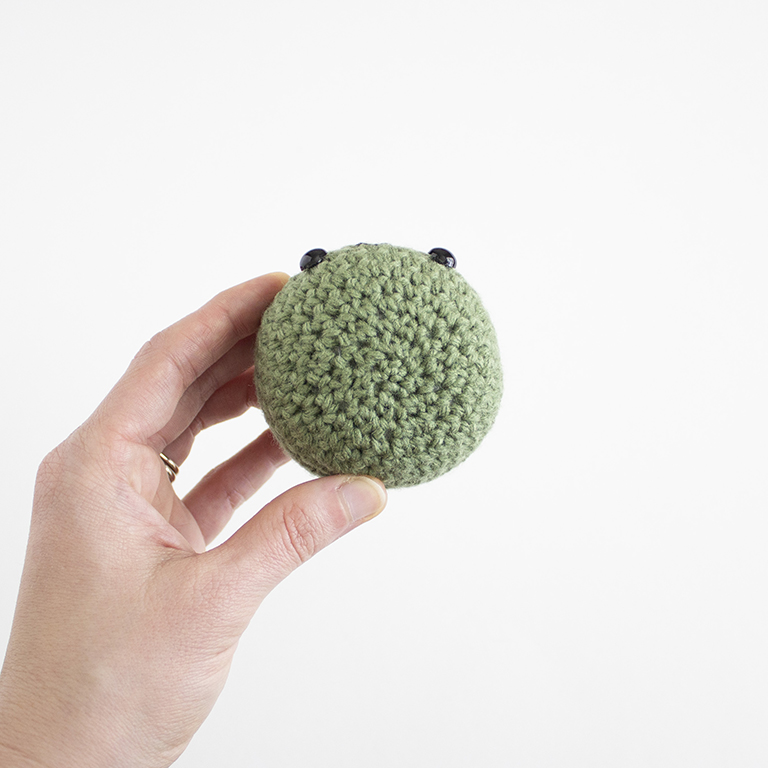
And there you have it, how to close your piece! If you’d like to learn more about crocheting, here are my other crochet how to stitches and techniques!
Make sure to check out all of my other free patterns here!
If you have any questions, please don’t hesitate to reach out!
Please be sure to tag me in your posts on Instagram @ameangerieofstitches and use the hashtag #amenagerieofstitches
Happy Crocheting!
Lauren

