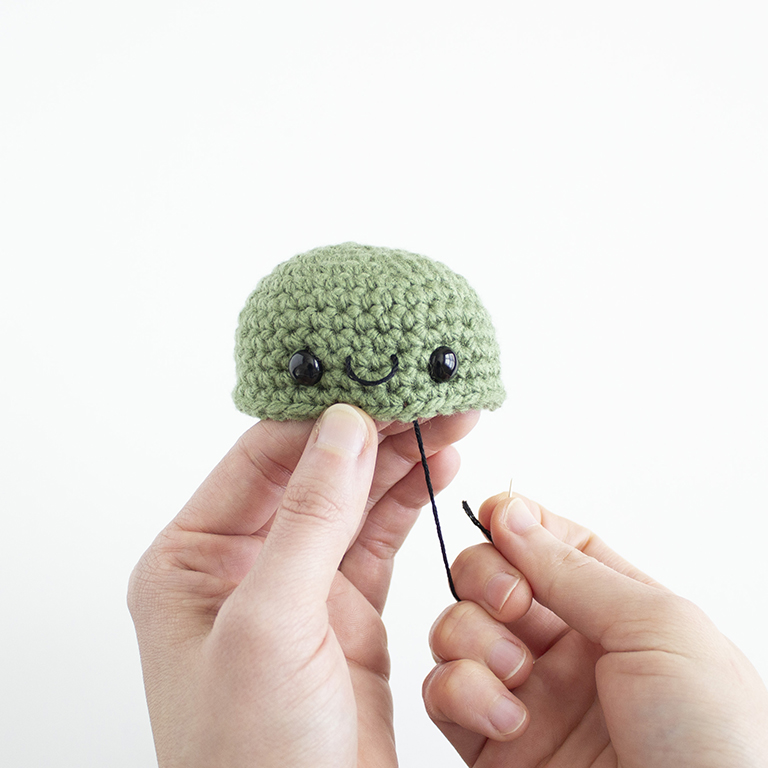
Hi Friends! In this how to crochet post I teach you how to add a mouth to your crochet amigurumi!
Smiles are always the first step to make your plushie adorable and super friendly. But don’t forget that a puffy frown can also be cute too! Feel free to turn this smile upside down to fit whatever mood you’re wanting for your crochet project.

Check out my other crochet how to stitches and techniques!
Follow along with the video or scroll down for the written tutorial with step by step photos of how to add a mouth.
Free Ice Cream Amigurumi Crochet Pattern
Skip to timecode 00:30 for adding a mouth
Adding A Mouth
Thread your embroidery needle with a length of embroidery floss about 5-6 inches long.
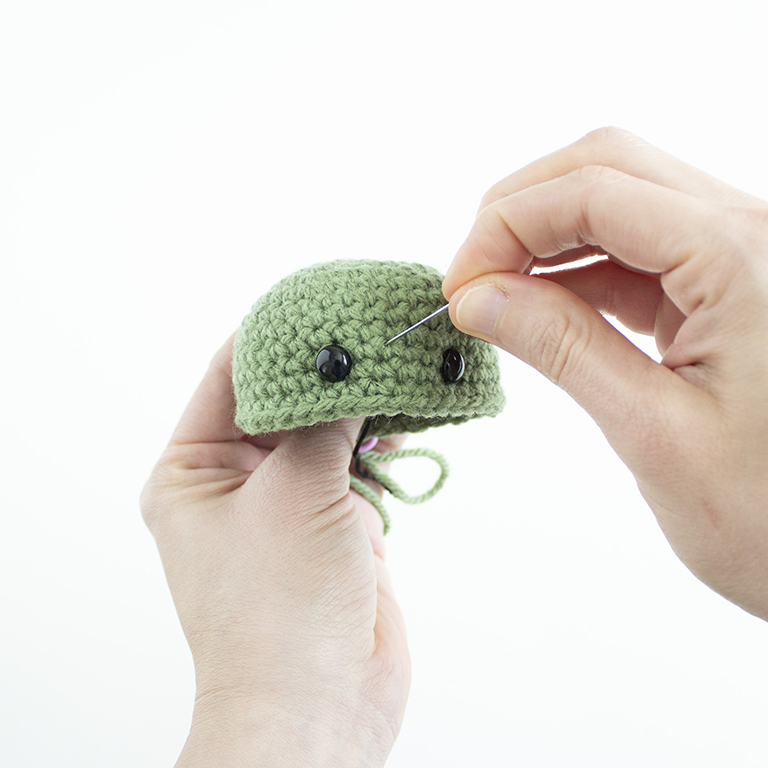
Step 1: Bring the needle from inside the piece to the outside, near the safety eye on your left.
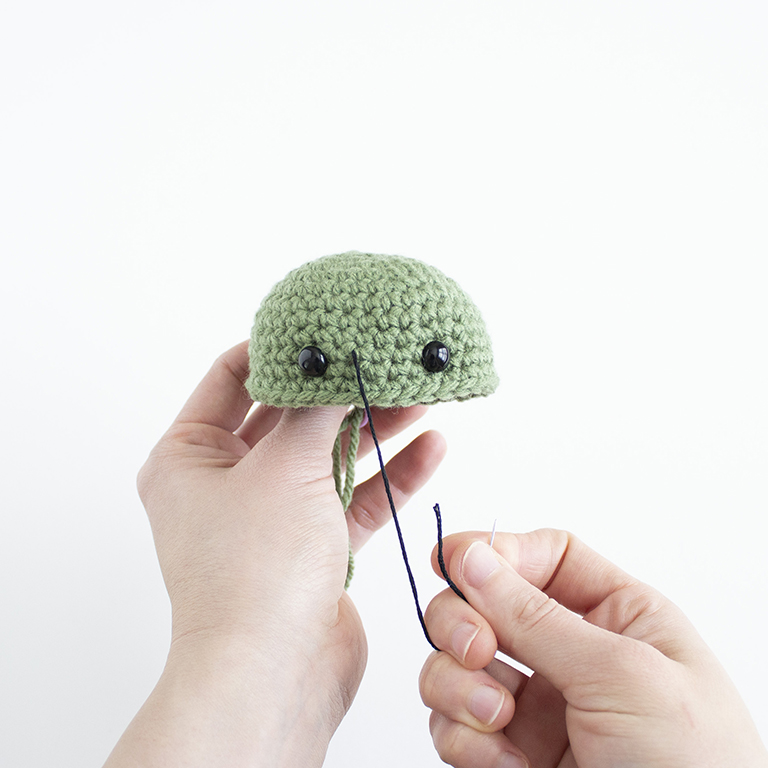
Step 2: Go across to the right side and insert the needle into the piece. Pull the needle through but make sure to not pull the floss all the way through.
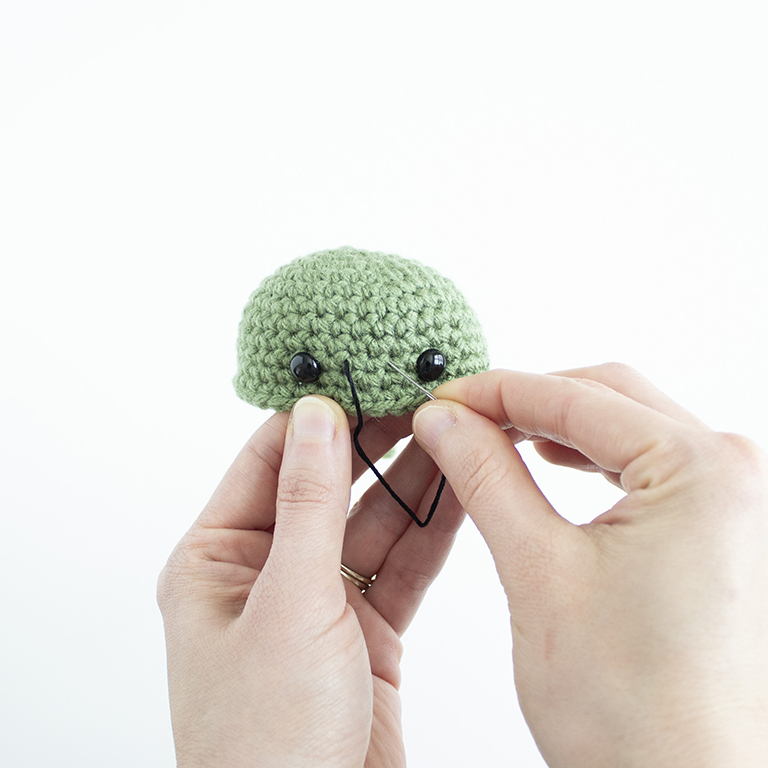
Step 3: Hold the thread in a smile shape and bring the needle through to the outside of the piece. You’ll want to come out about one round down and in the center from where we first inserted the needle in step 1.
Step 4: Pull the thread down to make a “V” shape.
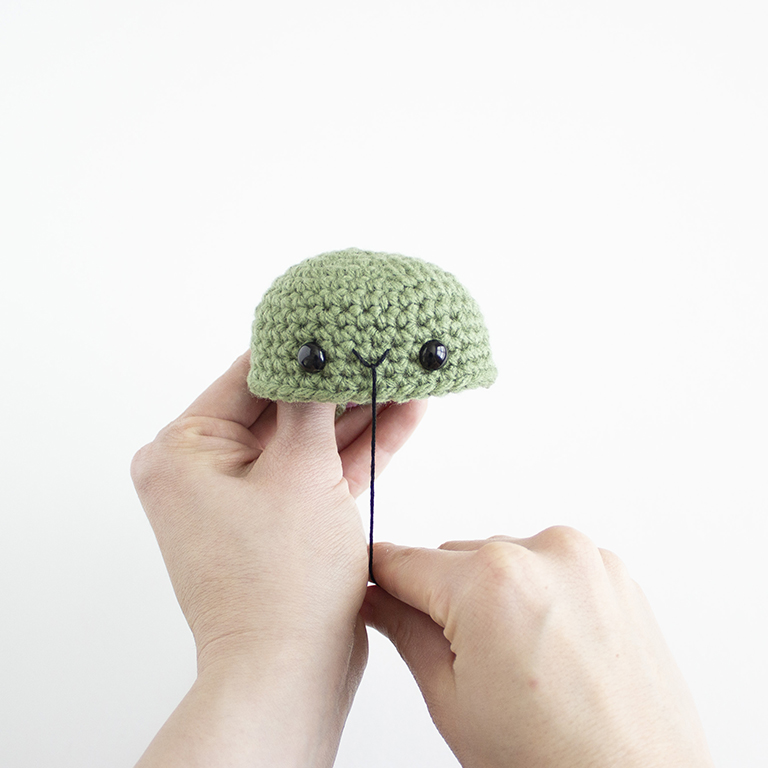
Step 5: Insert the needle very close to the spot where it just came out. You’ll bring the needle around the main piece of floss making the smile and then insert it back into the piece.
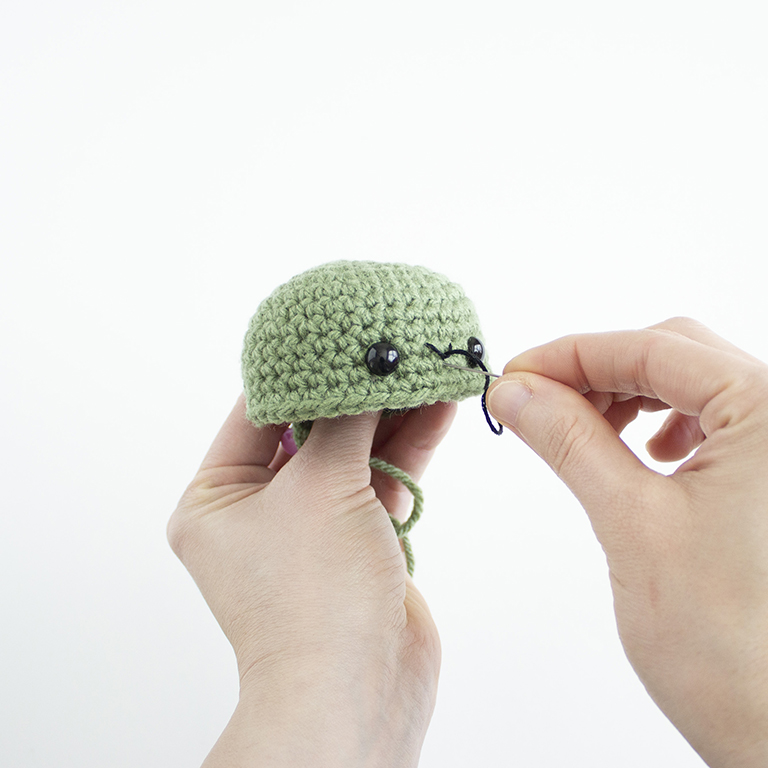
Step 6: Pull the thread through and make a knot to secure floss.
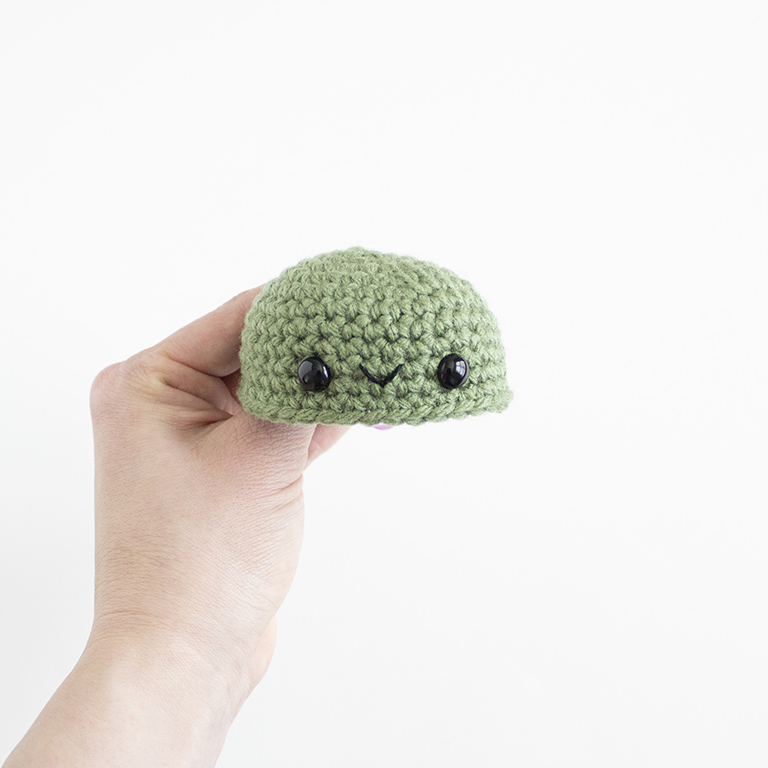
And that’s how you add a mouth to your crochet amigurumi! If you’d like to learn more about crocheting, here are my other crochet how to stitches and techniques!
Make sure to check out all of my other free patterns here!
If you have any questions, please don’t hesitate to reach out!
Please be sure to tag me in your posts on Instagram @ameangerieofstitches and use the hashtag #amenagerieofstitches
Happy Crocheting!
Lauren

