Hi Everyone!
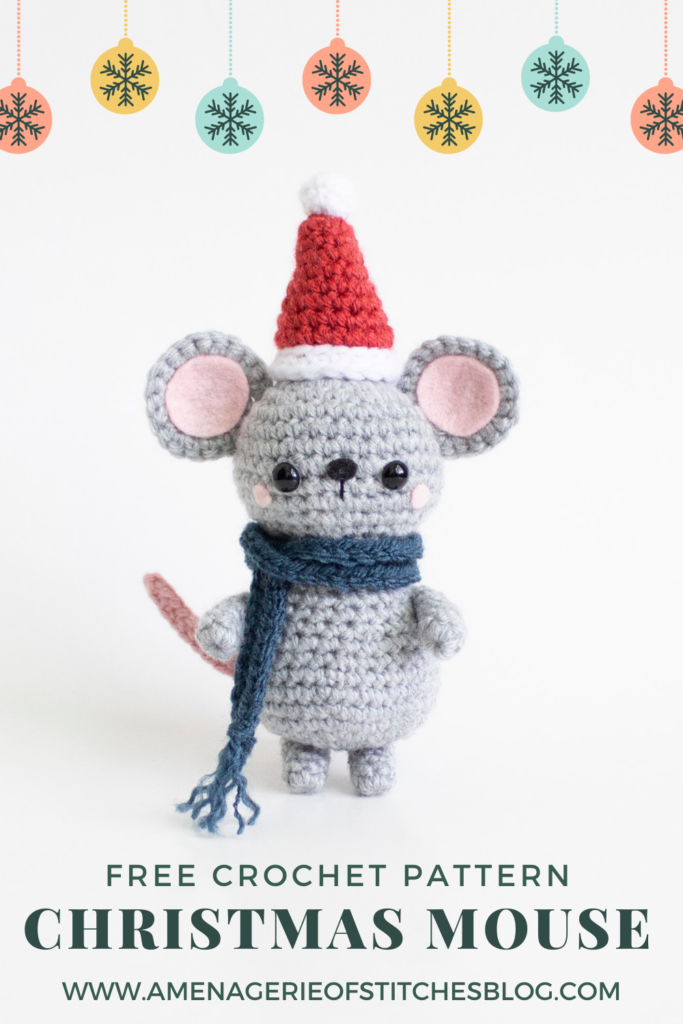
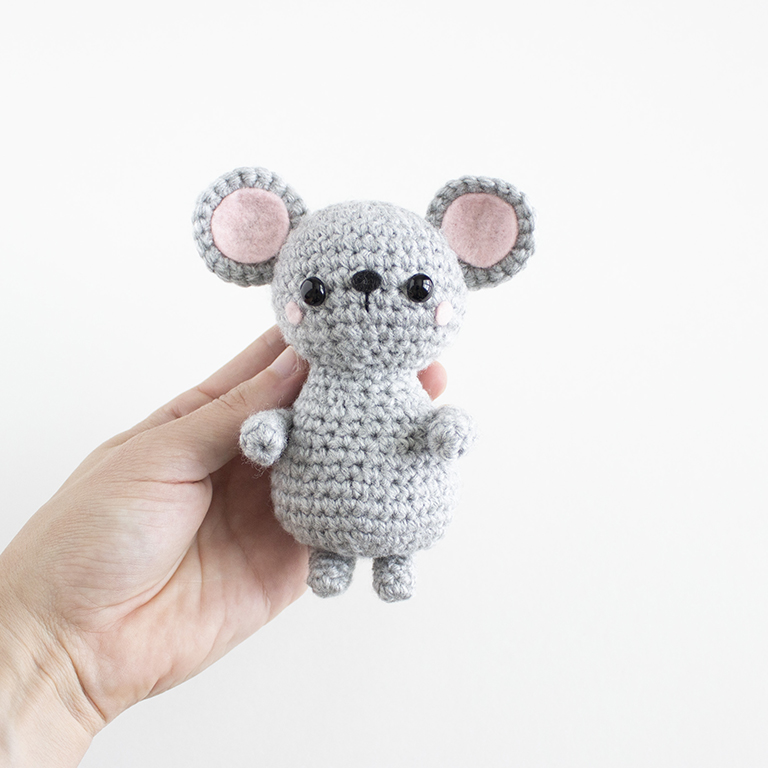
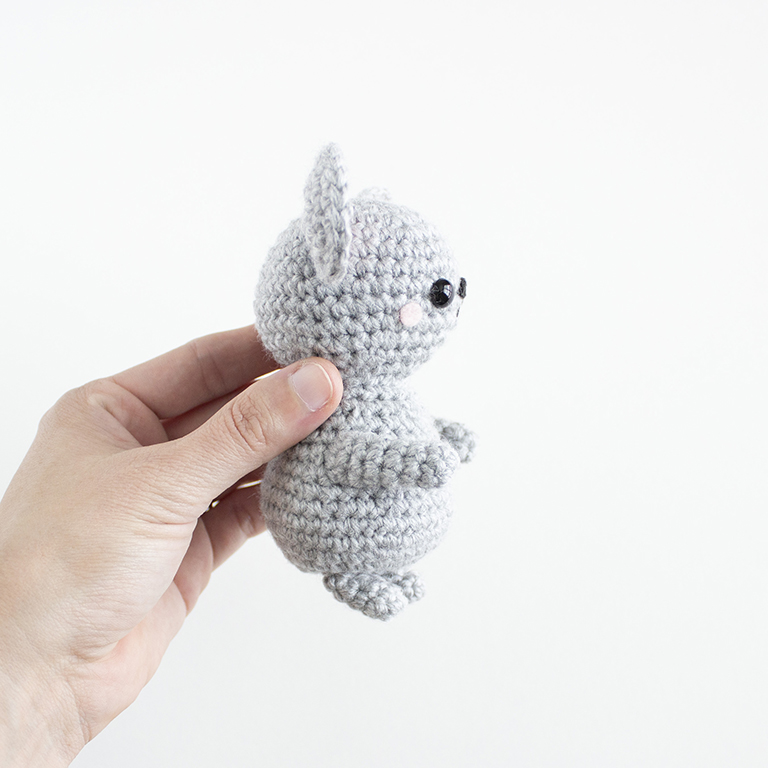
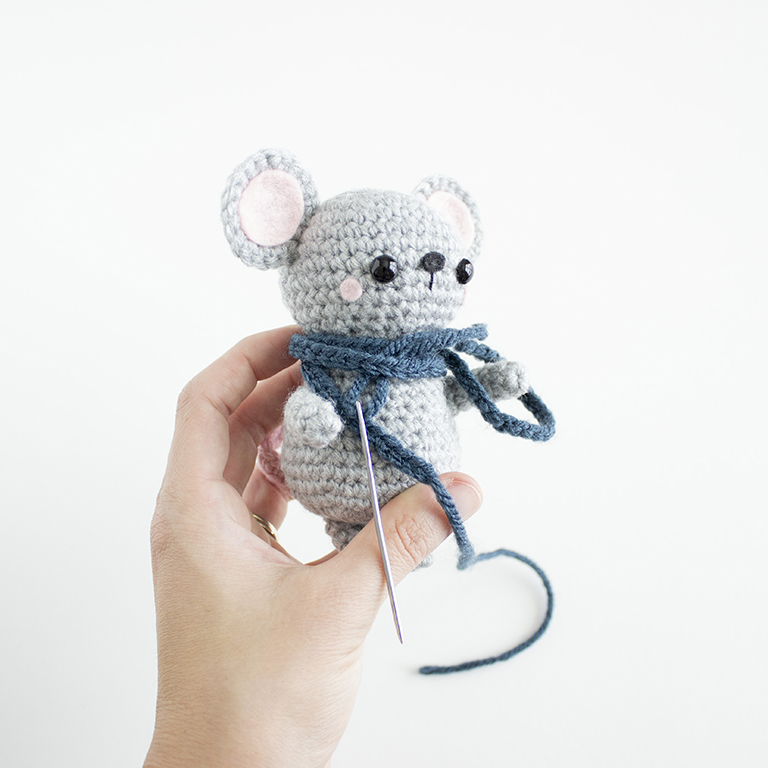
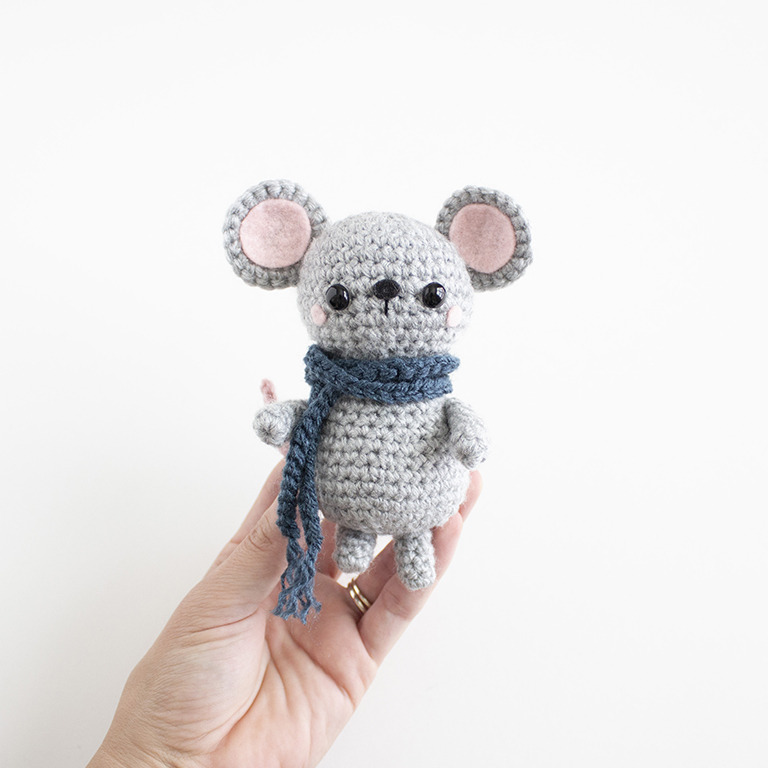
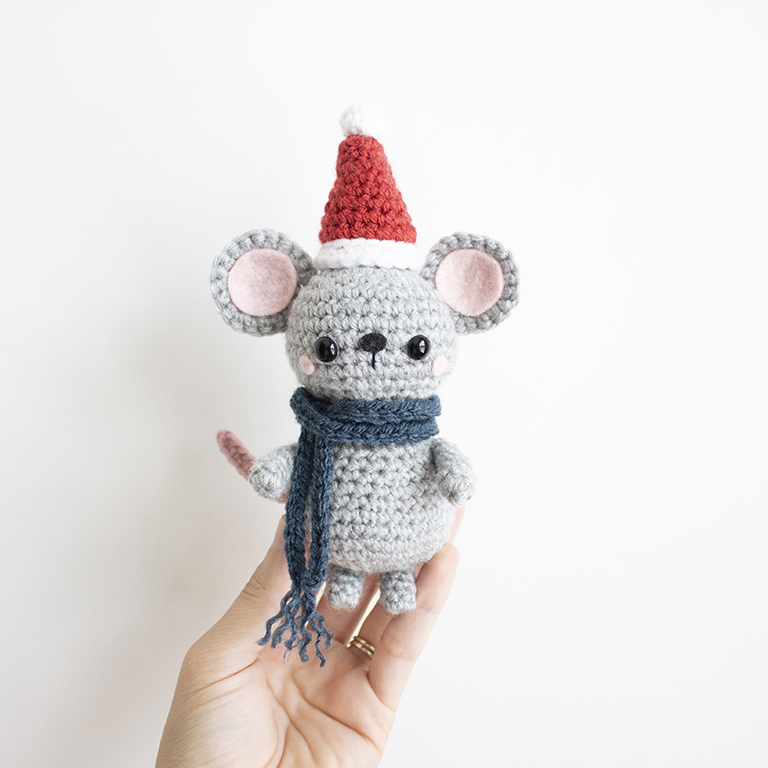
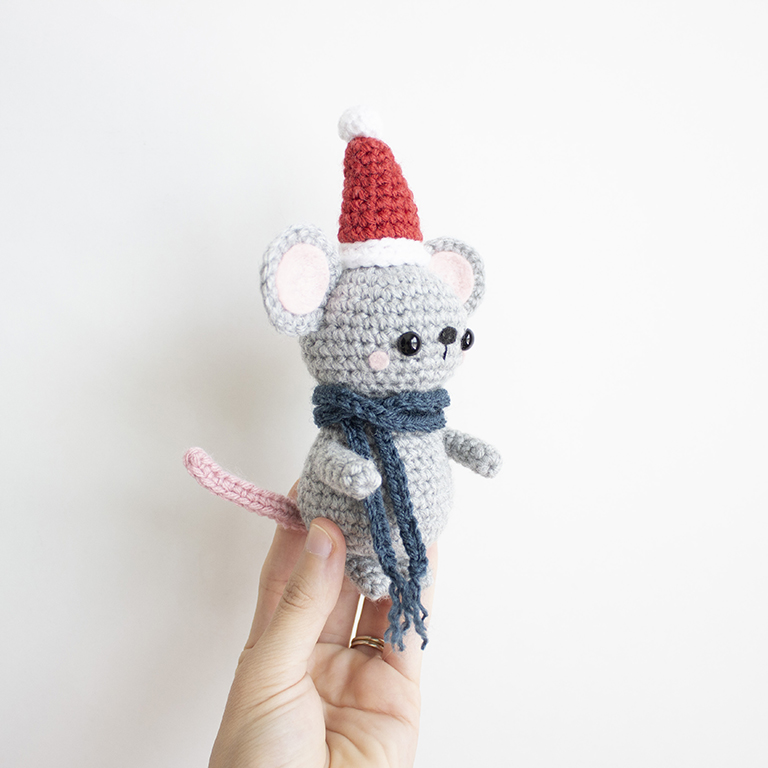
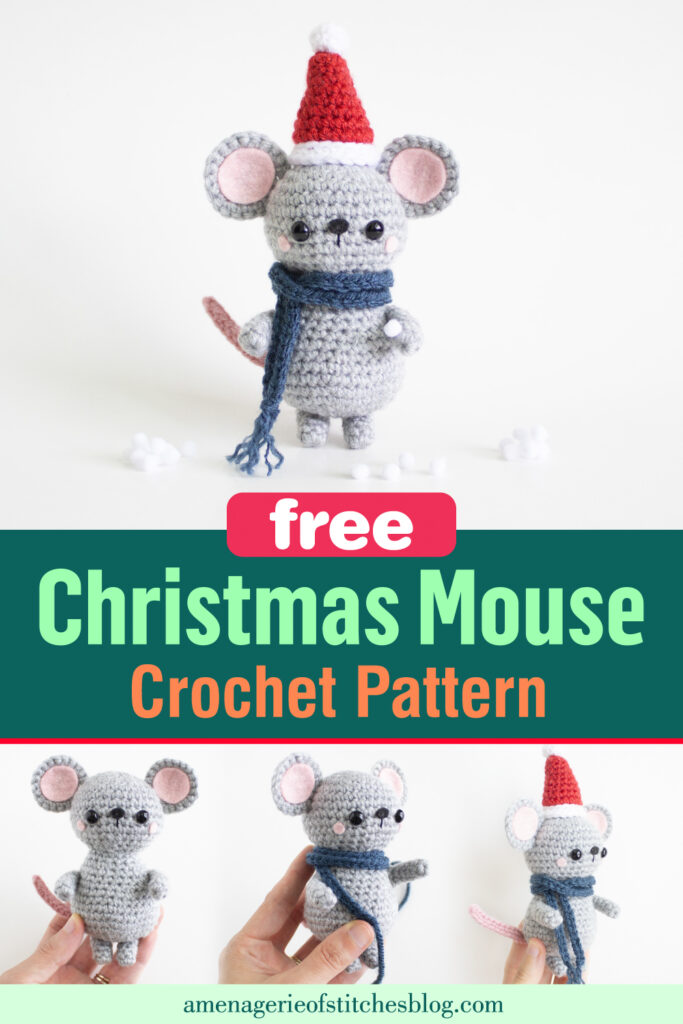
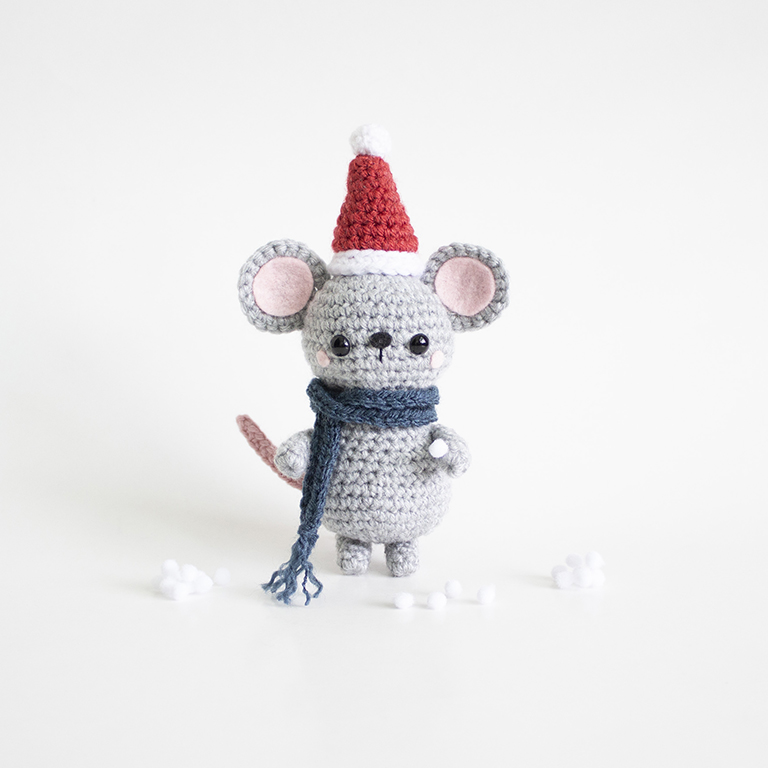
I’m so excited to share this Free Crochet Christmas Mouse Pattern with all of you! I was recently part of a crochet along over on Instagram where this amigurumi design made its debut. But I wanted to share it with all of you as well because I think we could all use a little bit of joy this holiday season! This sweet crochet mouse is getting ready for Christmas and is all decked out with his scarf and Santa hat! I loved making this crochet Christmas mouse and I hope you do too!
CLICK TO PIN THIS POST NOW!
Here’s what you’ll need:
- Worsted weight yarn: Lion Brand Vanna’s Choice in the colors: Silver Heather (Gray), Pink, Orion Blue, Chrysanthemum (Red) and White (Can be purchased here)
- Size E/3.5mm Crochet Hook
- One pair of 8mm safety eyes
- Black embroidery floss and needle
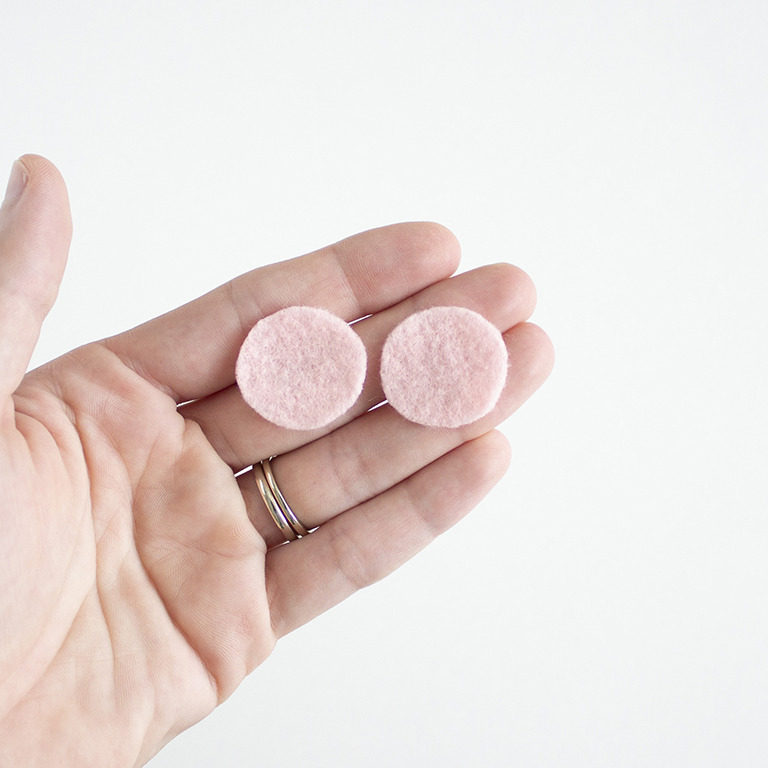
- Black and pink felt
- Polyester fiberfill stuffing
- Yarn needle
- Scissors
- Stitch marker
- Straight Pins
- Hot glue gun
Abbreviations:
Crochet Pattern is written using U.S. crochet terminology.
Crochet technique video & photo tutorials can be found here.
R – Round or Row
Mr- Magic Ring
Sc- Single Crochet
Inc- Increase
Inv Dec- Invisible Decrease
Ch- Chain
Sl St- Slip Stitch
BLO- Back Loops Only
St/s – Stitch/es
* – Repeat the directions in between * and * as many times as stated.
( ) – The number inside will indicate how many stitches you should have at
the end of each round.
Finished Measurements:
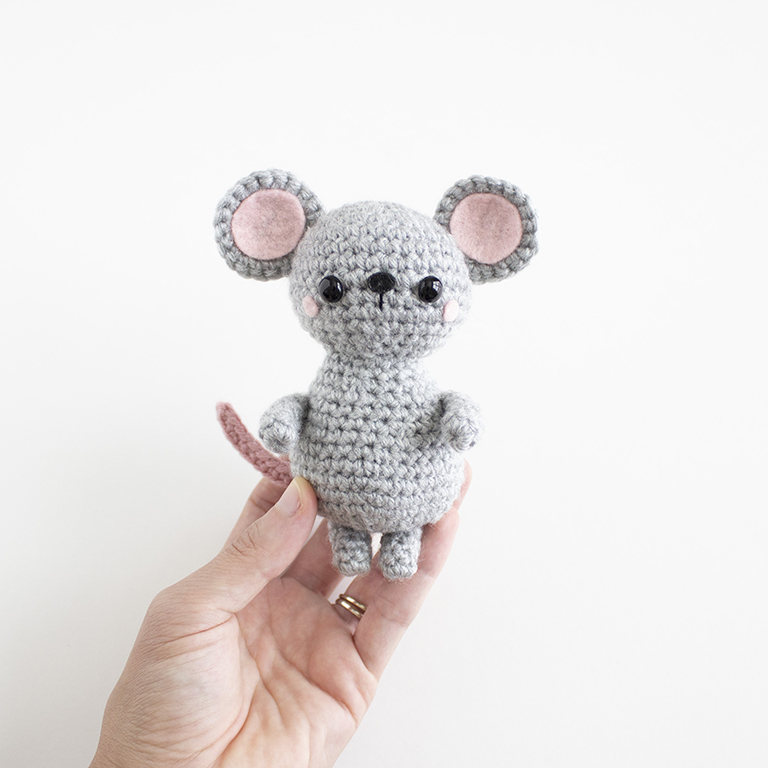
Approx. 2.5 inches wide by 4.75 inches tall (with hat – 6.25 inches tall)
*Please note – Sizes will vary depending on your tension, hook and yarn used.
Pattern Notes:
This crochet pattern is worked in continuous rounds. This means you do not join at the end of each round, and you simply continue onto the next round. Use a stitch marker to mark the end of the round.
Prefer an ad-free, printable PDF version?
Grab The Christmas Mouse Crochet Pattern HERE.
Head
Using gray yarn,
R1: 6 sc in magic ring. (6 sts)
R2: Inc in each st around. (12 sts)
R3: *Sc 1, inc* 6 times. (18 sts)
R4: *Sc 2, inc* 6 times. (24 sts)
R5: *Sc 3, inc* 6 times. (30 sts)
R6: *Sc 4, inc* 6 times. (36 sts)
R7-11: Sc 36.
R12: *Sc 4, inv dec* 6 times. (30 sts)
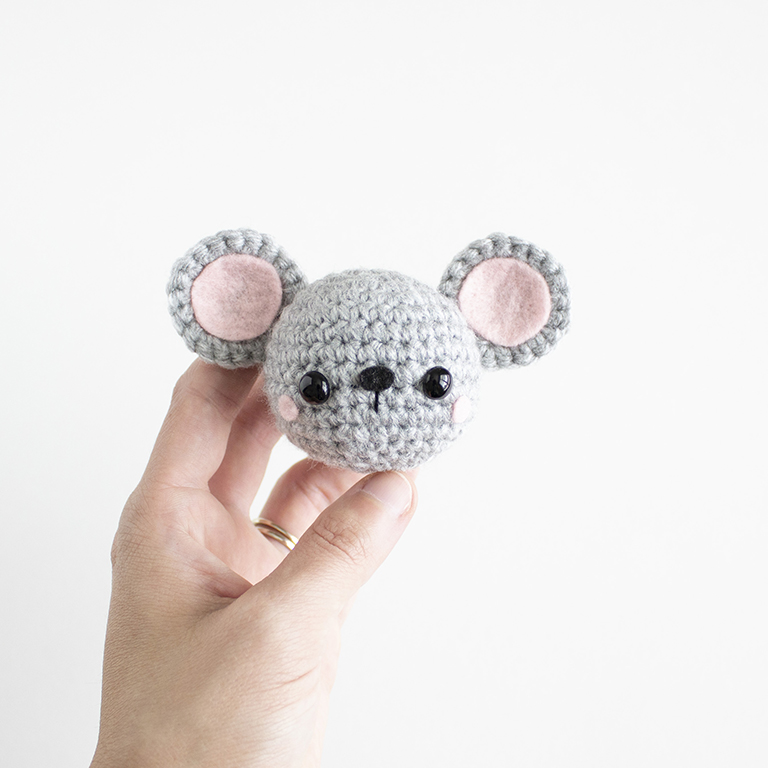
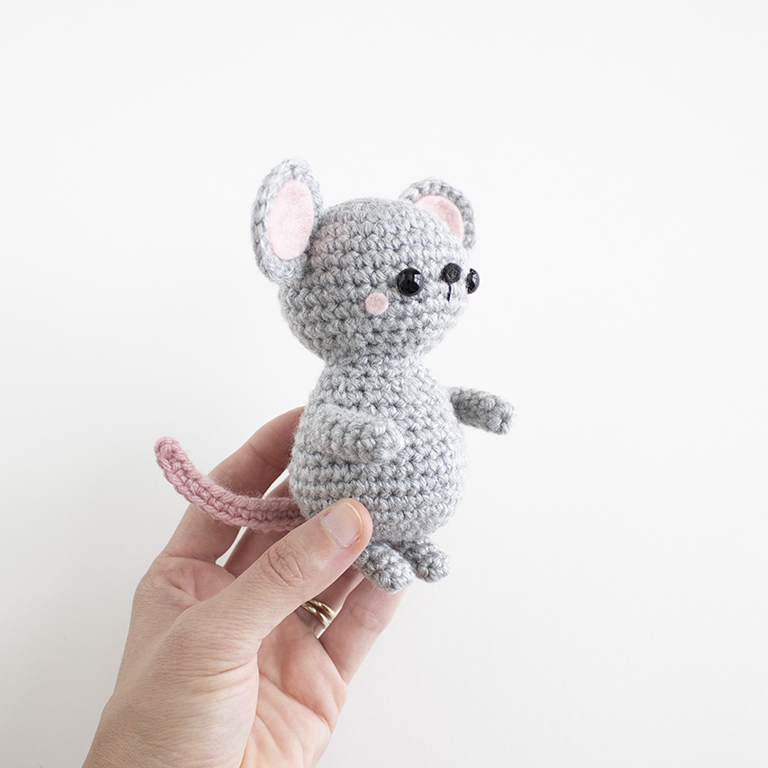
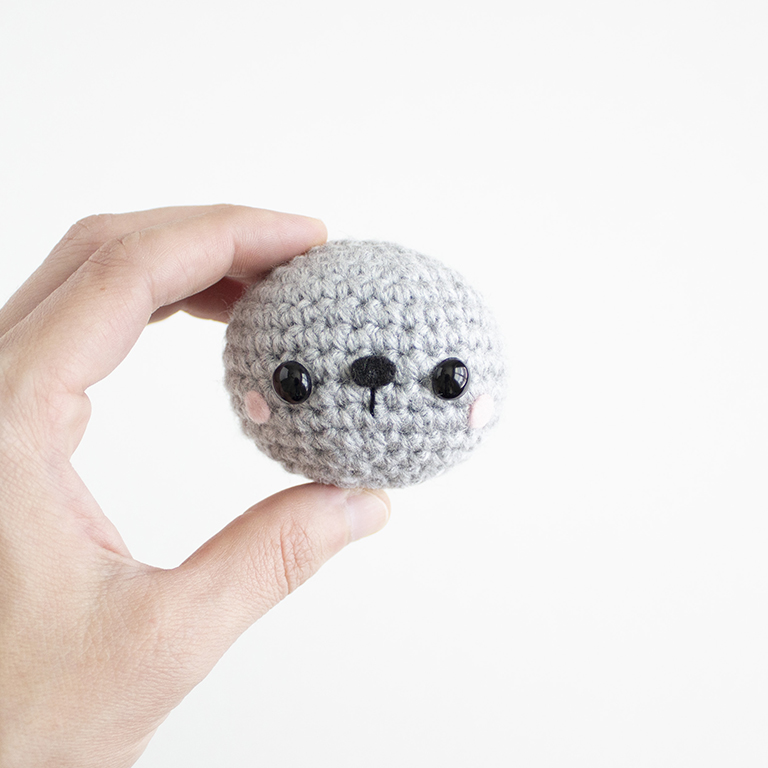
Add the safety eyes between rounds 9 and 10, placing them 5 stitches apart. Cut a small oval out of black felt and use hot glue to attach it to the head near R9. Use black embroidery floss to stitch one vertical line down from the center of the nose to the top of R11. Cut two small circles out of pink felt for the cheeks. Use hot glue to attach them near R11.
R13: *Sc 3, inv dec* 6 times. (24 sts)
Begin adding fiberfill and continue adding as you close the piece.
R14: *Sc 2, inv dec* 6 times. (18 sts)
R15: *Sc 1, inv dec* 6 times. (12 sts)
R16: Inv dec around 6 times. (6 sts) Fasten off and leave a tail to close the piece.
Ears – Make 2
Using gray yarn,
R1: 5 sc in magic ring. (5 sts)
R2: Inc in each st around. (10 sts)
R3: *Sc 1, inc* 5 times. (15 sts)
R4: Sc 1, inc, *sc 2, inc* 4 times, sc 1. (20 sts) Fasten off and leave a tail for sewing.
Weave in the starting tail and trim.
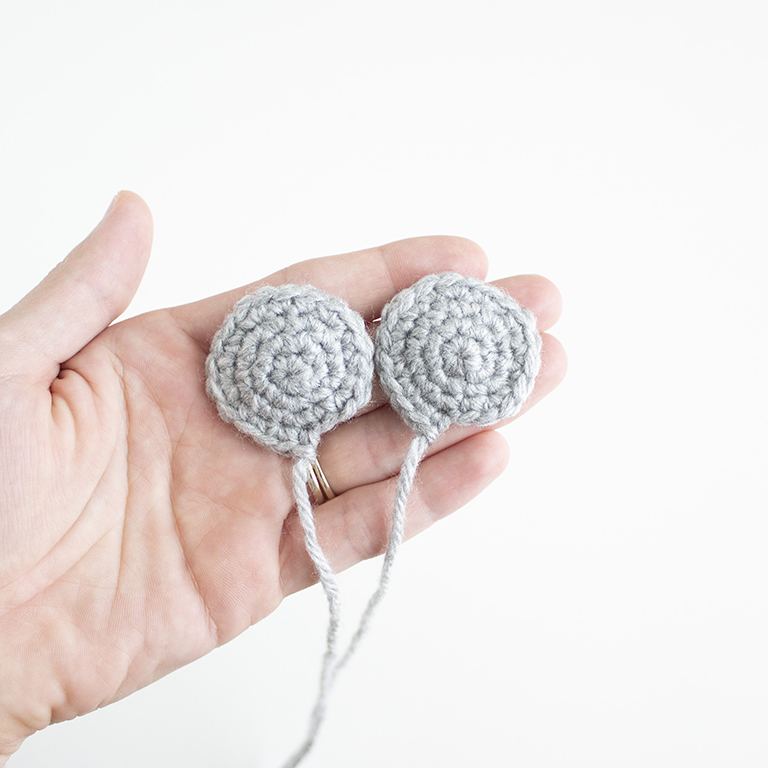
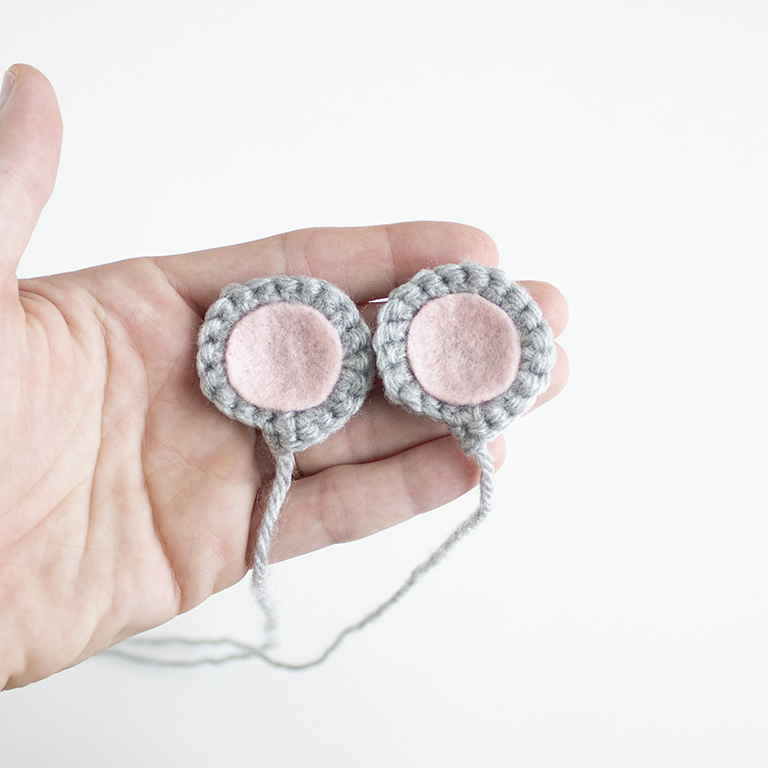
With pink felt, cut two circles slightly smaller than the ear. Use hot glue to attach the felt to the insides of the ears. You’ll want to glue the felt on the “wrong” side of the work.
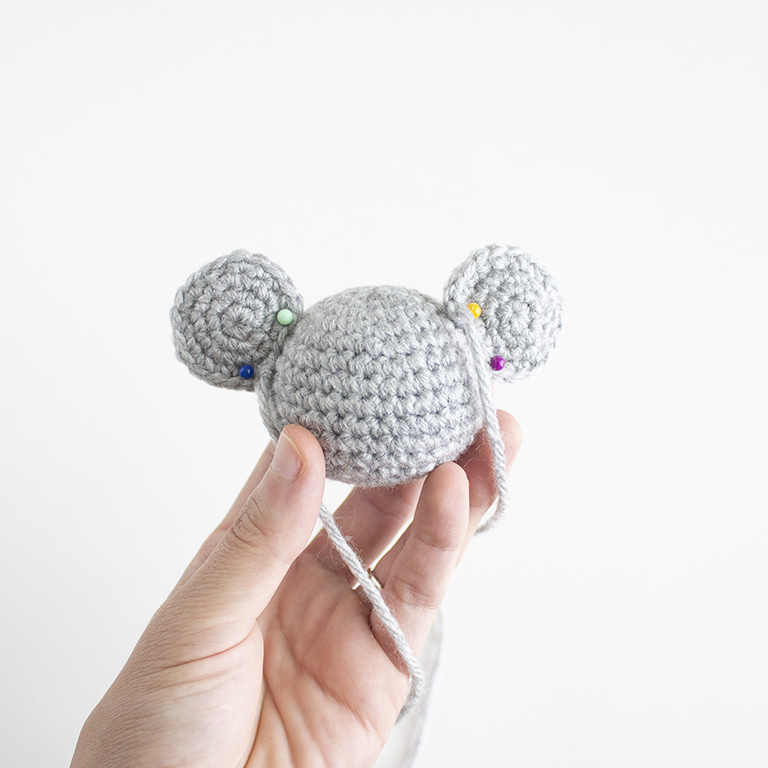
Using straight pins, pin the ears to the head between rounds 5-8. With the yarn needle, sew the ears in place. Secure with a knot and hide inside the head.
Body
Using gray yarn,
R1: 6 sc in magic ring. (6 sts)
R2: Inc in each st around. (12 sts)
R3: *Sc 1, inc* 6 times. (18 sts)
R4: *Sc 2, inc* 6 times. (24 sts)
R5: *Sc 3, inc* 6 times. (30 sts)
R6: *Sc 4, inc* 6 times. (36 sts)
R7: *Sc 5, inc* 6 times. (42 sts)
R8: Sc 42.
R9: *Sc 5, inv dec* 6 times. (36 sts)
R10: *Sc 4, inv dec* 6 times. (30 sts)
R11: Sc 30.
R12: *Sc 3, inv dec* 6 times. (24 sts)
R13+14: Sc 24.
R15: *Sc 2, inv dec* 6 times. (18 sts)
R16: Sc 18. Fasten off and leave a long tail for sewing. Stuff body with fiberfill.
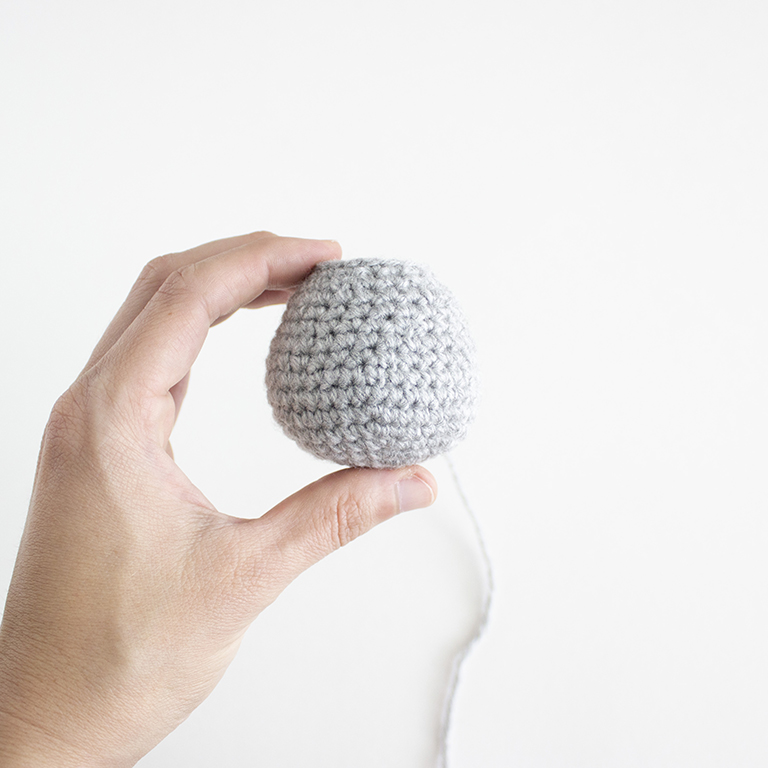
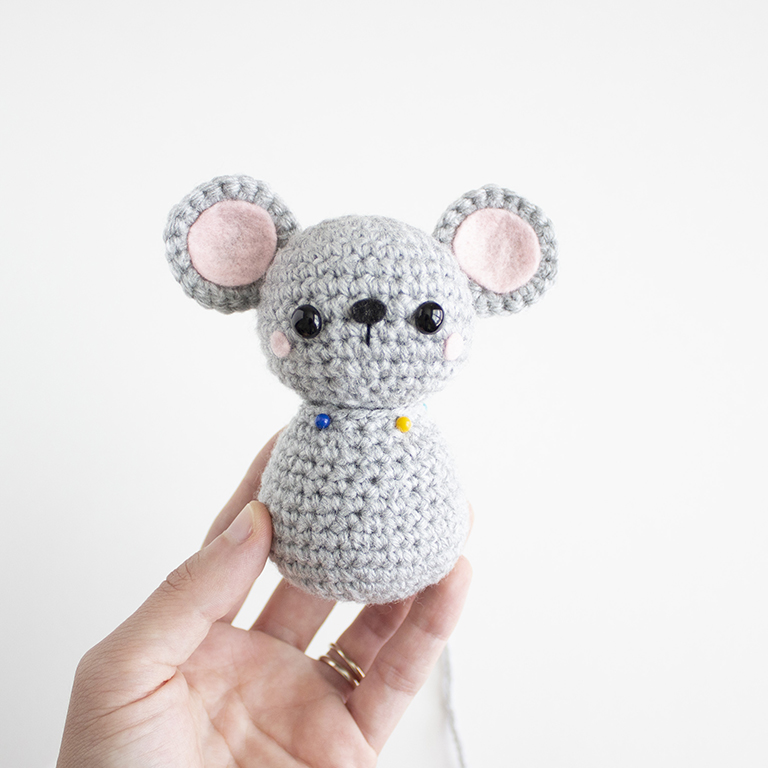
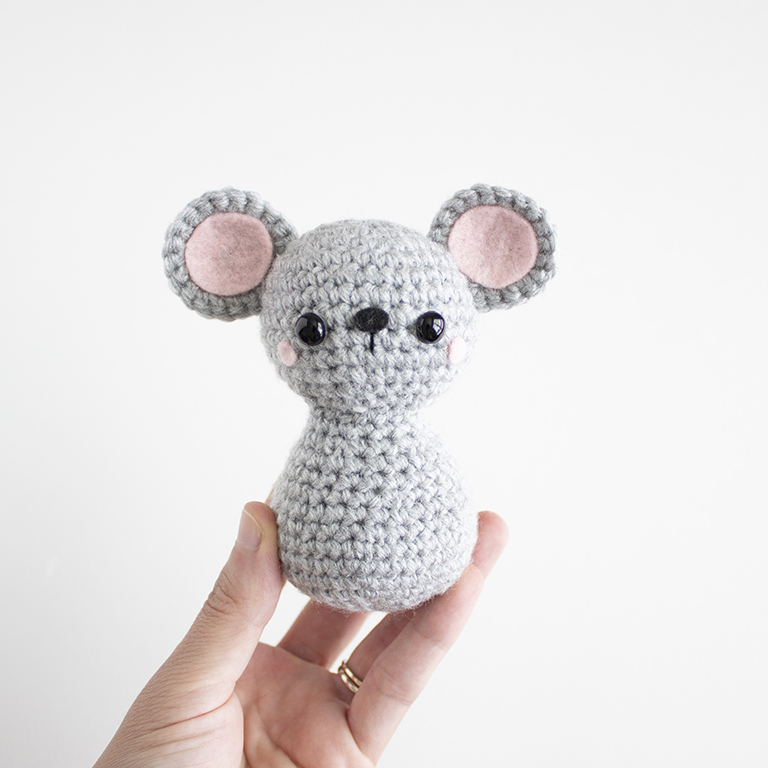
Using straight pins, pin the head in place on the body. With the yarn needle, sew the head in place. Secure with a knot and hide inside the body.
Prefer an ad-free, printable PDF version?
Grab The Christmas Mouse Crochet Pattern HERE.
Arms – Make 2
Using gray yarn,
R1: 6 sc in magic ring. (6 sts)
R2-7: Sc 6. Fasten off and leave a tail for sewing. Leave the arms unstuffed.
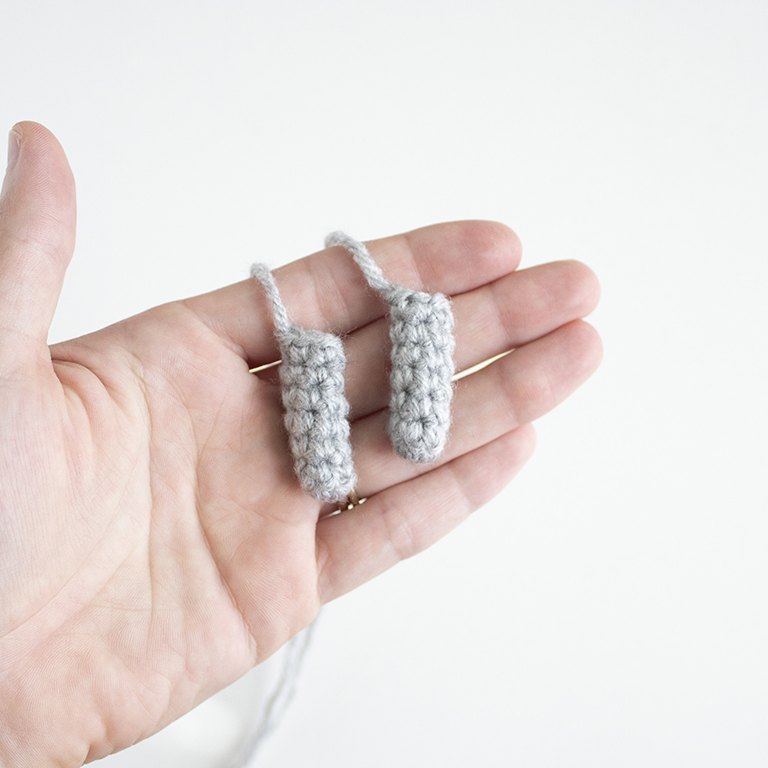
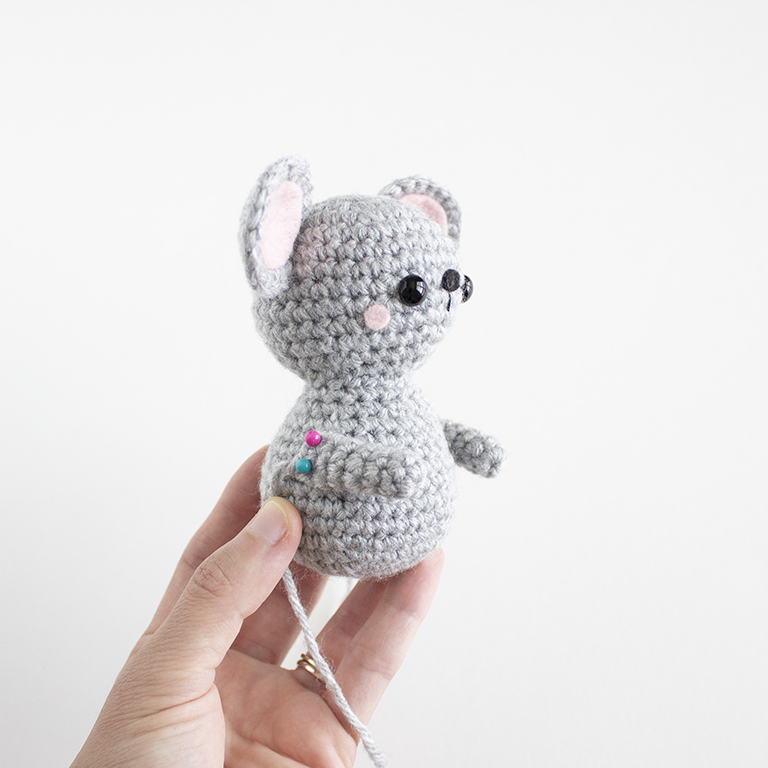
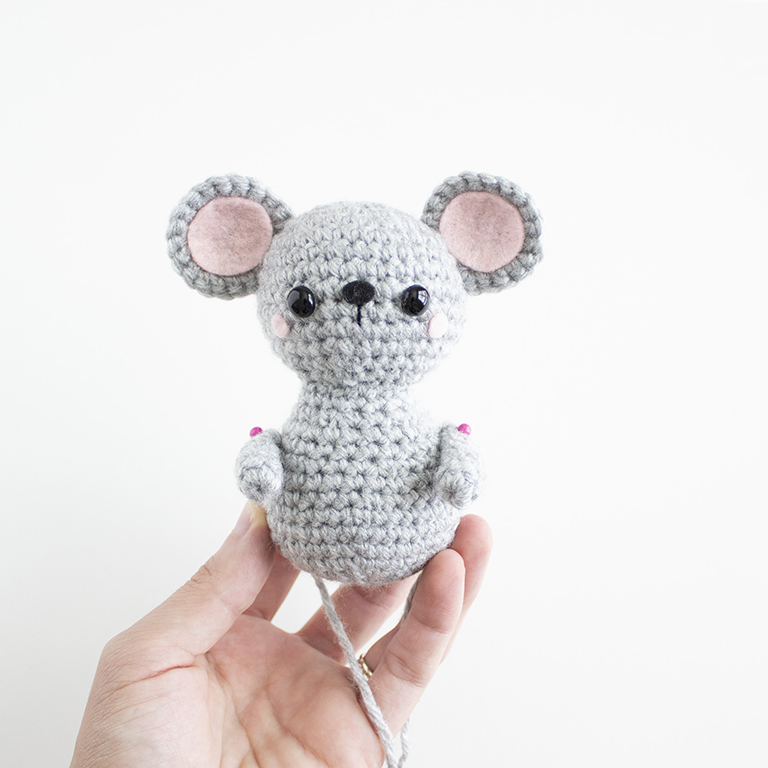
Using straight pins, pin the arms to the body between rounds 11-13. With the yarn needle, sew the arms in place. Secure with a knot and hide inside the body.
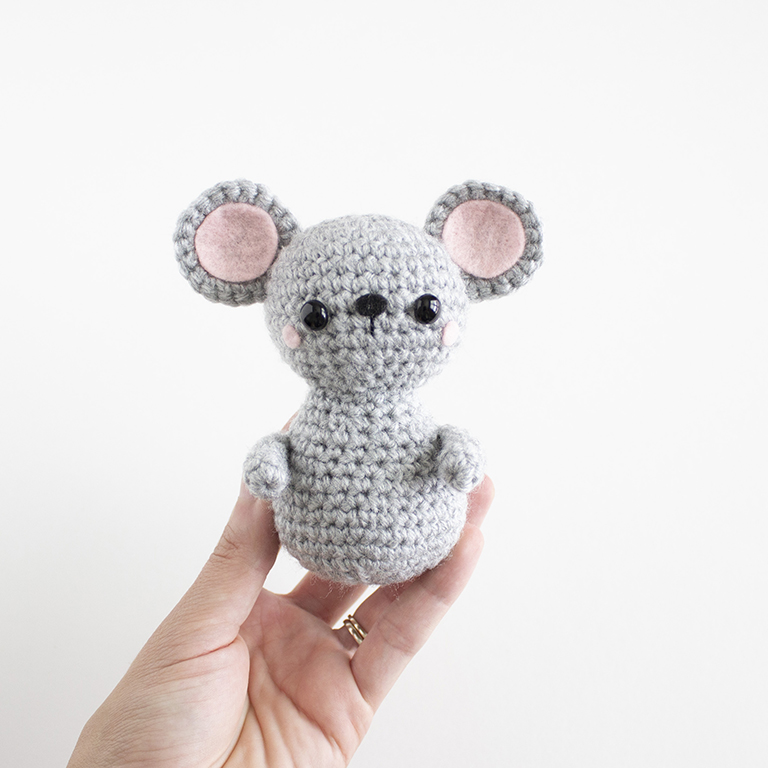
Feet – Make 2
Using gray yarn,
R1: 6 sc in magic ring. (6 sts)
R2-5: Sc 6.
Fasten off and leave a tail for sewing.
Leave the feet unstuffed.
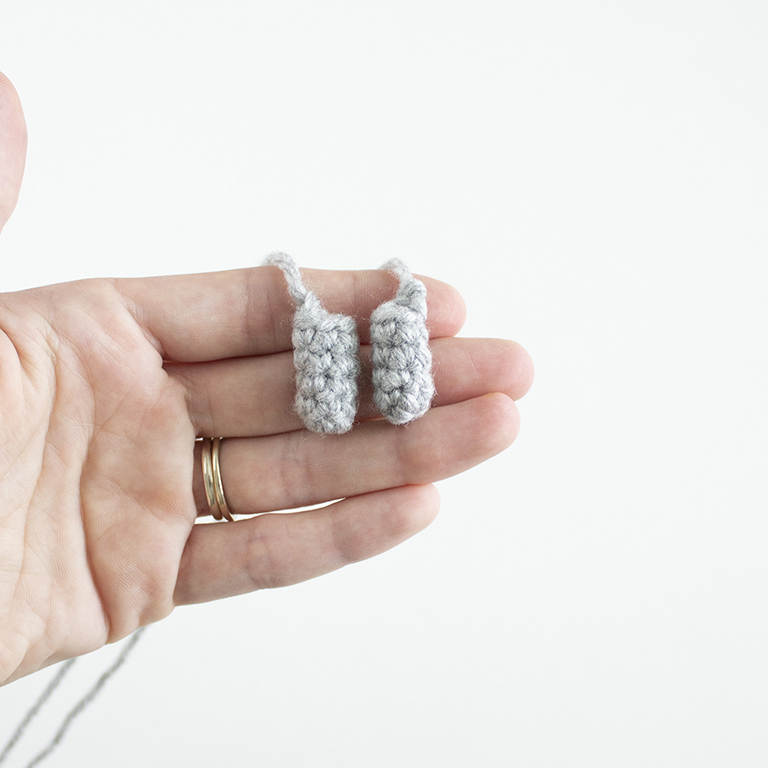
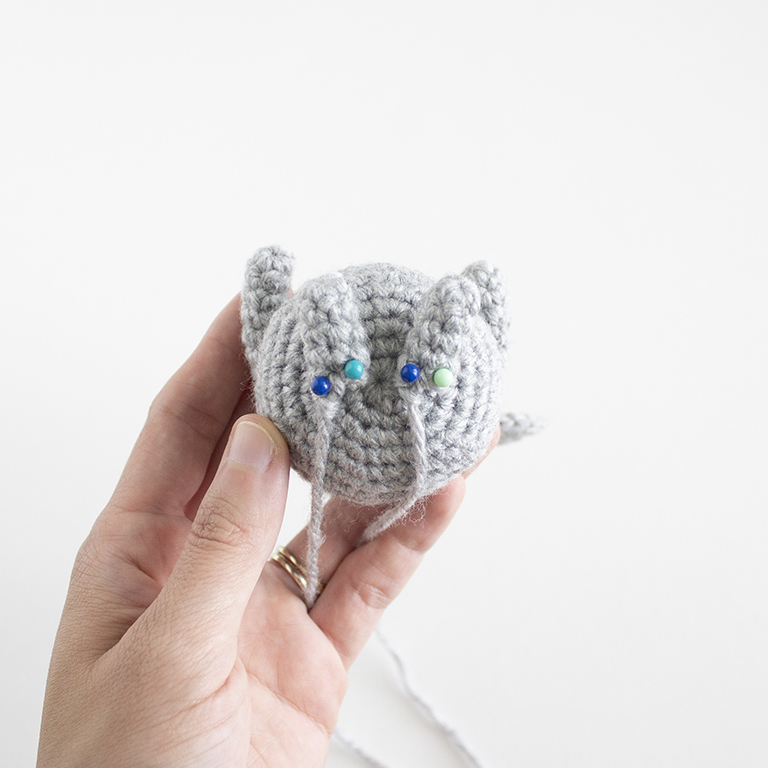
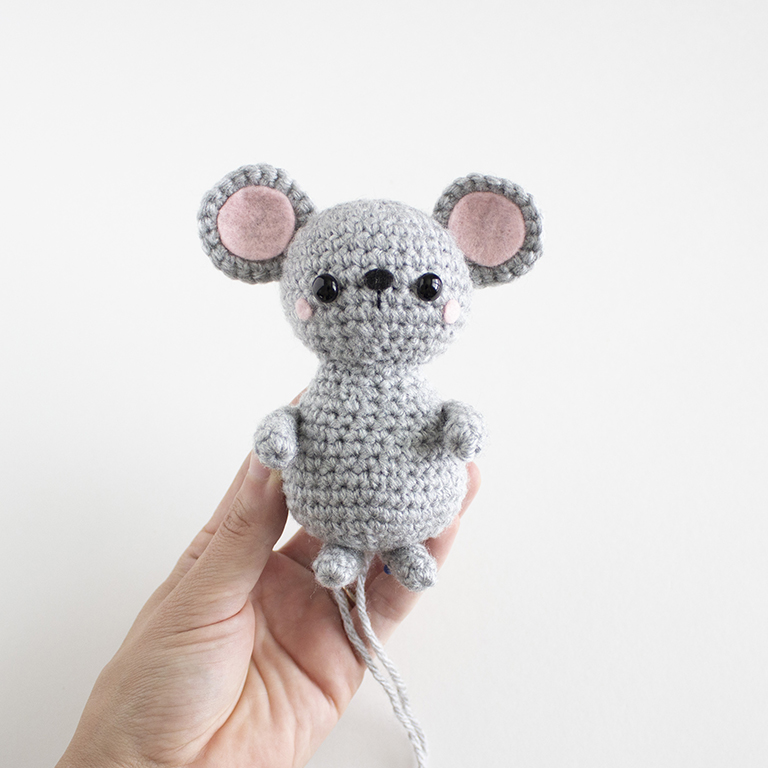
Using straight pins, pin the feet to the body between rounds 1-3. With the yarn needle, sew the feet in place.
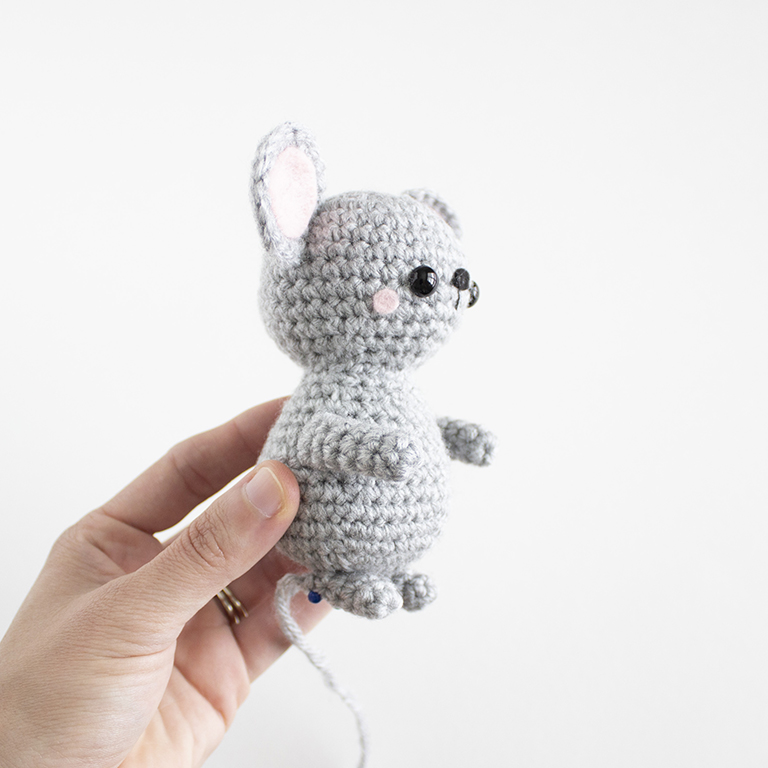
Secure with a knot and hide inside the body.
Tail
Using pink yarn,
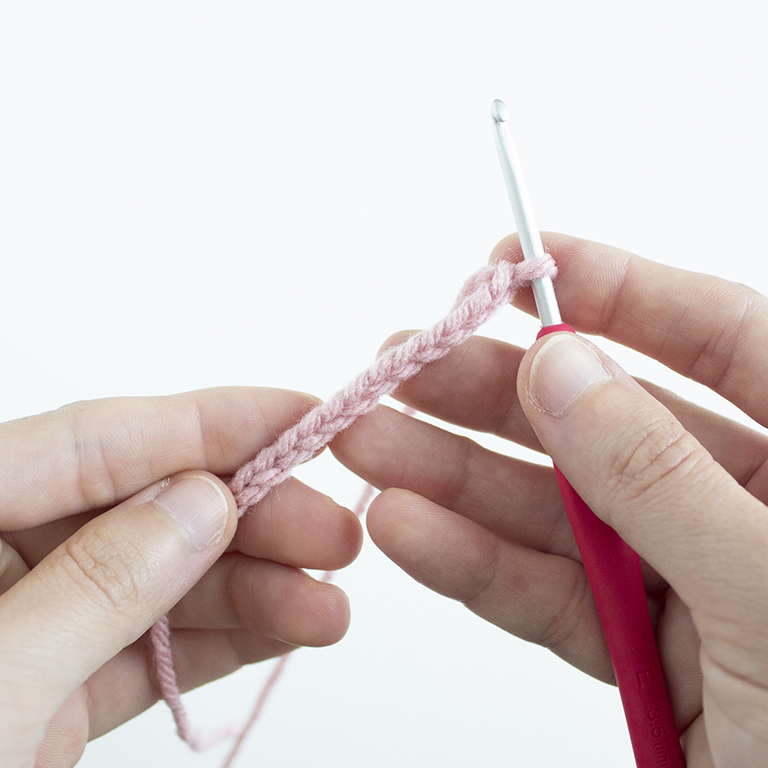
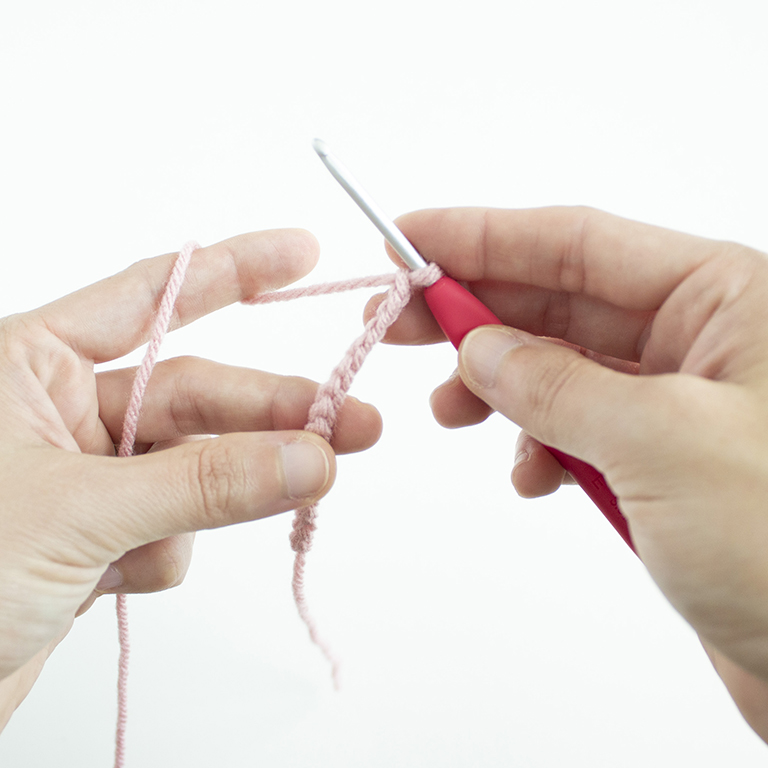
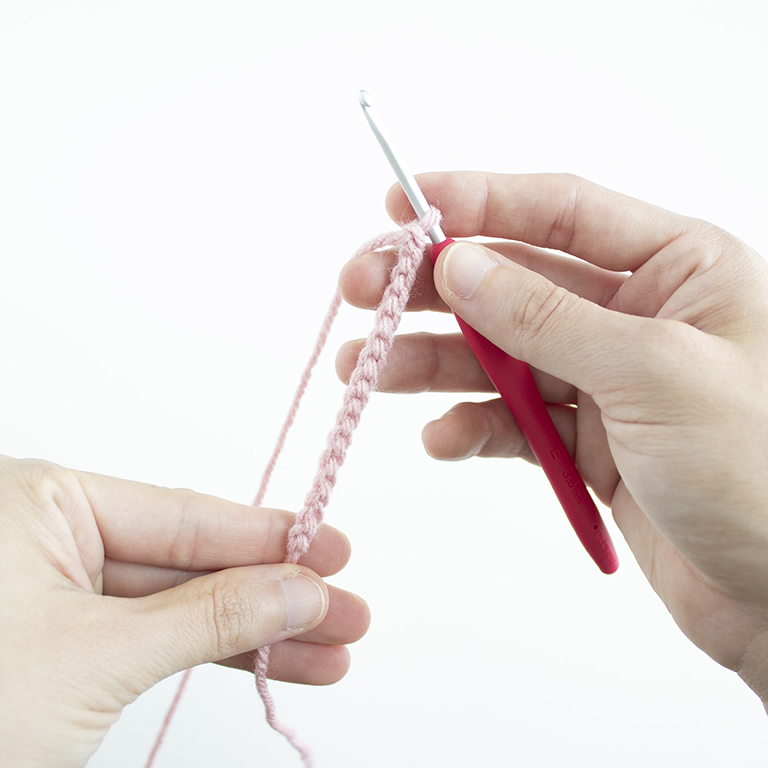
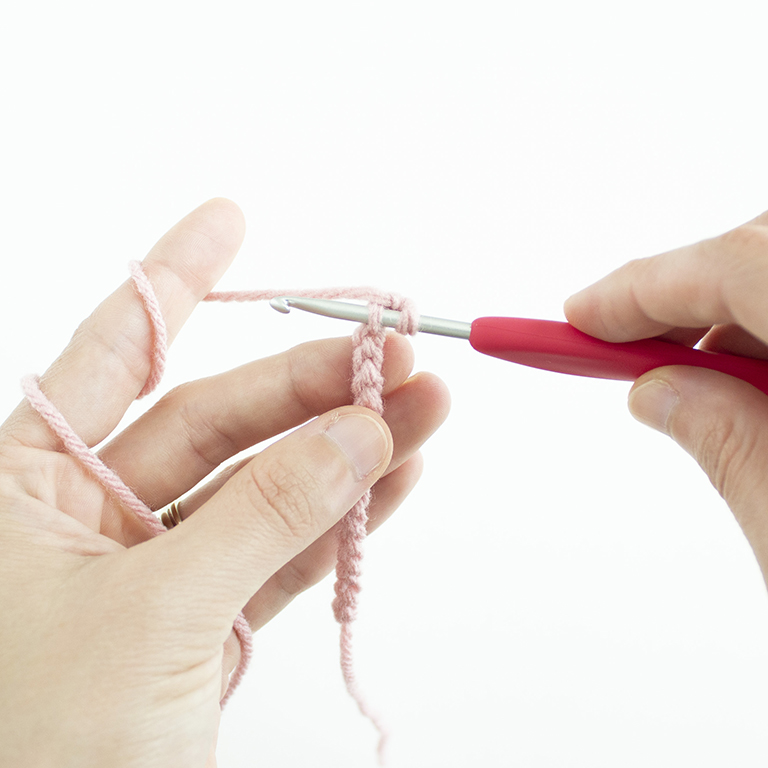
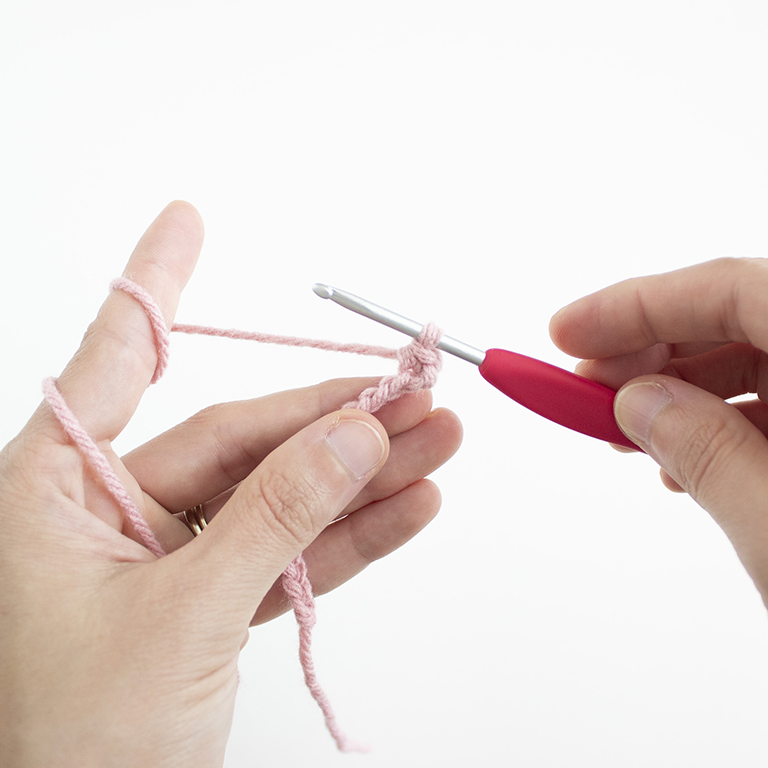
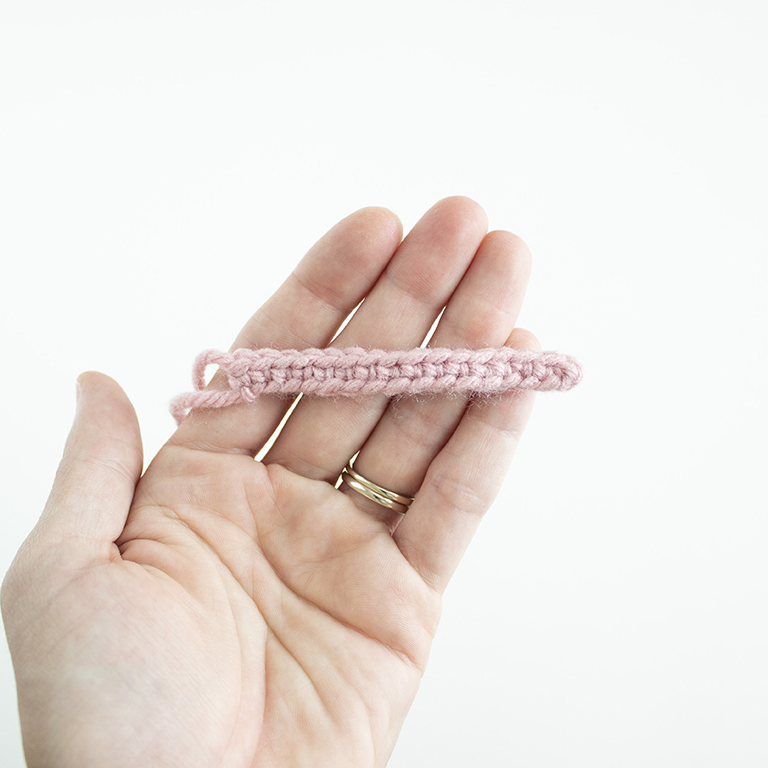
R1: Ch 16 then turn the chain over and work in the back bumps of the chain. Starting in the 2nd bump from hook, sc in each bump across. (15 sts)
Fasten off and leave a tail for sewing.
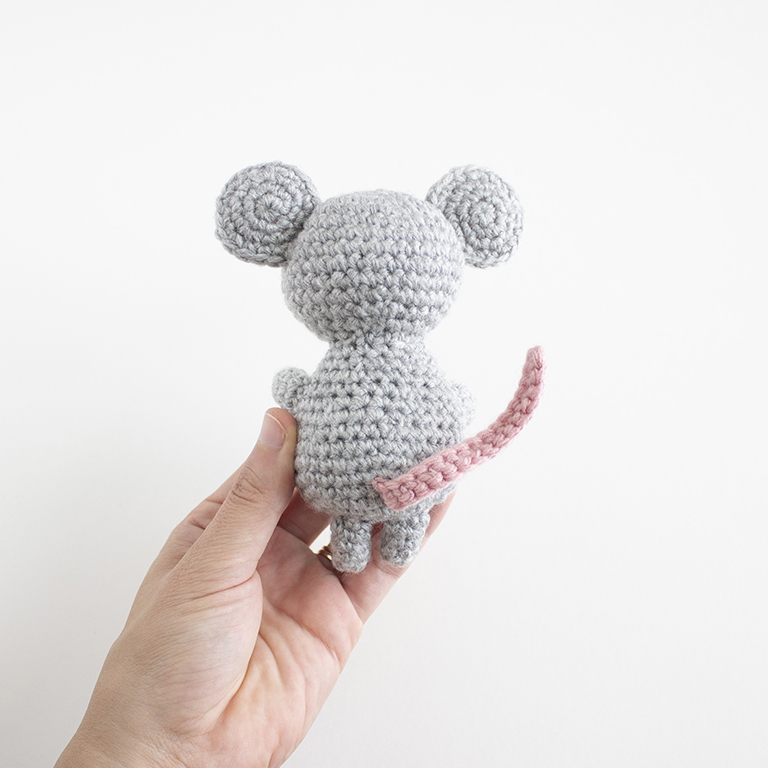
Using straight pins, pin the tail to the body between rounds 4-6.
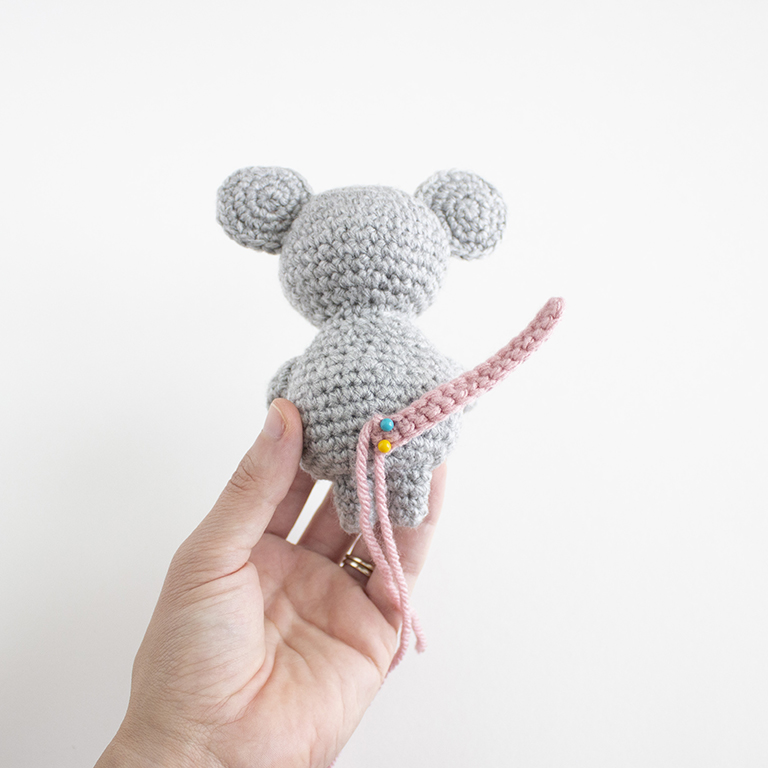
With the yarn needle, sew the tail in place. Secure with a knot and hide inside the body.
Prefer an ad-free, printable PDF version?
Grab The Christmas Mouse Crochet Pattern HERE.
Scarf
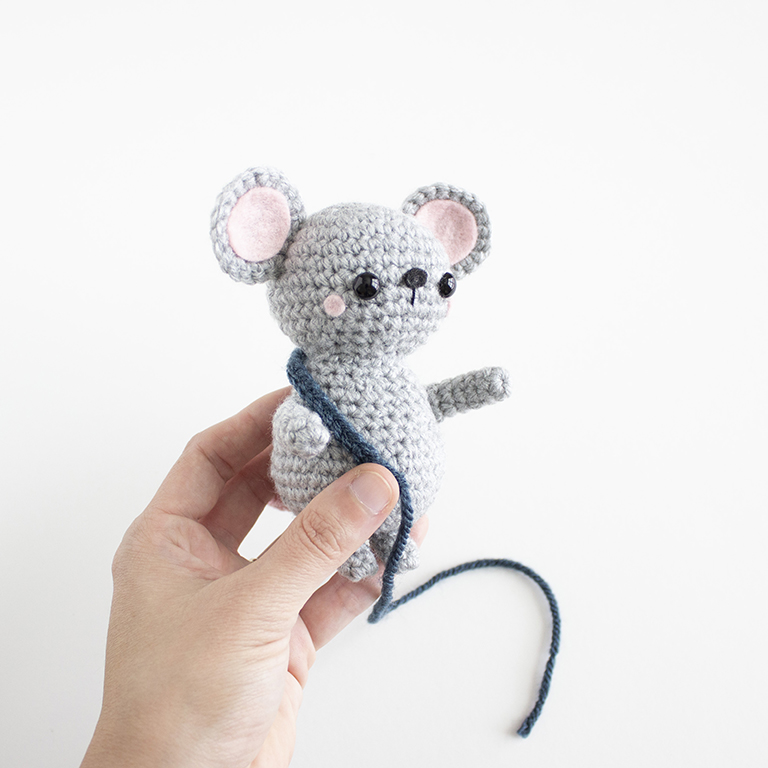
Using navy blue yarn, ch 100, or however many until the scarf wraps around the mouse twice.
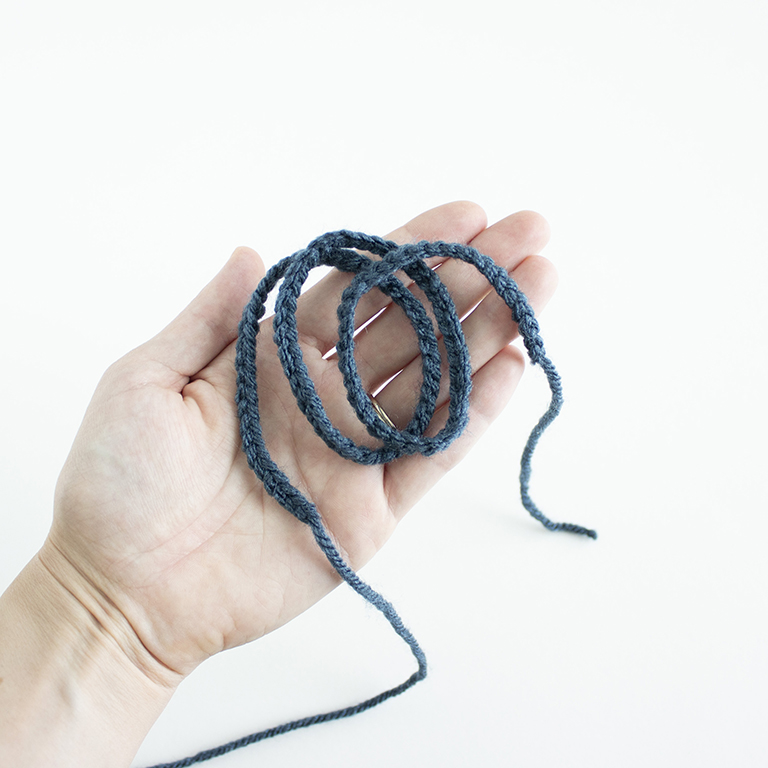
Fasten off, leaving enough tail at both ends to make fringe.
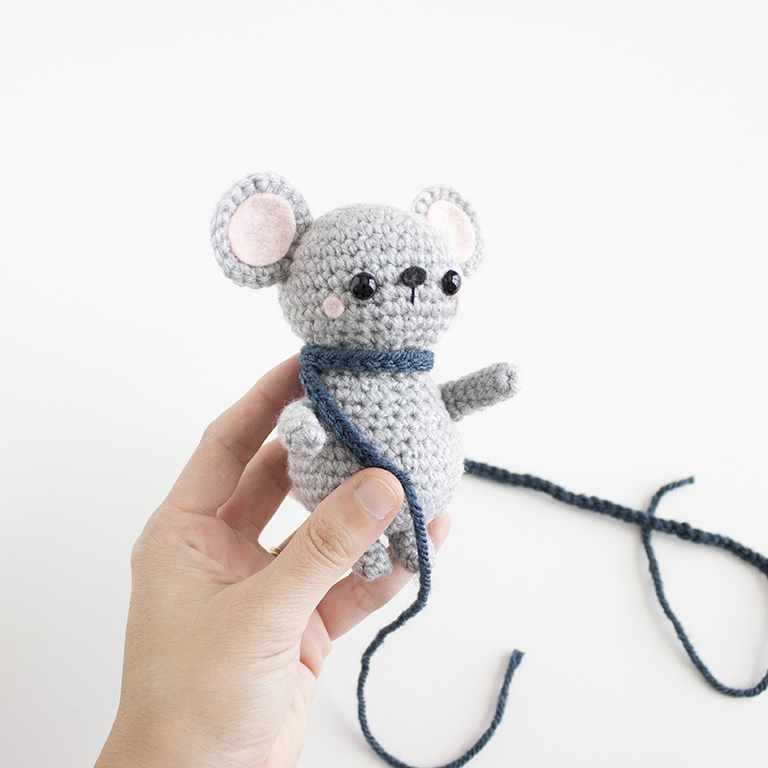
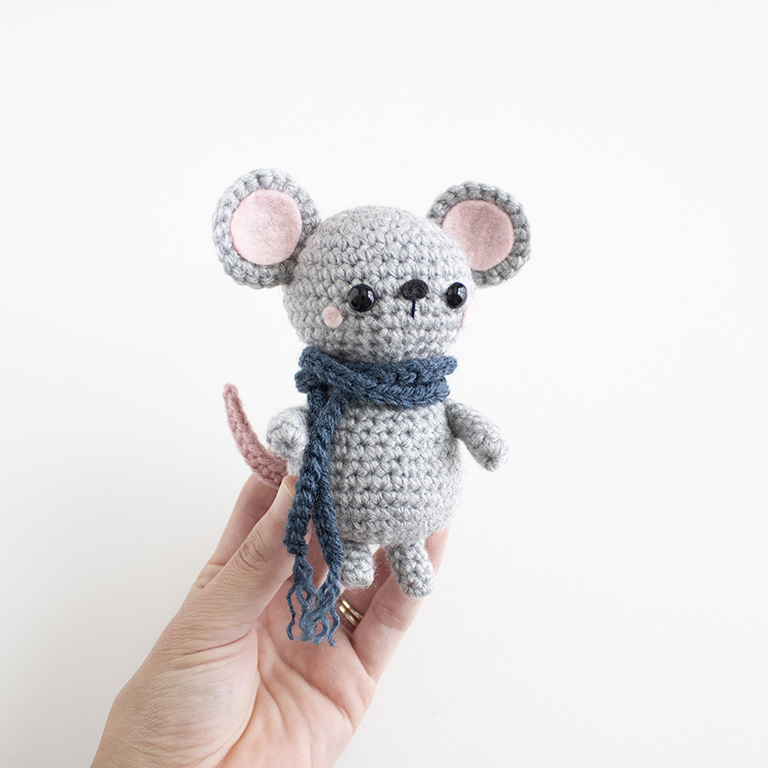
Wrap the scarf around the neck twice and tuck one end in.
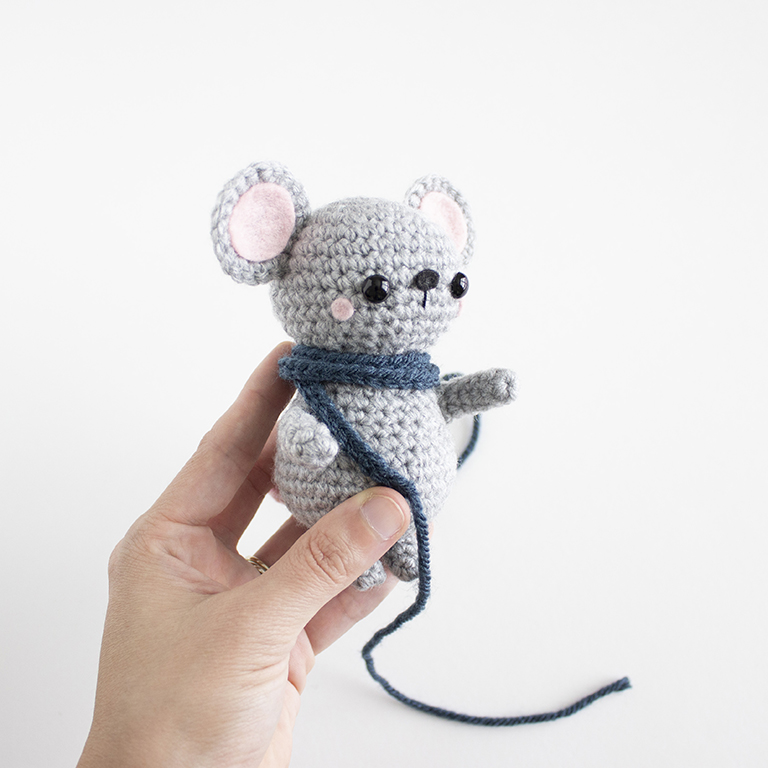
I used the yarn needle to weave the end in for easy tucking. Trim the yarn tails to about 1 inch. With the yarn needle, separate the strands of yarn to make “fringe” on the ends of the scarf.
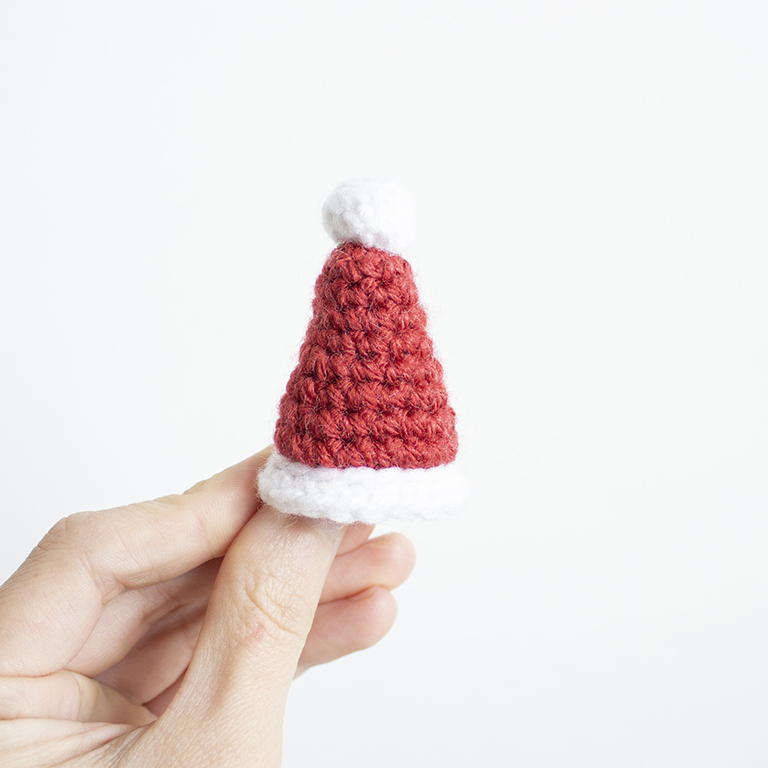
Santa Hat
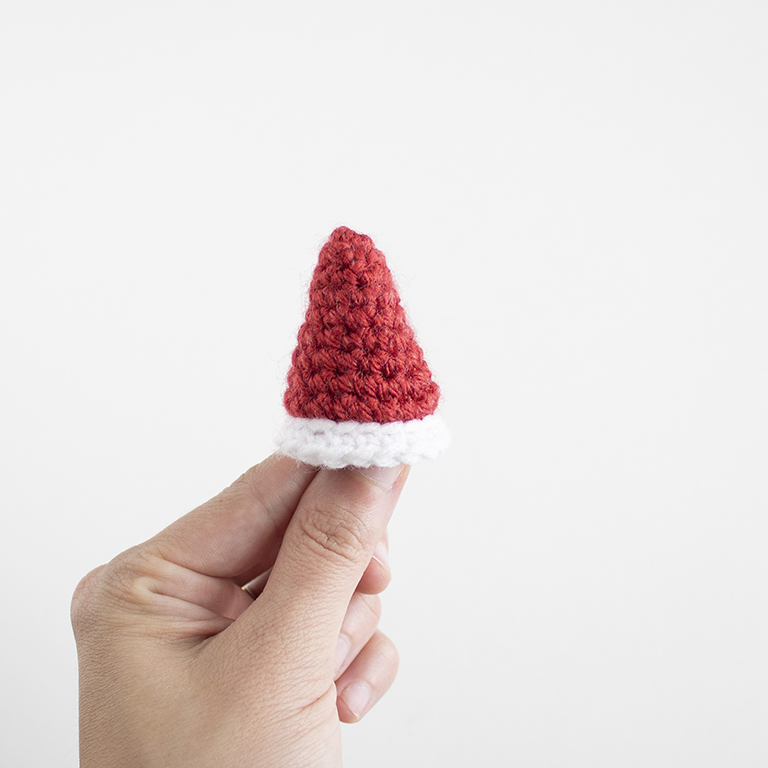
Using red yarn,
R1: 6 sc in magic ring. (6 sts)
R2: *Sc 1, inc* 3 times. (9 sts)
R3: Sc 9.
R4: *Sc 2, inc* 3 times. (12 sts)
R5: Sc 12.
R6: *Sc 3, inc 3* times. (15 sts)
R7: Sc 15.
R8: *Sc 4, inc* 3 times. (18 sts)
R9: Sc 18.
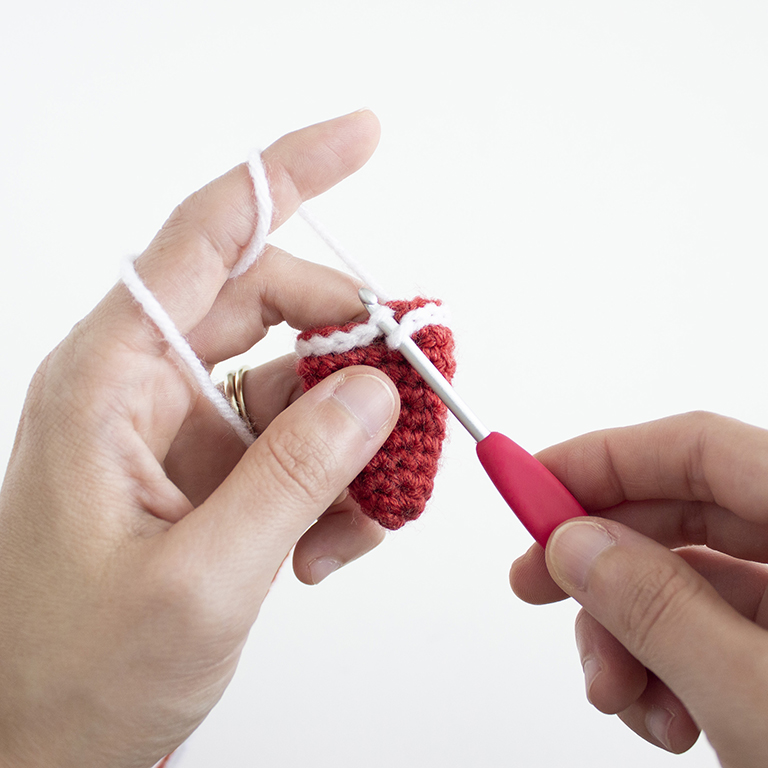
Change to white yarn,
R10: Sl st in each stitch. (18 sts)
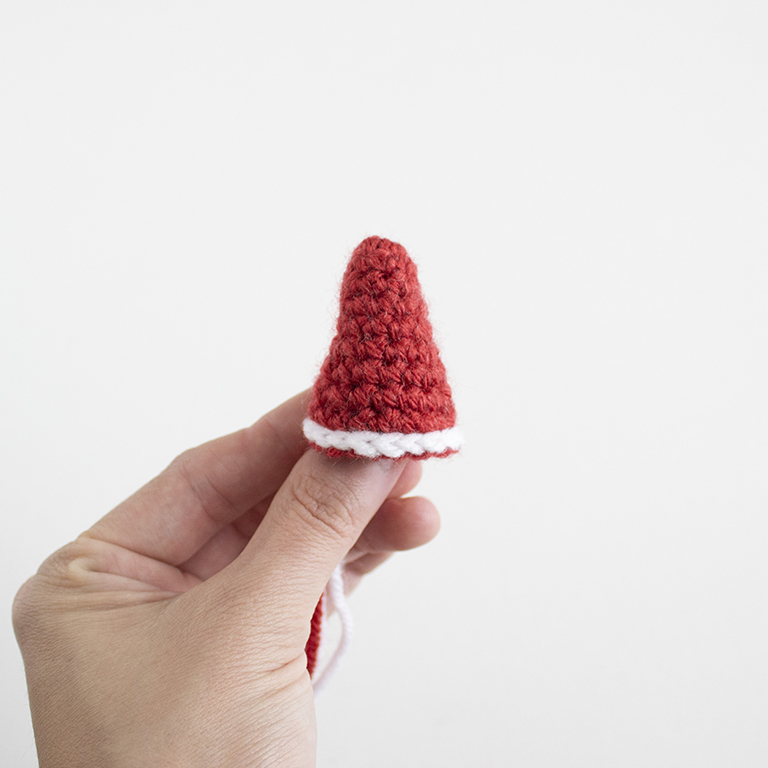
R11: Sc in the BLO of the sl sts. (18 sts)
Fasten off and weave in tail. You can also leave a tail to sew the hat in place on the head.
Prefer an ad-free, printable PDF version?
Grab The Christmas Mouse Crochet Pattern HERE.
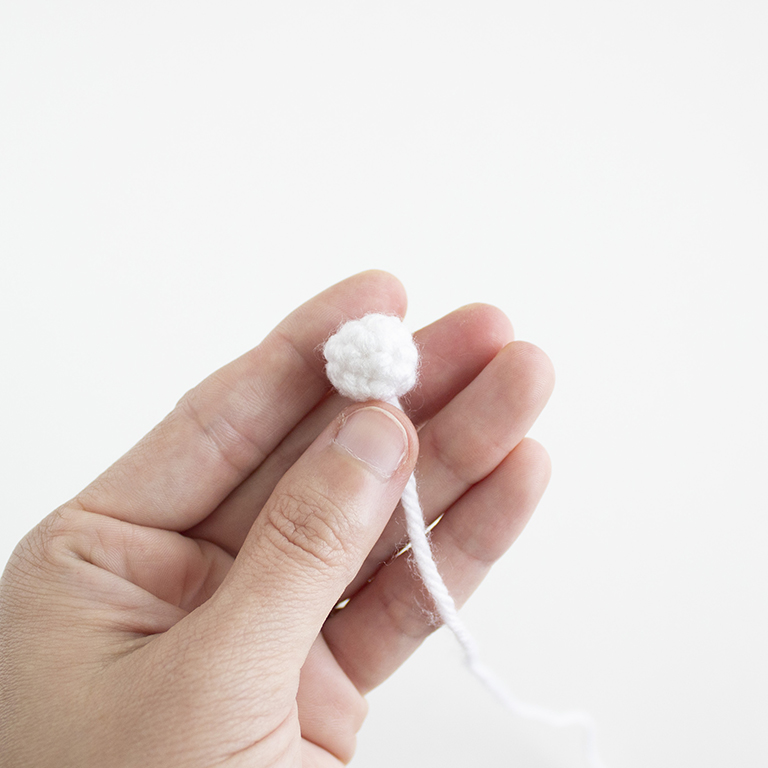
Pom Pom
R1: 4 sc in magic ring. (4 sts)
R2: Inc in each st around. (8 sts)
R3: Sc 8.
R4: Inv dec around 4 times. (4 sts)
Fasten off and leave a tail for sewing.
Leave the ball unstuffed.
With the yarn needle, sew the pom ball on the top of the hat.
Secure with a knot and hide inside the top of the hat.
Sew or pin the hat on the head of the mouse.
➤Make sure to check out all of my other free crochet patterns here!
And there you have it! The cutest little crochet Christmas mouse to help you celebrate the holiday season! I hope you’ve loved this free amigurumi Christmas mouse pattern. I can’t wait to see all the adorable crochet mice you all make. Please be sure to tag me in your Christmas mouse posts on Instagram @ameangerieofstitches and use the hashtag #amenagerieofstitches
CLICK TO PIN THIS POST NOW!
I hope you all have a wonderful holiday!
Happy Crocheting!
Lauren
If you have any trouble with this crochet Christmas mouse pattern, please don’t hesitate to reach out!
If you would like to make even more free amigurumi cuties check others out here!
This crochet Christmas mouse pattern is an original amigurumi pattern by Lauren Espy of A Menagerie of Stitches. Please do not claim this crochet pattern as your own. If you’d like to share this amigurumi pattern, you may provide a link to this post but please do not reprint it on your website.
You may sell products made from this pattern but please credit me, Lauren Espy of A Menagerie of Stitches, and provide a link to my blog www.amenagerieofstitchesblog.com Absolutely no mass production or manufacturing of any kind is allowed. Thank you for understanding.
Disclaimer- This crochet post contains affiliate links. By clicking these links, you help support me and my business at no cost to you.
