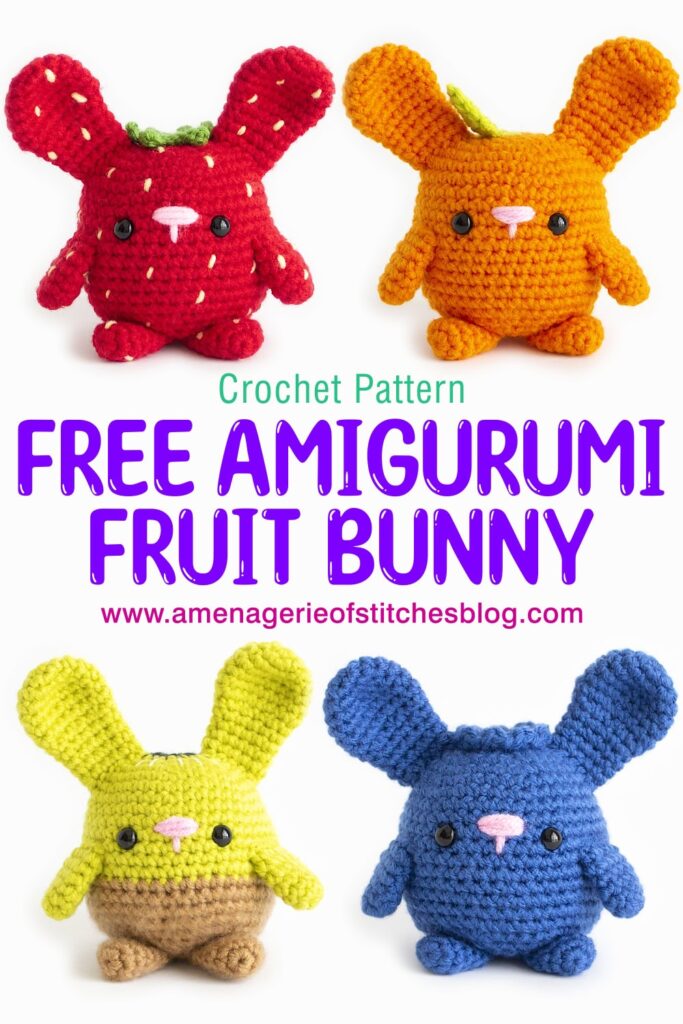
Summer is in full swing around here and with that comes the joy of eating all the fresh fruit that’s finally in season. I was recently working on a cross-stitch project with bright red strawberries and just knew I had to create a strawberry chubby bunny!
Now, I thought I wouldn’t make another chubby bunny after completing all 48 designs for the seasonal set last year, but boy was I wrong! I knew we needed some Fruity Bunnies this summer. Of course the other fruit bunnies in the series requested more friends and how could I say no!
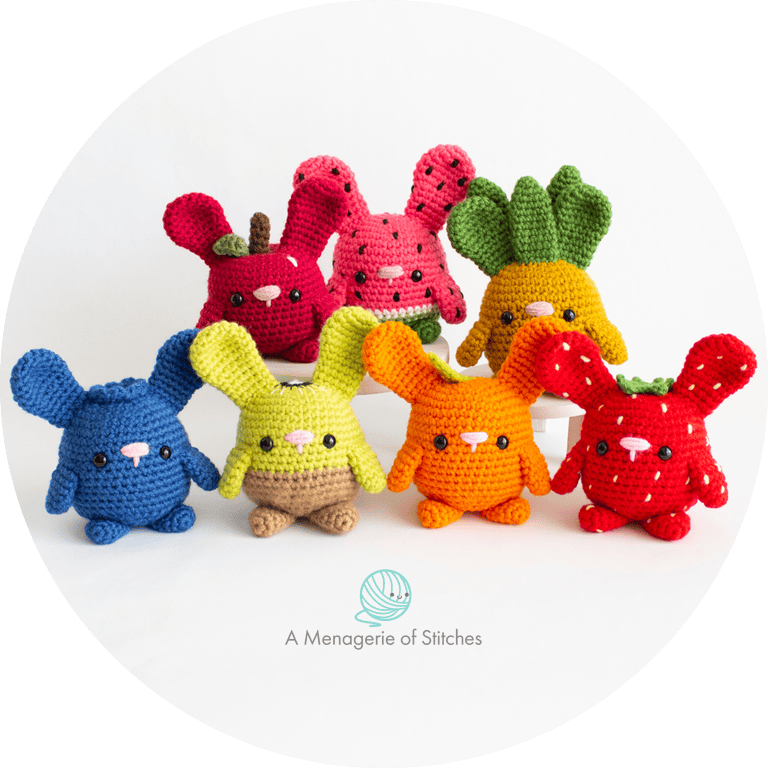
Pineapple Bunny from Summer Set
Watermelon Bunny from 4th of July Set
Apple from Back to School Set
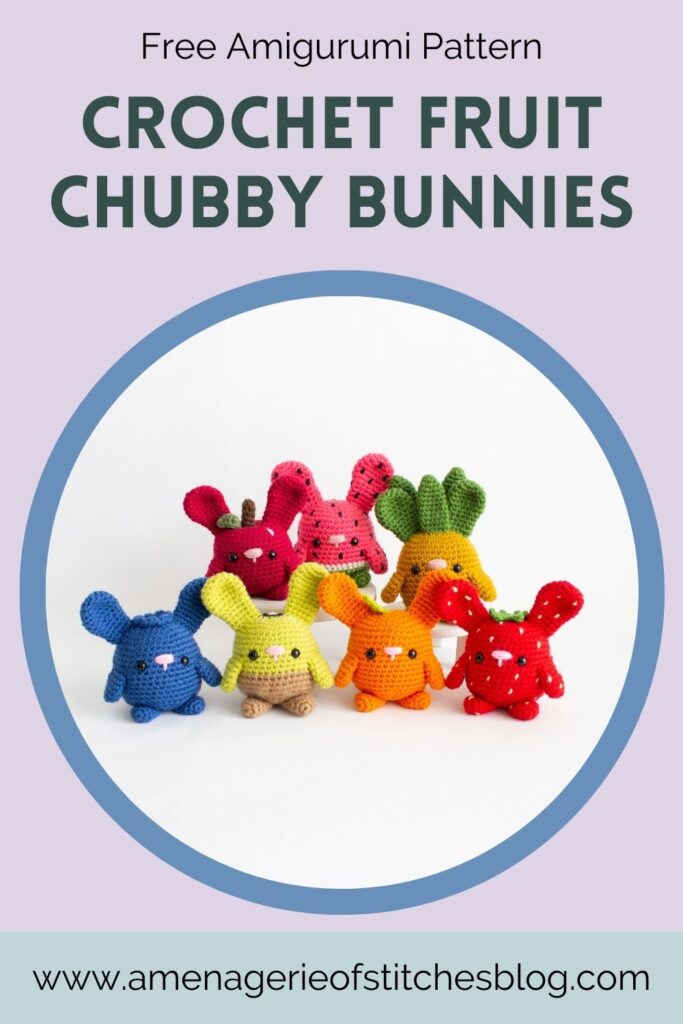
These new crochet fruit chubby bunnies are SUPER simple and only require just a few modifications. Because of that, this post contains only the modifications I did to create each amigurumi fruit bunny, and does not include the fully written pattern. You’ll need to reference the original free chubby bunny pattern found here. Under each design I have listed the specific materials needed to complete it.
I hope you enjoy crocheting these fruit bunnies this summer!

CLICK TO PIN THIS POST NOW!
Abbreviations and Terms Used
Crochet pattern is written using U.S. crochet terminology.
Crochet technique video & photo tutorials can be found here.
R- Round/Row
Mr- Magic Ring
Sc- Single Crochet
Inc- Increase
Inv Dec- Invisible Decrease
FLO- Front Loops Only
BLO- Back Loops Only
Hdc- Half Double Crochet
Dc- Double Crochet
Tr- Treble Crochet
Ch- Chain
Sl St- Slip Stitch
St/s- Stitch/es
* – Repeat the directions in between * and * as many times as stated.
( ) – The number inside will indicate how many stitches you should have at the end of each round.
Pattern Notes:
- A full video tutorial for the bunny can be found on my Youtube channel, A Menagerie of Stitches. Please consider subscribing! 🙂
- When the number comes AFTER the stitch, such as Sc 2, this means to place one single crochet into the next two stitches.
- When the number comes BEFORE the stitch, such as 2 sc, this means to place two single crochet stitches into the same stitch.
- If there are two stitches listed in between commas, such as “Sc, hdc dc, sc”, this means to place both a hdc and dc together in one stitch.
Prefer an ad-free, printable PDF pattern?
Grab the Seasonal Bundle of Chubby Bunny Crochet Patterns HERE
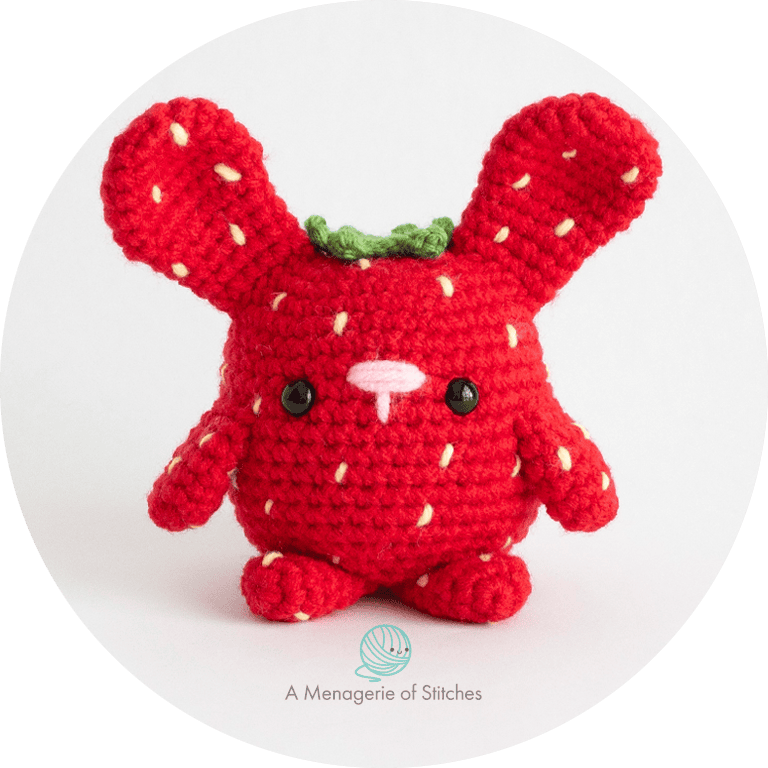
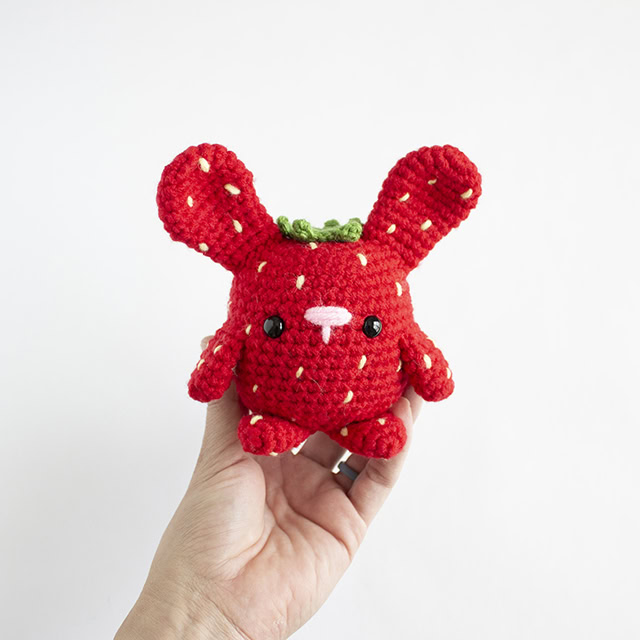
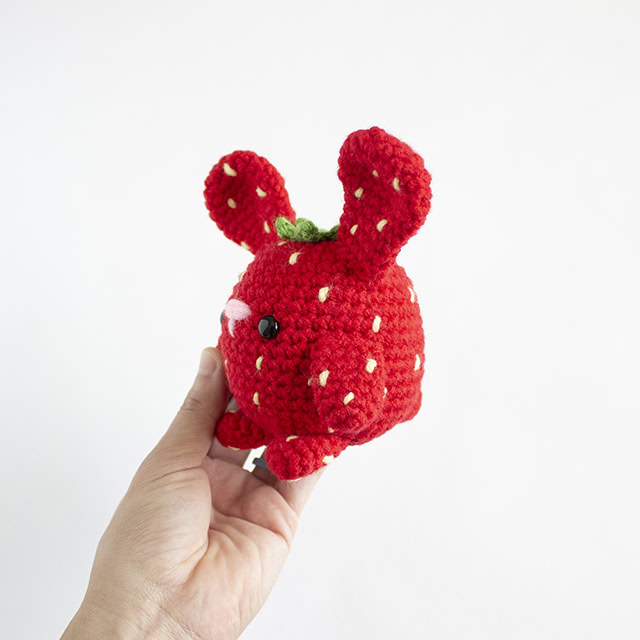
Strawberry Bunny
Material List:
- Yarn- I used Michaels Soft Classic in the color Bright Red, Premier Basix Worsted in the color Pink, Michaels Loops & Threads Impeccable in the color Butterscotch, Lion Brand Vanna’s Choice in the color Kelly Green.
- Size E/3.5mm Crochet Hook
- 1 pair of black 9mm safety eyes
- Plus all other materials listed in the original pattern
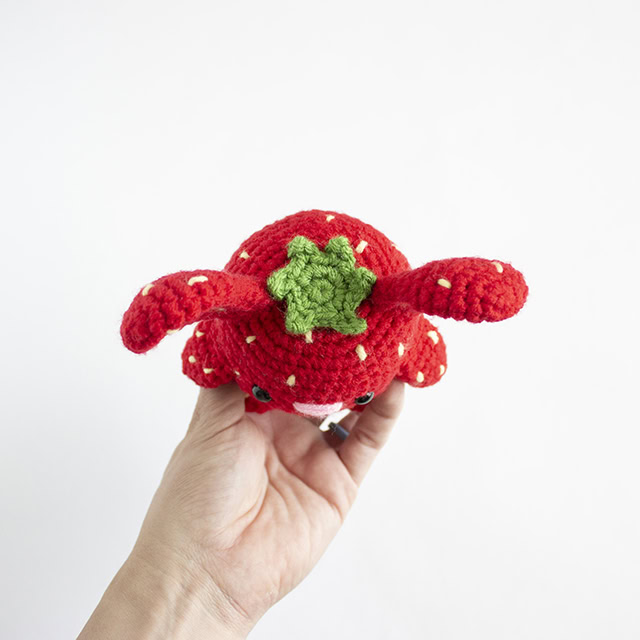
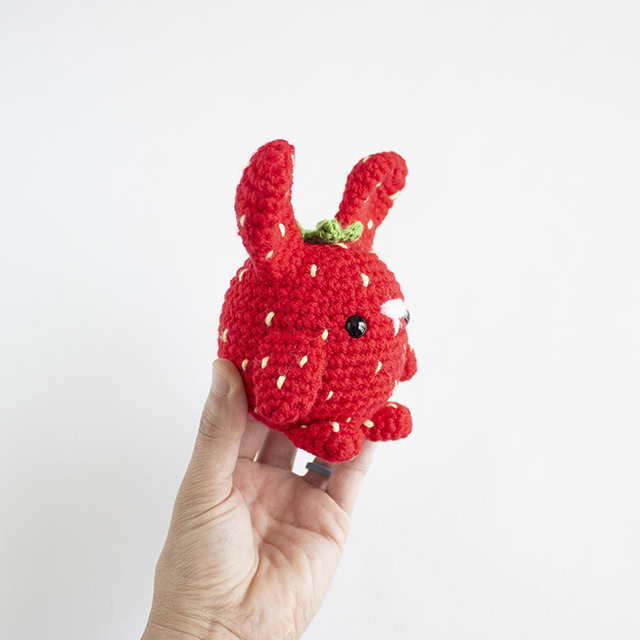
Follow the entire pattern exactly as stated, making all the pieces in Bright Red.
The only modification was the placement of the eyes. I positioned mine between rounds 11&12, 6 stitches apart.
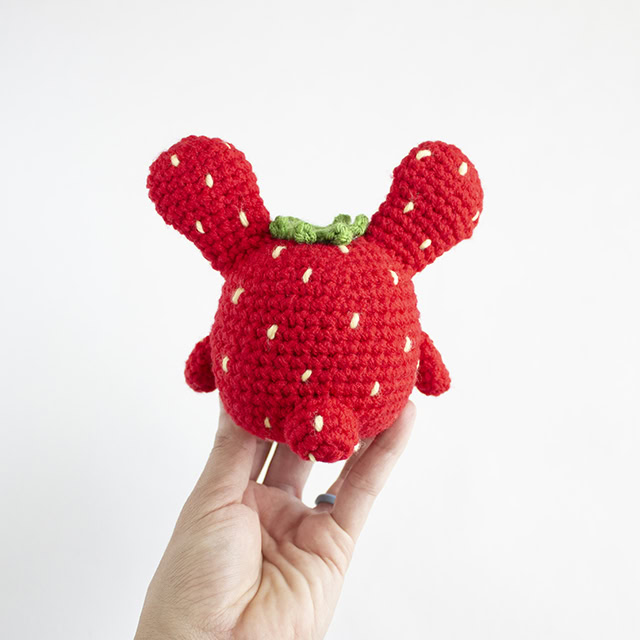
Add “seeds” all over each piece using Butterscotch yarn.
Ears- Sew the ears between rounds 4-8. Spacing them further apart like this makes room for the green top.
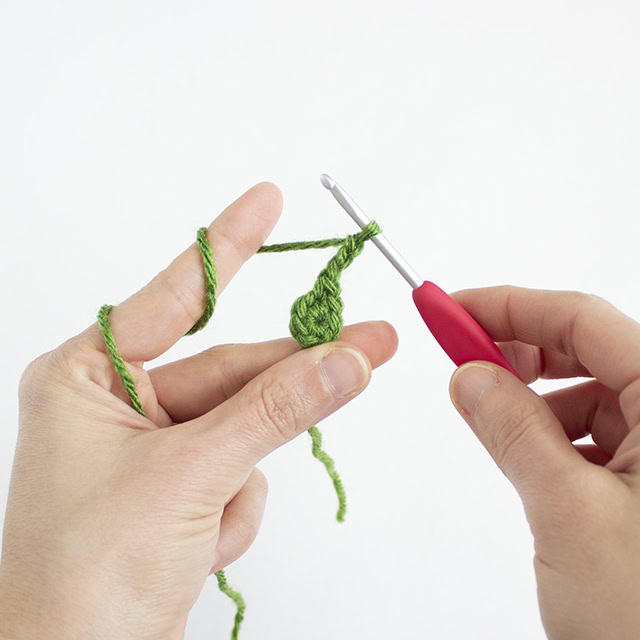
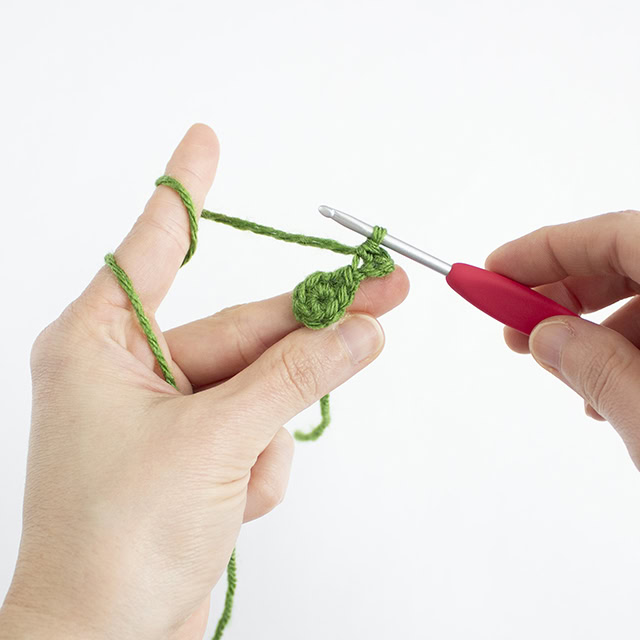
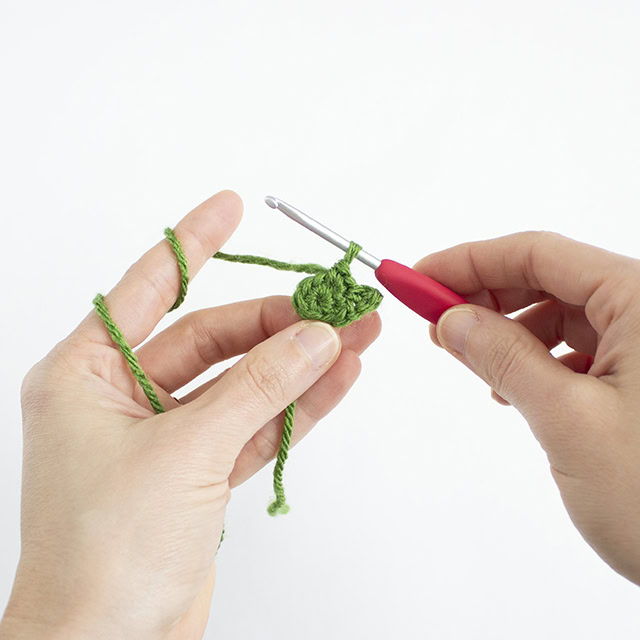
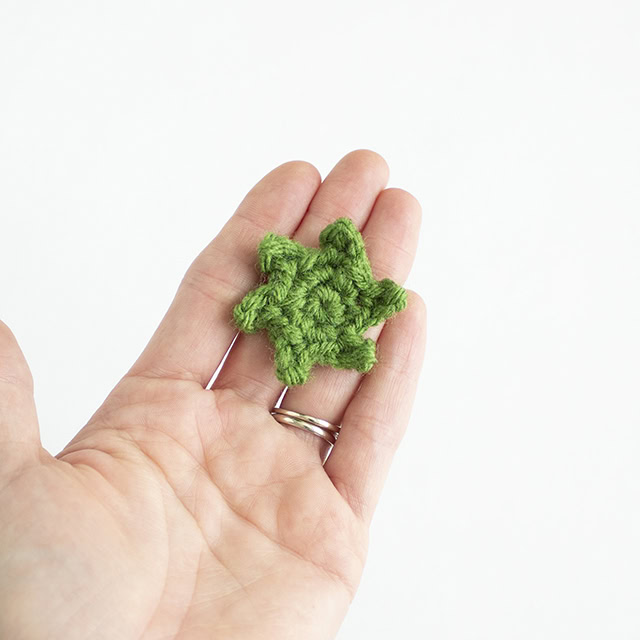
Green Top
Using kelly green yarn,
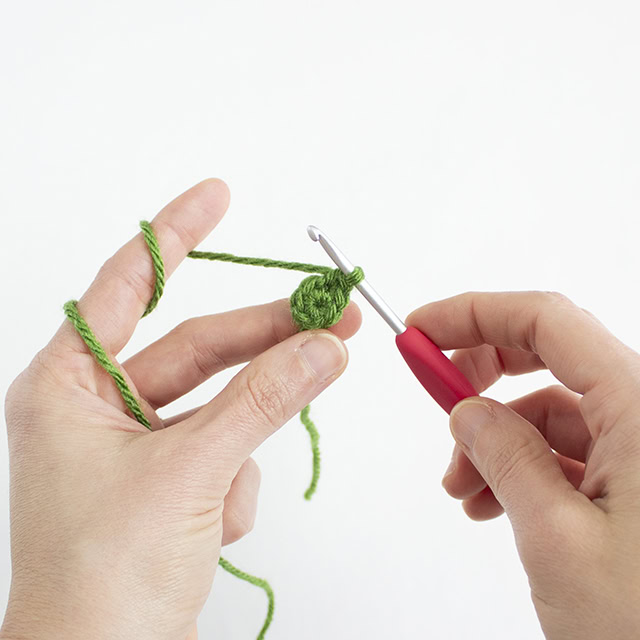
R1: 6 sc in magic ring. (6 sts)
R2: *Inc, ch 3 then starting in the 2nd ch from hook, sc in the next 2 ch spaces* repeat 6 times. When starting the next repeat, you’ll increase into the next stitch on the magic ring, just as if you were increasing all the way around. Sl st into the 1st sc of the magic ring.
Fasten off and leave a tail for sewing. Alternatively, you can weave in all the ends and apply hot glue to secure the green top in place on the bunny.
Prefer an ad-free, printable PDF pattern?
Grab the Seasonal Bundle of Chubby Bunny Crochet Patterns HERE
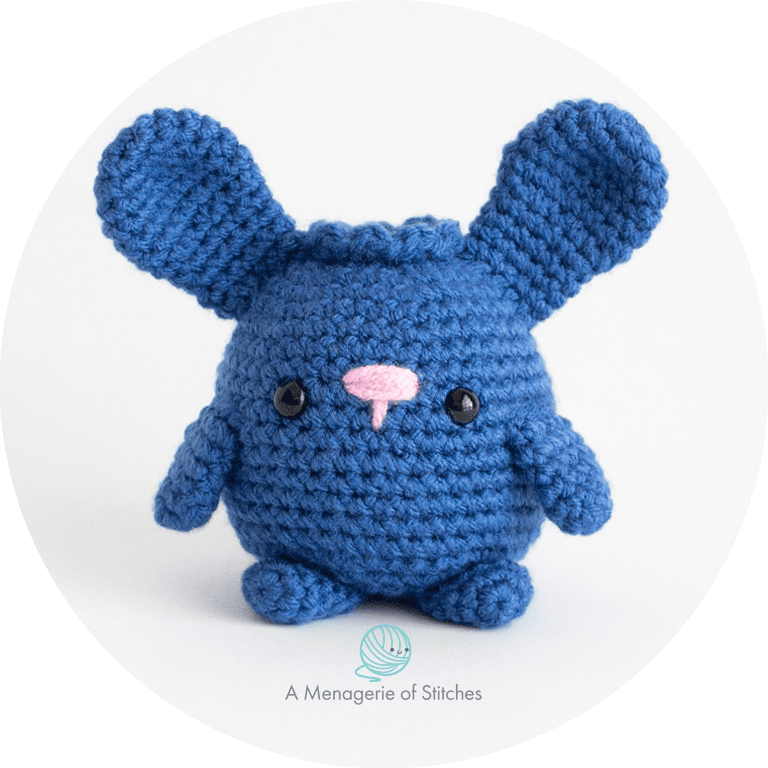
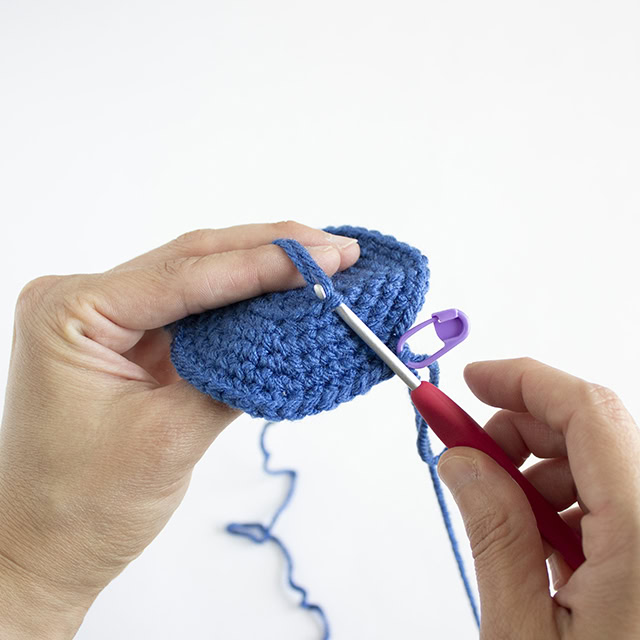
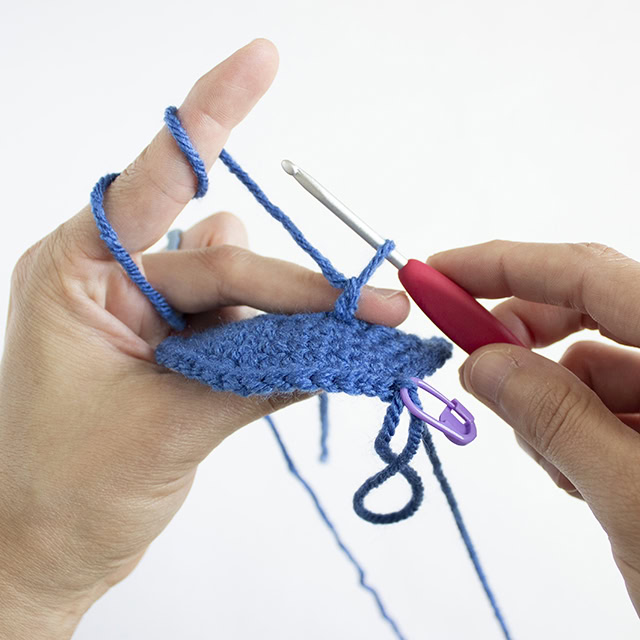
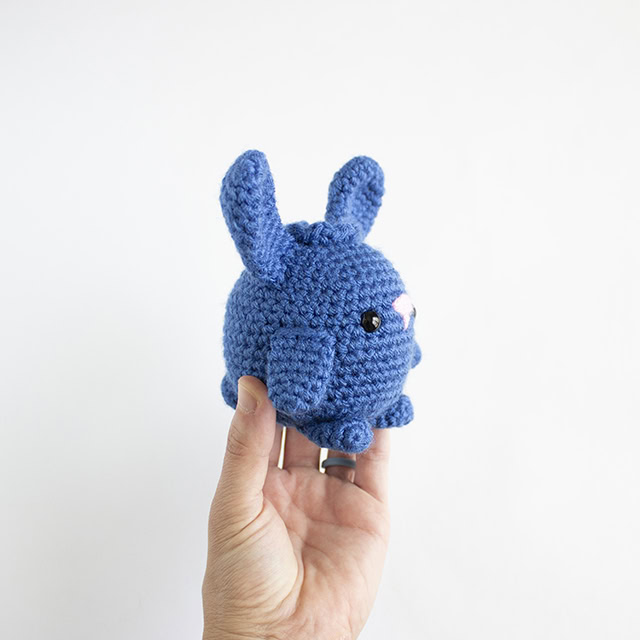
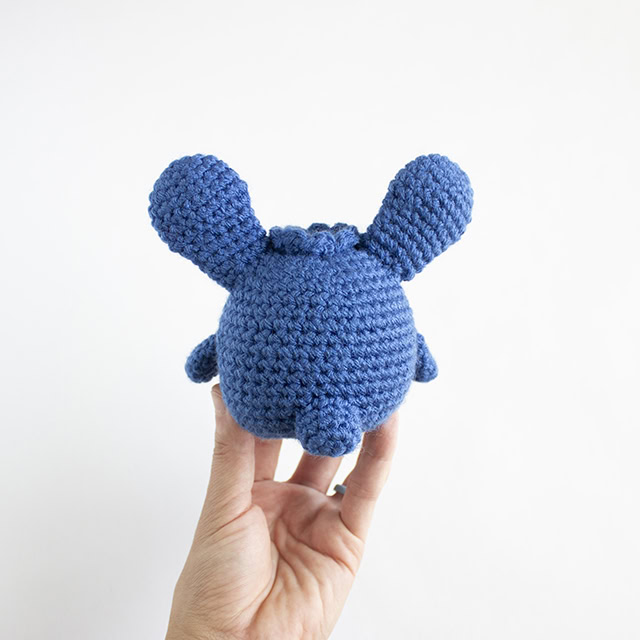
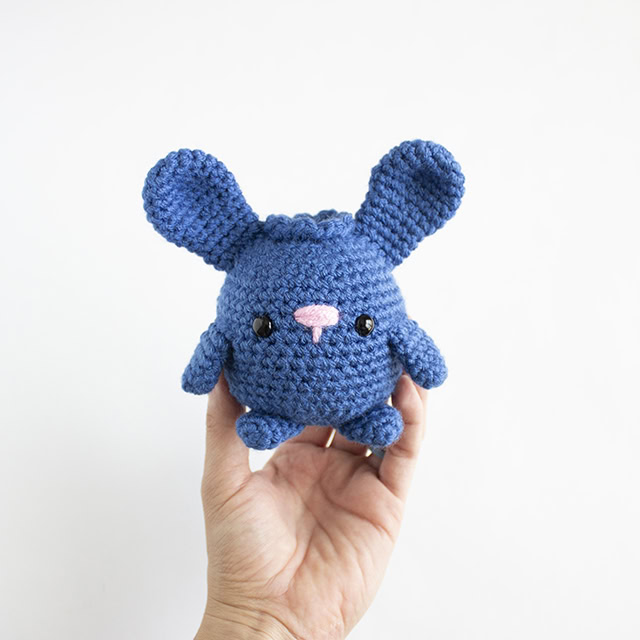
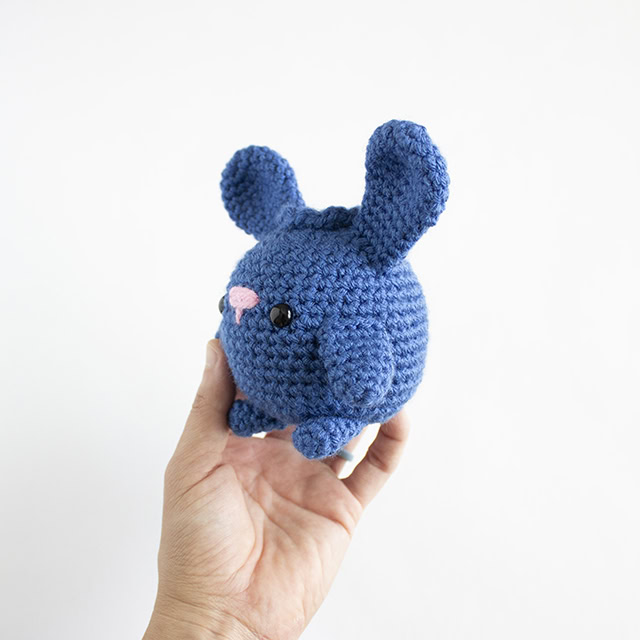
Blueberry Bunny
Materials Needed:
- Yarn- I used Premier Basix Worsted in the colors Azure and Pink.
- Size E/3.5mm Crochet Hook
- 1 pair of black 9mm safety eyes
- Plus all other materials listed in the original pattern
Ears, Arms, Legs, and Tail- Follow the patterns and make all pieces in Azure.
Assemble the arms, legs and tail exactly as the pattern states.
Ears- Sew the ears between rounds 4-8. Spacing them further apart like this makes room for the top.
Body
Follow rounds 1-3 of the original pattern.
R4: In BLO, *Sc 2, inc* 6 times. (24 sts)
Follow rounds 5-8, pausing after round 8 to make the top of the blueberry.
Work the top in the front loops that were left over from R4.
Working clockwise around the bunny, join the yarn in the last front loop, ch 2.
Starting in the same spot as the join, *dc hdc, sl st in the next st*. Repeat 9 times.
Fasten off and weave in the ends. Secure with a knot on the inside of the body.
Follow rounds 9-24 of the original pattern to complete the body.
Add safety eyes between rounds 11&12, 6 stitches apart.
Prefer an ad-free, printable PDF pattern?
Grab the Seasonal Bundle of Chubby Bunny Crochet Patterns HERE
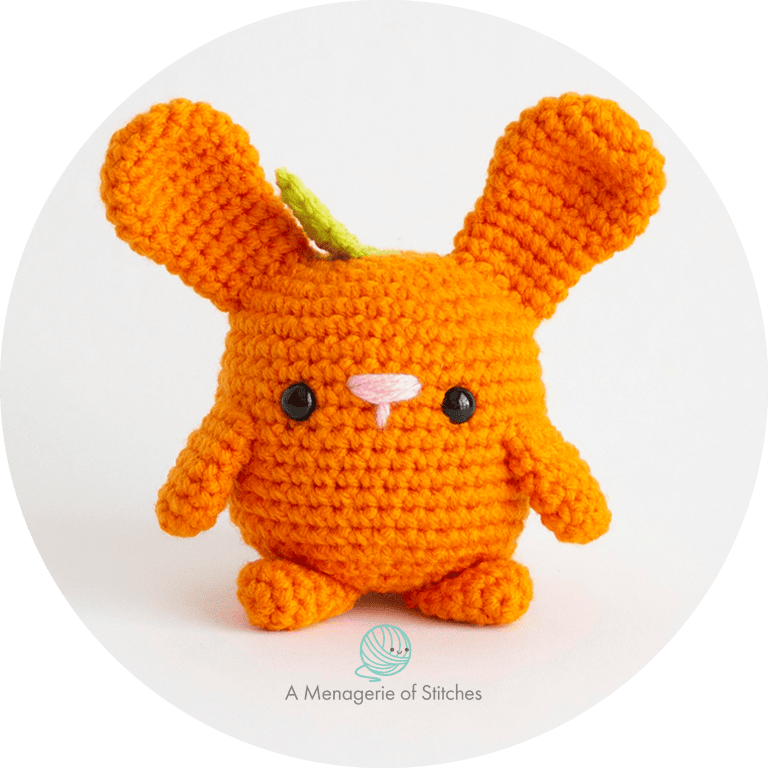
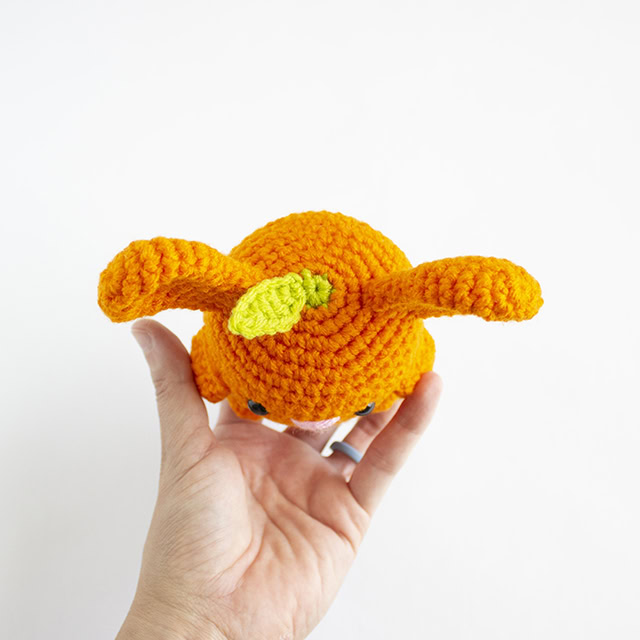
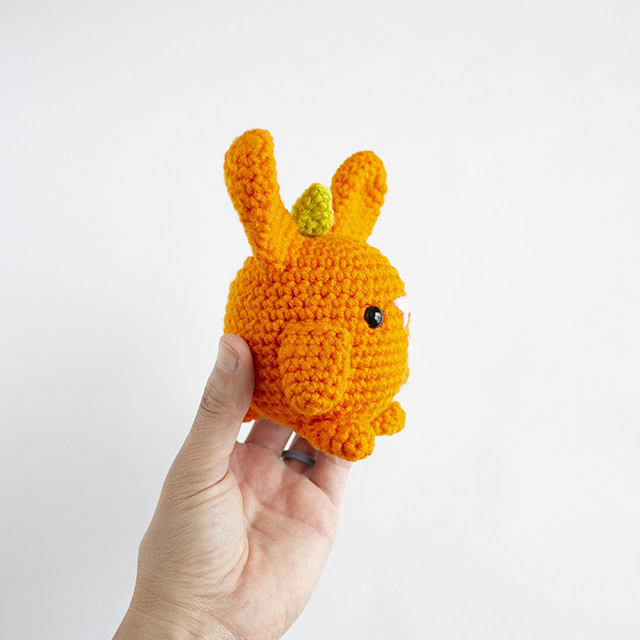
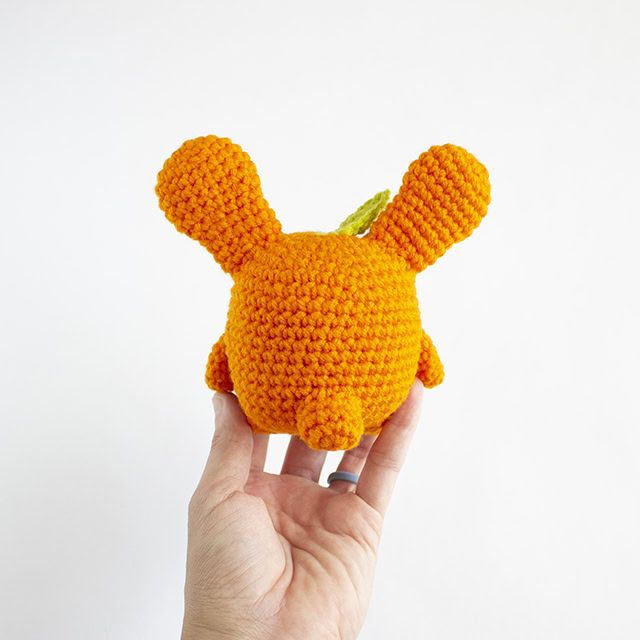
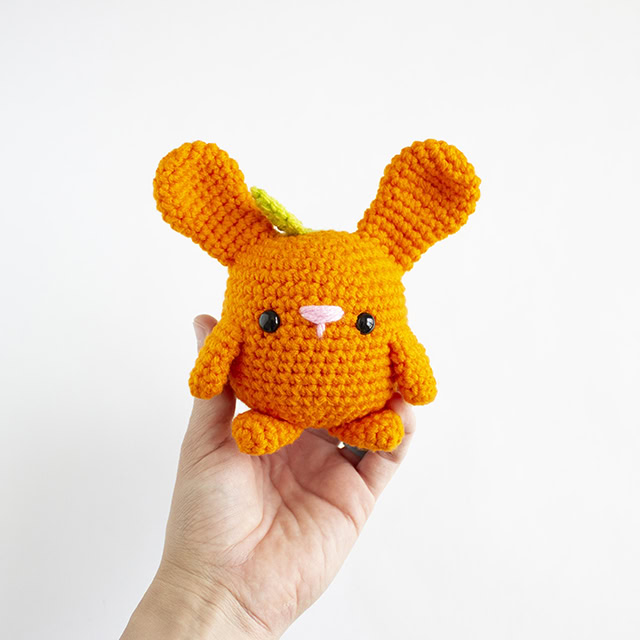
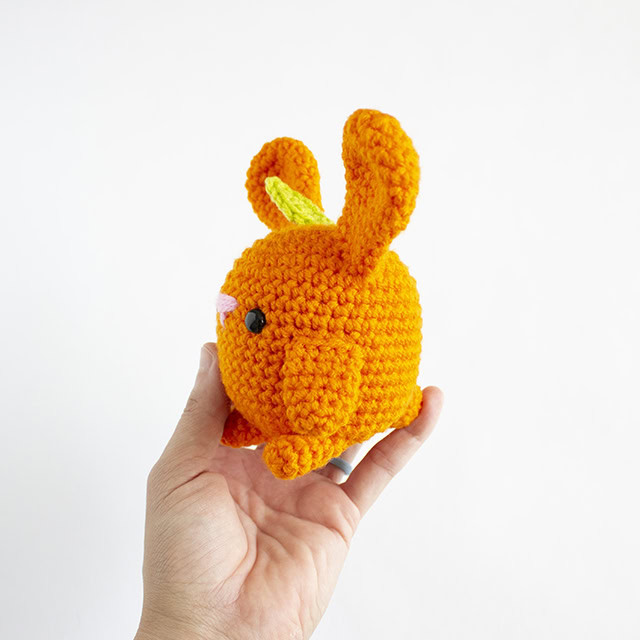
Orange Bunny
Materials Needed:
- Yarn- I used Michaels Soft Classic in the color Orange, Hobby Lobby I Love This Yarn in the color Keylime, Premier Basix Worsted in the color Pink.
- Size E/3.5mm Crochet Hook
- 1 pair of black 9mm safety eyes
- Plus all other materials listed in the original pattern
Ears, Arms, Legs, and Tail- Follow the patterns and make all pieces in Orange.
Assemble the arms, legs and tail exactly as the pattern states.
Ears- Sew the ears between rounds 4-8.
Body
Using keylime yarn,
R1: 6 sc in magic ring. On the last sc, change to orange yarn.
Follow rounds 2-24 of the original pattern to complete the body.
Add safety eyes between rounds 11&12, 6 stitches apart.
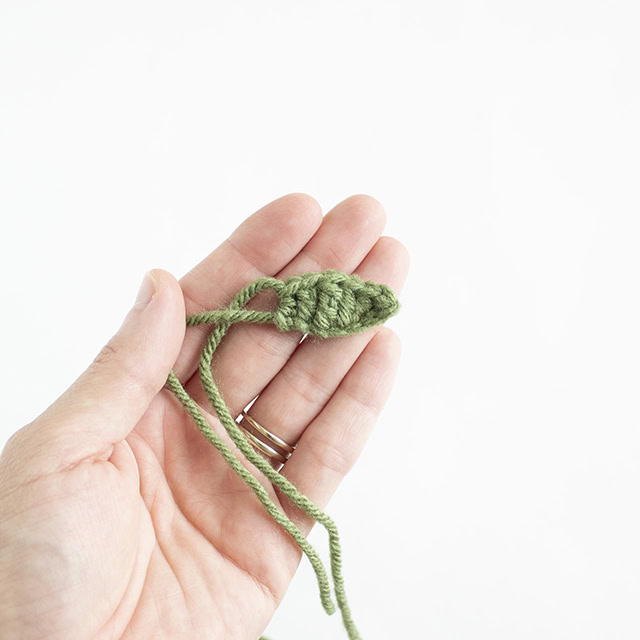
Leaf
Using keylime yarn, (ignore the darker green color in the photo 😊)
R1: Ch 7, then starting in the 2nd ch from hook sc, hdc, dc, tr, dc, hdc. (6 sts)
Fasten off and leave a tail for sewing. Sew the leaf to the top of the body, near the magic ring.
Prefer an ad-free, printable PDF pattern?
Grab the Seasonal Bundle of Chubby Bunny Crochet Patterns HERE
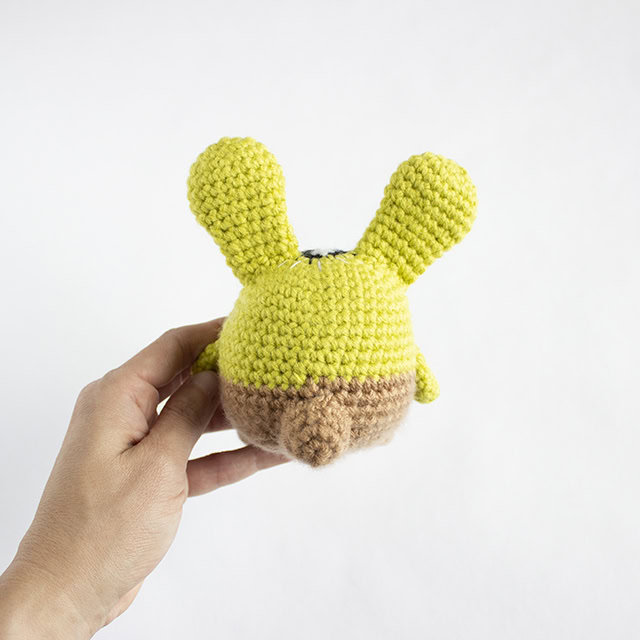
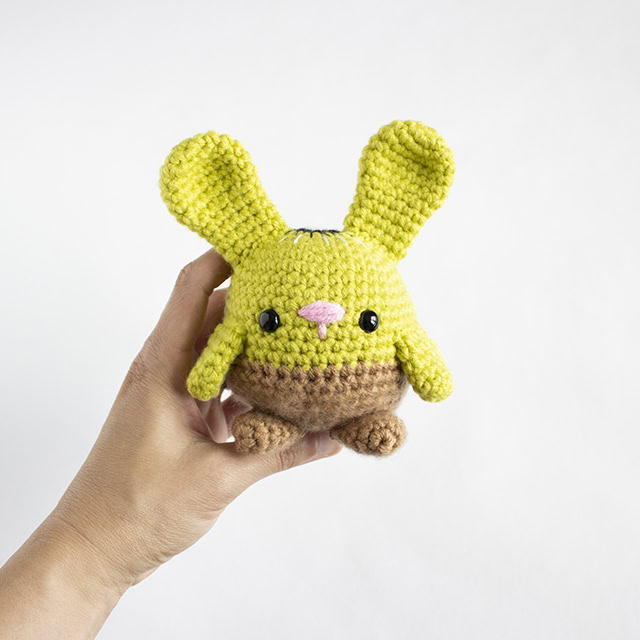
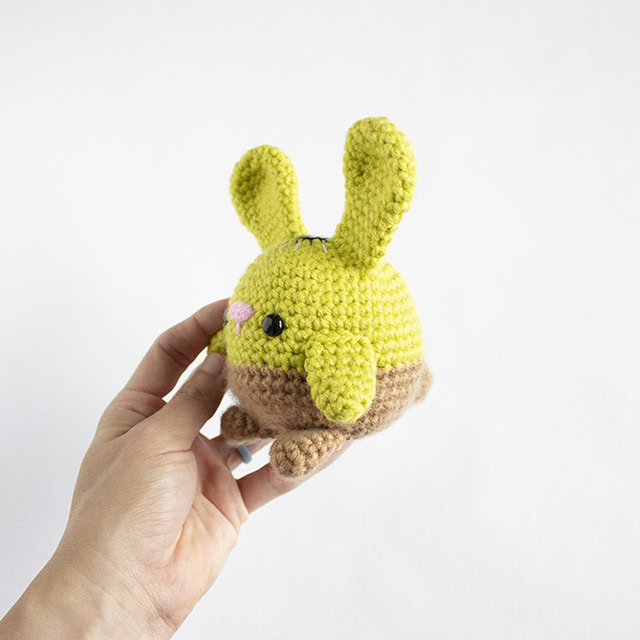
Kiwi Bunny
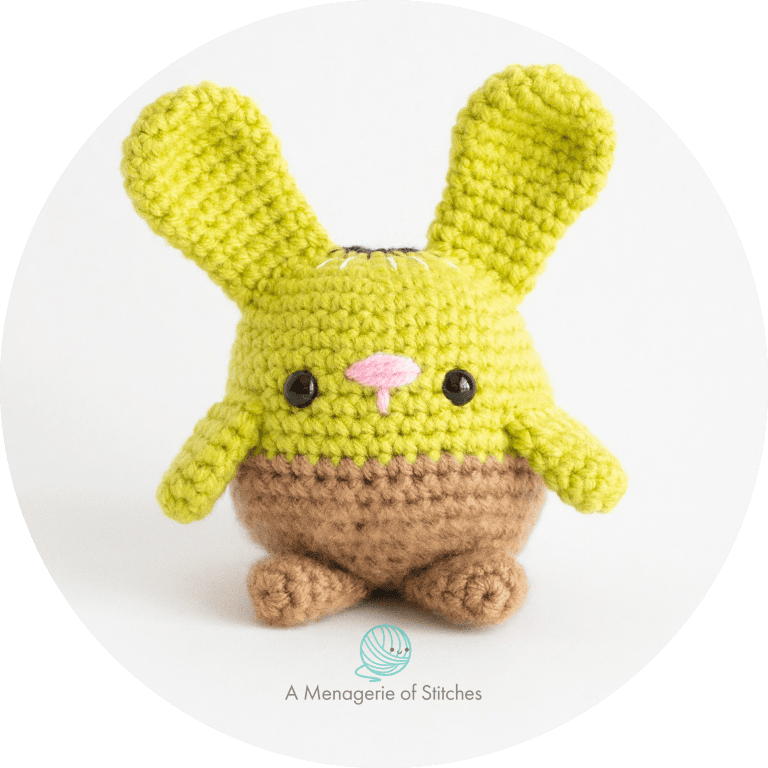
Materials Needed:
- Yarn- I used Michaels Loops & Threads Impeccable in the colors Grass, Black, White, Hobby Lobby I Love This Yarn in the color Toasted Almond, Premier Basix Worsted in the color Pink.
- Size E/3.5mm Crochet Hook
- 1 pair of black 9mm safety eyes
- Black and White Embroidery Floss and needle
- Pet Slicker Brush
- Plus all other materials listed in the original pattern
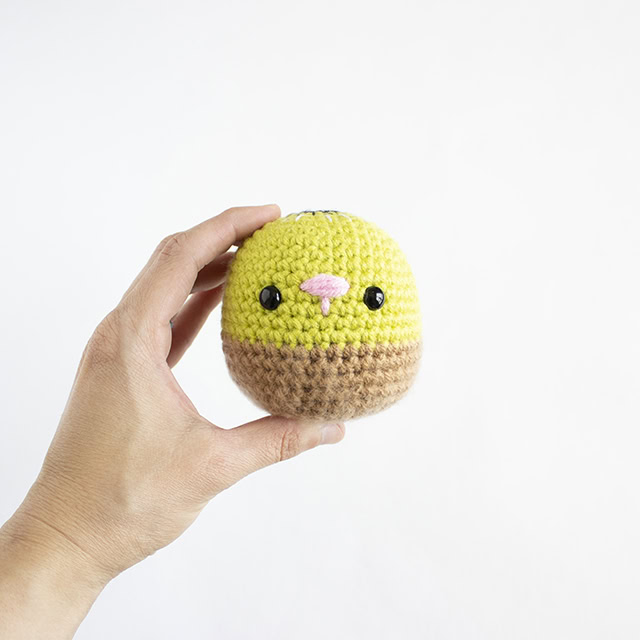
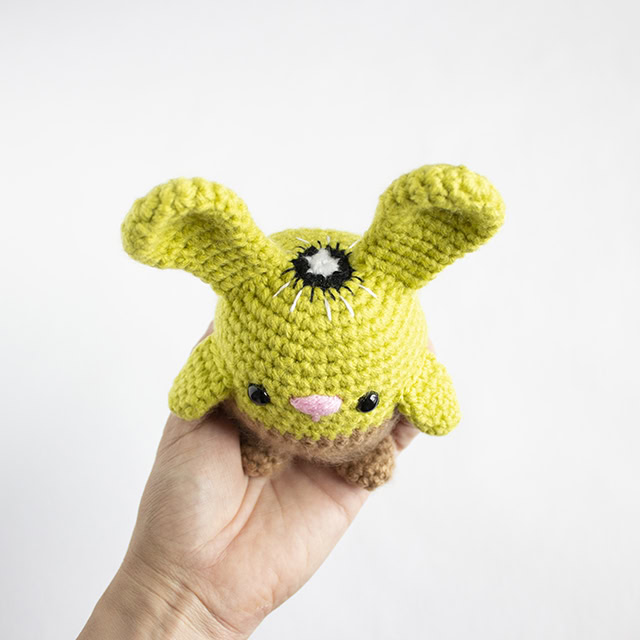
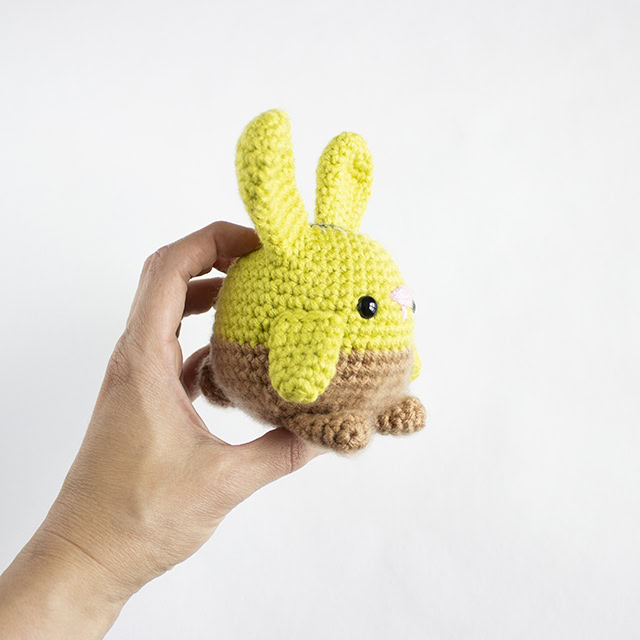
Ears and Arms- Follow the patterns and make pieces in Grass.
Legs and Tail- Follow the patterns and make pieces in Toasted Almond.
Assemble the ears, arms, legs and tail exactly as the pattern states.
Body
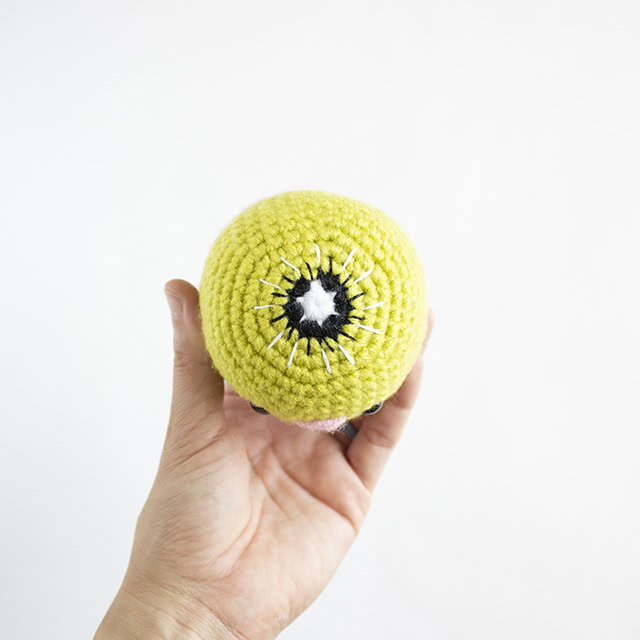
Using white yarn,
R1: 6 sc in magic ring. On the last sc, change to black yarn. Fasten off the white yarn.
R2: Inc in each st around. (12 sts) Change to grass yarn after completing round 2. Fasten off the black yarn.
Follow rounds 3-14 of the original pattern using grass yarn. Change to toasted almond yarn after completing round 14, fasten off the grass yarn.
Add safety eyes between rounds 11&12, 6 stitches apart.
Follow rounds 15-24 of the original pattern using toasted almond yarn to complete the body.
Using black and white embroidery floss, make lines for the “seed” area around round 2. Making longer lines with the white, and shorter lines with the black.
If you’ve never brushed a crocheted piece before, check out the video tutorial below.
With the pet slicker brush, brush only the toasted almond section of the kiwi body. Don’t go overboard on this! You just want a little bit of fuzz. Make sure to do this on the feet and tail as well.
➤Make sure to check out all of my other free crochet patterns here!
CLICK TO PIN NOW:
Crochet Fruit Bunnies!
I hope you enjoyed and had fun making these Crochet Fruit Bunnies! I’m thrilled to offer these free crochet patterns and love seeing all the things you make from my patterns. If you make these amigurumi fruit bunnies, please tag me in your posts on Instagram @amenagerieofstitches and use the hashtag #amenagerieofstitches
Happy Crocheting!
Lauren
If you have any trouble with these crochet fruit bunnies, please don’t hesitate to reach out! If you would like to make even more free amigurumi crochet cuties check others out here!
These crochet Fruit Bunnies are original patterns by Lauren Espy of A Menagerie of Stitches. Please do not claim this amigurumi pattern as your own. If you’d like to share this crochet pattern, you may provide a link to this post but please do not reprint it on your website. You may sell products made from this pattern but please credit me, Lauren Espy of A Menagerie of Stitches, and provide a link to my blog www.amenagerieofstitchesblog.com Absolutely no mass production or manufacturing of any kind is allowed. Thank you for understanding.
Disclaimer- This crochet Fruit Bunnies post contains affiliate links. By clicking these links, you help support me and my business at no cost to you.
I love it!
Awww thank you so much Victoria!!!
HI Lauren, Thank you for The tutorial . Love your books have a few.
Of course Caroline, I loved making these!! Thank you so much for your support by purchasing my books!!!!
Should there be a banana one and how about a apple yeah
A banana maybe, I only do 4 Bunnies per collection, and these ones were what made sense at the time! You can find the Apple Bunny in the Back to School Bunny Blog post: https://amenagerieofstitchesblog.com/free-crochet-back-to-school-bunnies/