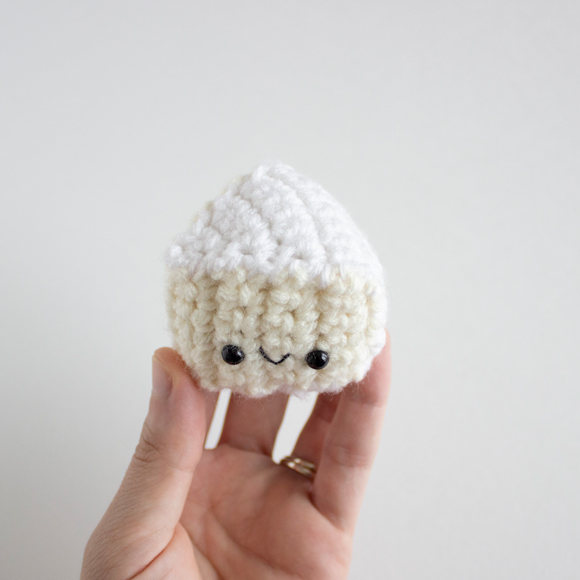
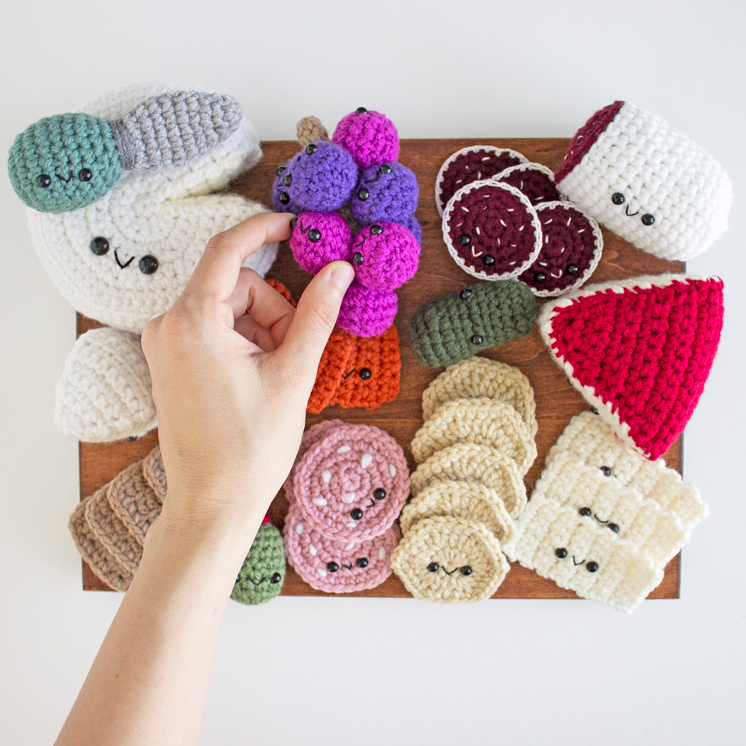
Hi friends!! Who’s ready to get their snackin on!? I am so excited to show off a brand new project, the amigurumi charcuterie board! Complete with cheeses, meats, crackers and of course a bundle of grapes! Welcome and I hope you enjoy this Free Crochet Pattern – Amigurumi Charcuterie Board – Part 1!
This amigurumi pattern uses my absolute favorite yarn AND its food related. You all know how much I love crocheted food so of course I’m obsessed with this project! And it’s a FREE pattern! I don’t think it could get any better than that!
I was lucky enough to work with my friends from Michaels again for this crochet project so a big thanks goes out to them! This entire project uses their line of Loops & Threads Impeccable Yarn. It’s the perfect worsted weight yarn and I use it all the time for amigurumi. It comes in over 50 colors so if you’re looking for a certain shade, they’ll most likely have it.
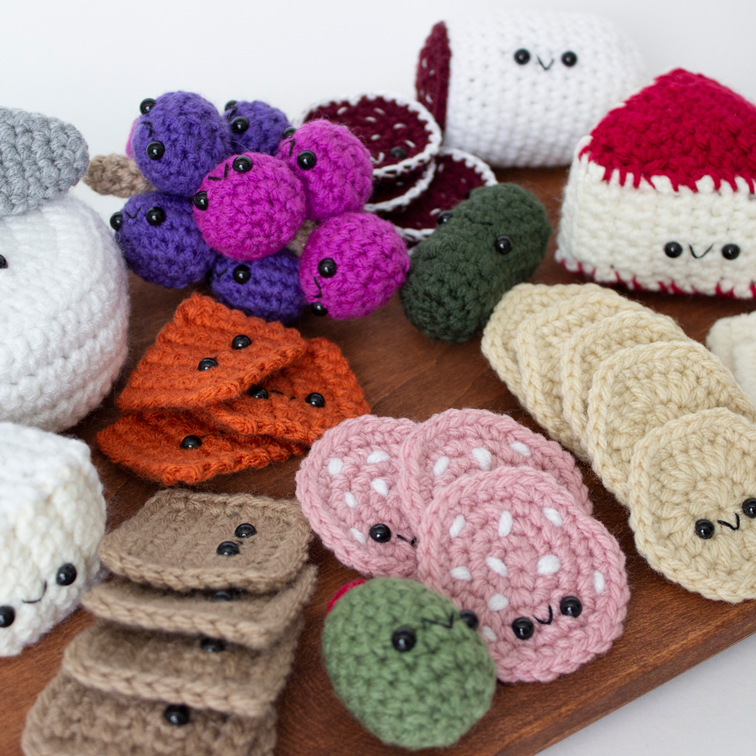
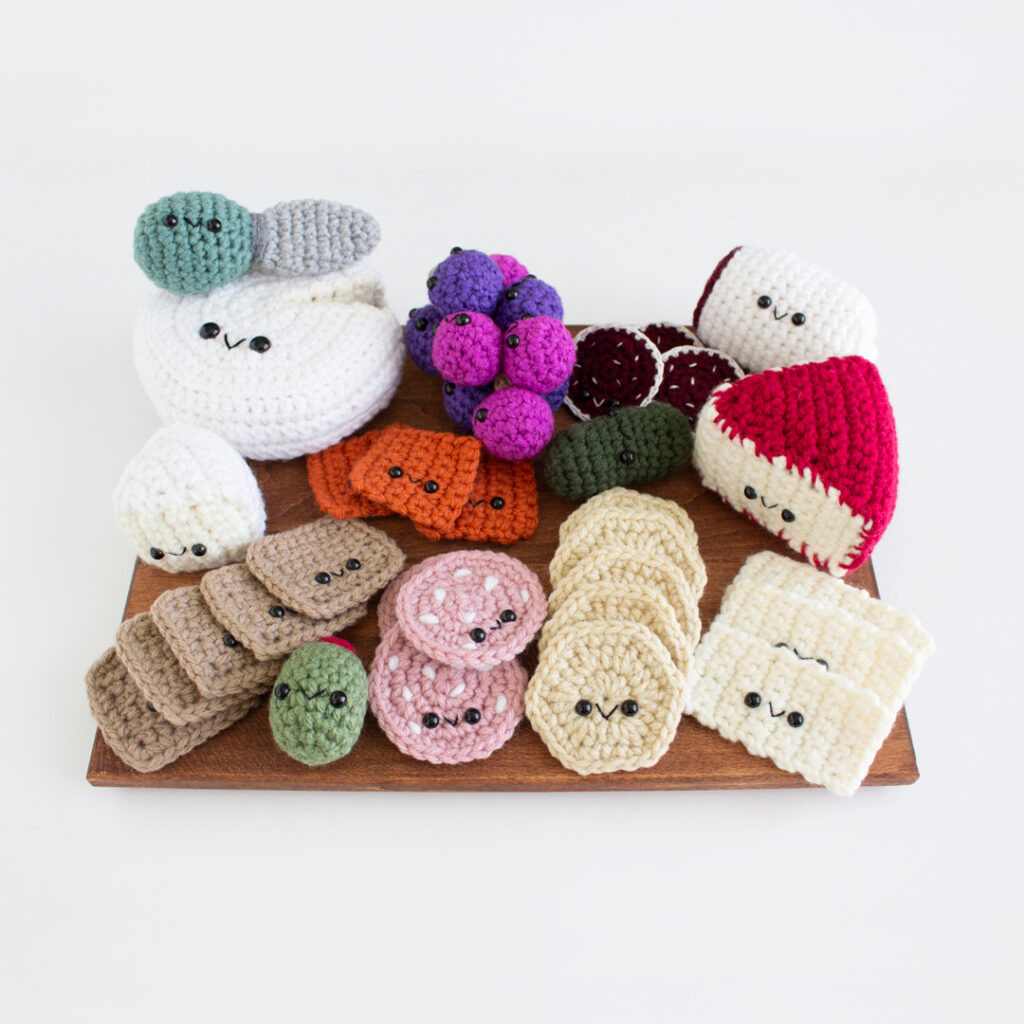
You can personalize this amigurumi pattern to your liking, using different yarn colors or even adding things you’d like on a charcuterie board. These are just a few things I chose to add.
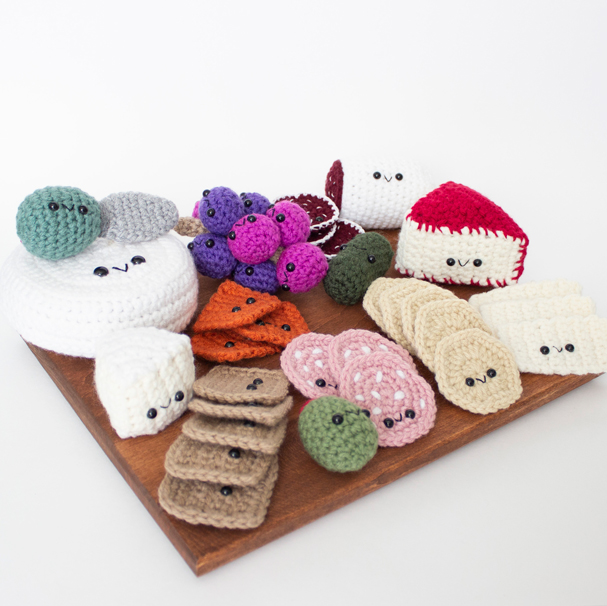
My charcuterie board consists of:
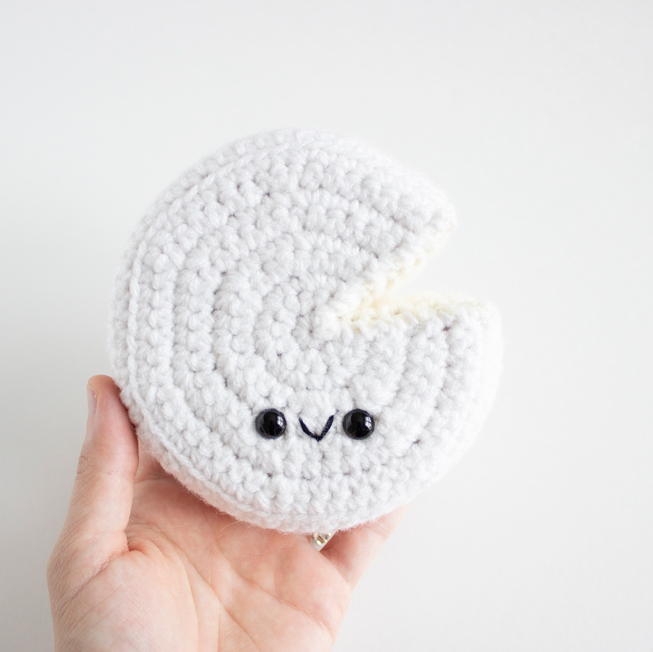
-Brie
-Cheddar
-Gouda
-Salami
-Mortadella
-Wheat crackers
-Hexagon crackers
-Grapes
-A Cheese Knife
-Pickles*
-Olives*
*Please note – the crochet pattern for the pickle and the olive are not included in this free pattern. Those patterns are part of my 100 Days of Mini Amigurumi series Volume 2. You can definitely leave them out but they just looked too cute so I had to add them!
This blog post will be broken up into 2 parts. This is part one and will contain the crochet patterns for all the cheeses and the cheese knife. Part two will contain the amigurumi patterns for the meats, crackers, grapes and can be found HERE.
This crochet charcuterie board would be such a perfect gift for kids. I love how interactive this set is and I can just imagine kids playing pretend with the little cheese slices and crackers!
For this project, you will need the following items:
Loops & Threads Impeccable Yarn in the colors- Cherry, Pumpkin, Green Lagoon, Magenta, Eggplant, Soft Rose, Burgundy, White, True Gray, Pale Gray, Heather, Aran, Soft Taupe
Note – This is a worsted weight acrylic category 4 yarn. Any worsted weight yarn will work but please be aware that your project size may turn out differently.
- Crochet Hooks – Sizes E/3.5mm and Size F/3.75mm (These are the hooks I LOVE!)
- 9mm safety eyes (1 pair) (Can be purchased HERE)
- 6mm safety eyes (depending on how many pieces you decide to make will determine how many pairs you’ll need. Each item doesn’t have to have them but I preferred the look with all of them having eyes. I used a total of 37 pairs. (Can be purchased HERE)
- Black and white embroidery floss
- Embroidery needle
- Fiberfill
- Yarn needle
- Stitch marker
- Scissors
- Cardboard
- Hole punch
- Pipe Cleaner- measuring 5.5 inches long
- Straight Pins
- Basswood Plaque measuring 9×12. I purchased mine at Michaels and added this wood stain in the color “gunstock”
Pattern Notes
All crochet patterns are worked in a continuous spiral unless otherwise noted. This means you continue to the next round instead of joining and chaining 1. Working in a spiral means your finished pieces will look much cleaner and seamless. Use a stitch marker to mark the last stitch of the round.
You certainly don’t have to add safety eyes to every single piece. I know, it’s a lot of eyes! The backs of each item will be unfinished. This means that you will see the back post of the safety eyes as well as any embroidery floss used for the mouth or for the speckles. This doesn’t bother me because it’s for display purposes. I haven’t tried it but you could try stitching felt around the back to hide those parts if you don’t like seeing them.
Some of the patterns use a “decrease” or an “invisible decrease”. These are two different ways to decrease and make a big difference in the work.
➤Invisible Decrease – Video & Photo tutorial found here
➤Regular Decrease – Video & Photo tutorial found here
(Use this when working flat pieces)
Abbreviations:
Crochet pattern is written using U.S. crochet terminology.
Crochet video & photo tutorials can be found here.
R- Round or Row
Mr- Magic Ring
Sc- Single Crochet
Inc- Increase (This means place two single crochet into one stitch)
Inv Dec- Invisible Decrease
Hdc- Half Double Crochet
Dc- Double Crochet
Sl St- Slip Stitch
Ch- Chain
FLO- Front Loops Only
Dec- Decrease
St(s)- Stitch(es)
*– Repeat the directions in between * and * as many times as stated.
( ) – The number inside will indicate the stitch count at the end of each round or row.
Prefer an ad-free, printable PDF?
Grab the Amigurumi Charcuterie Board Crochet Pattern HERE!
Crochet Patterns
Brie – Using a Size F/3.75mm Crochet Hook
Note- The Ch 1 at the end of each round does not count as a stitch.
Top Piece
Using white yarn,
R1: 6 sc in magic ring. Ch 1 and turn. (6 sts)
R2: Inc in each st. Ch 1 and turn. (12 sts)
R3: *Sc 1, inc* 6 times. Ch 1 and turn. (18 sts)
R4: *Sc 2, inc* 6 times. Ch 1 and turn. (24 sts)
R5: *Sc 3, inc* 6 times. Ch 1 and turn. (30 sts)
R6: *Sc 4, inc* 6 times. Ch 1 and turn. (36 sts)
R7: *Sc 5, inc* 6 times. Ch 1 and turn. (42 sts)
R8: *Sc 6, inc* 6 times. Ch 1 and turn. (48 sts)
R9: *Sc 7, inc* 6 times. Ch 1 and turn. (54 sts)
R10: In FLO, Sc 54. Ch 1 and turn.
R11-14: Sc 54. Ch 1 and turn. Do not ch 1 and turn after round 14.
Fasten off and leave an extra long tail for sewing.
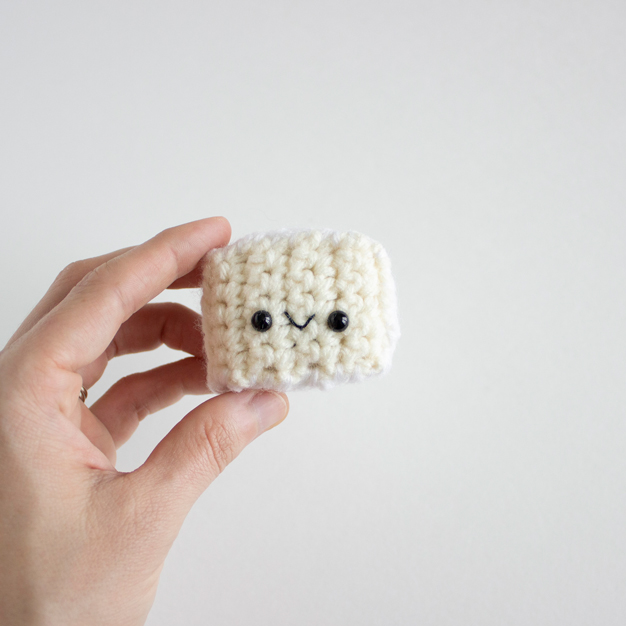
Add safety eyes between rounds 5&6, placing them about 4 stitches apart. Sew on mouth.
Bottom Piece
Repeat Rounds 1-9 of the top piece.
Fasten off and weave in tails.
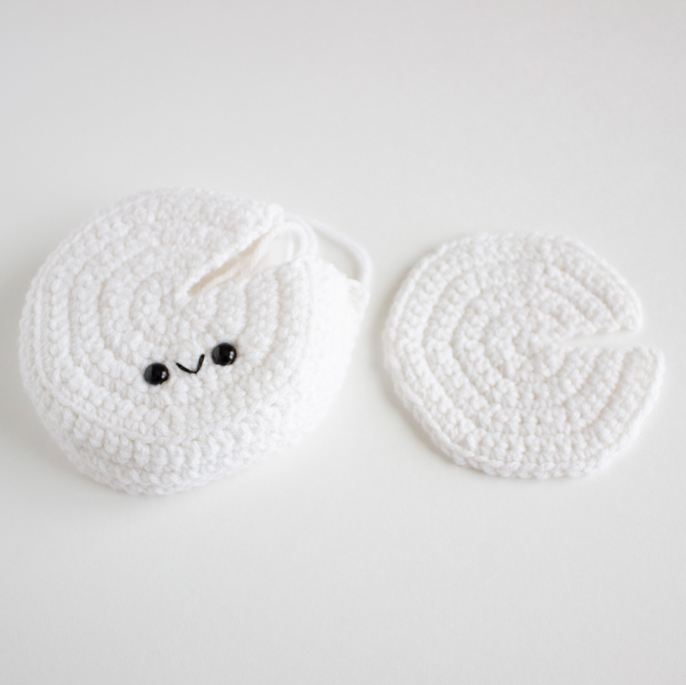
Brie Inside Piece
Using the color aran,
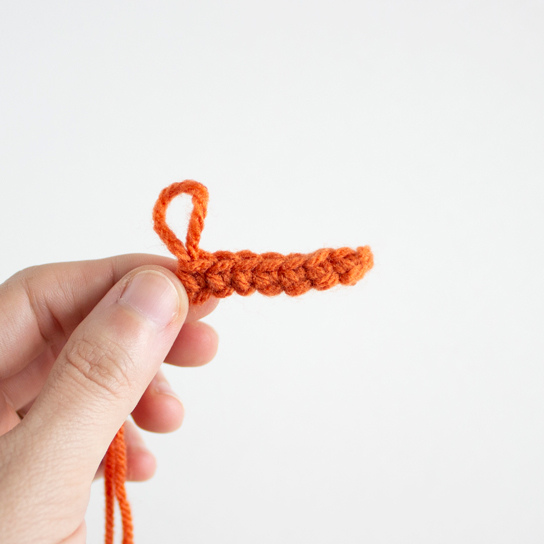
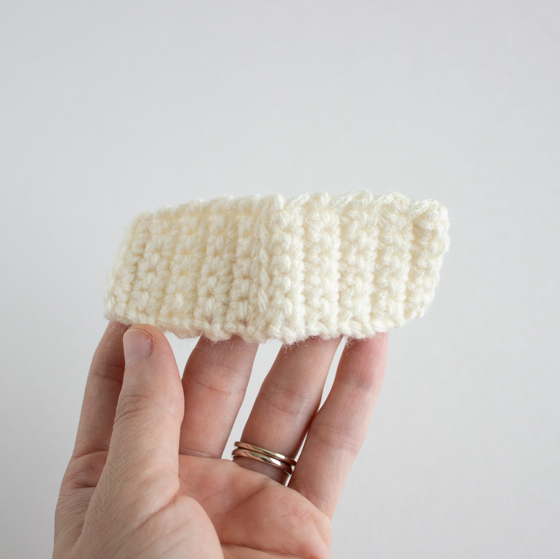
R1: Ch 7 then starting in 2nd ch from hook, sc across. (6 sts) Ch 1 and turn.
R2-9: Sc 6. Ch 1 and turn.
R10: In FLO, Sc 6. Ch 1 and turn.
R11-18: Sc 6. Ch 1 and turn. Do not ch 1 and turn after row 18.
Fasten off and weave in tails.
To Assemble
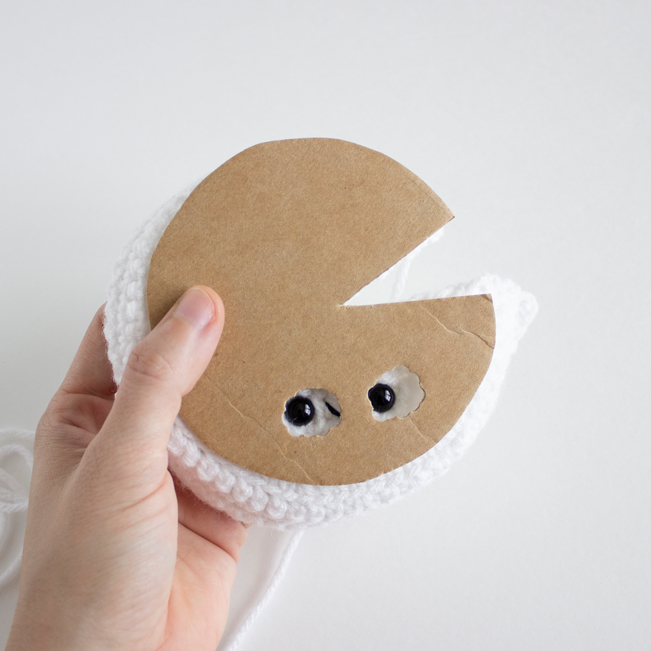
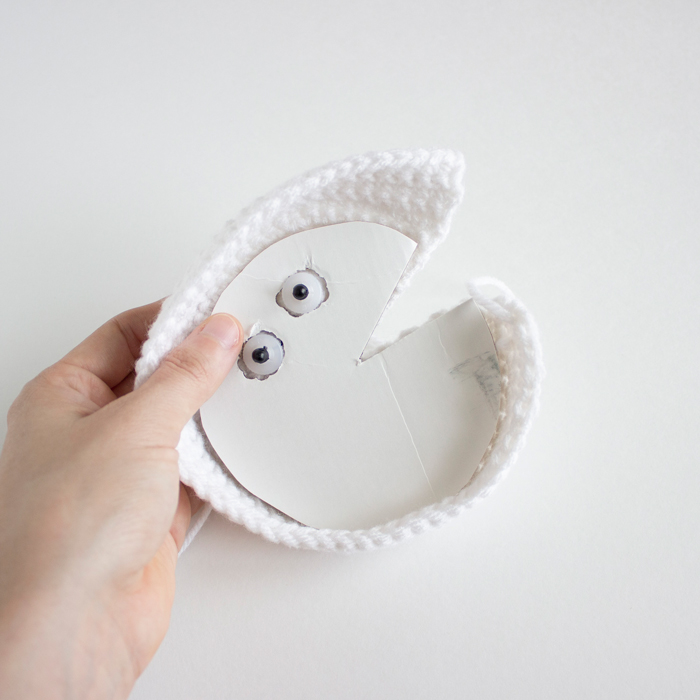
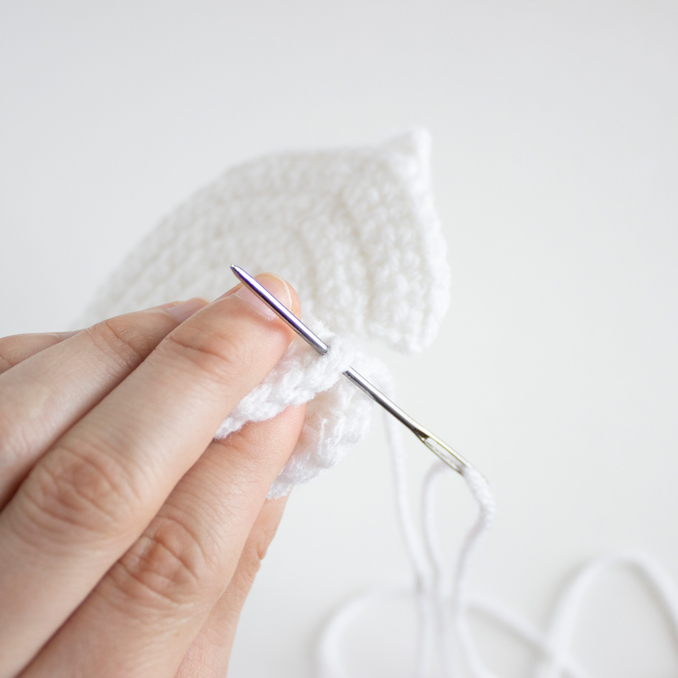
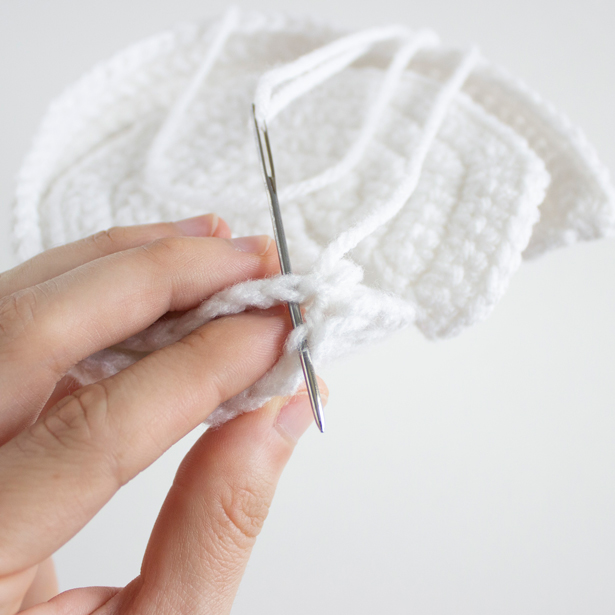
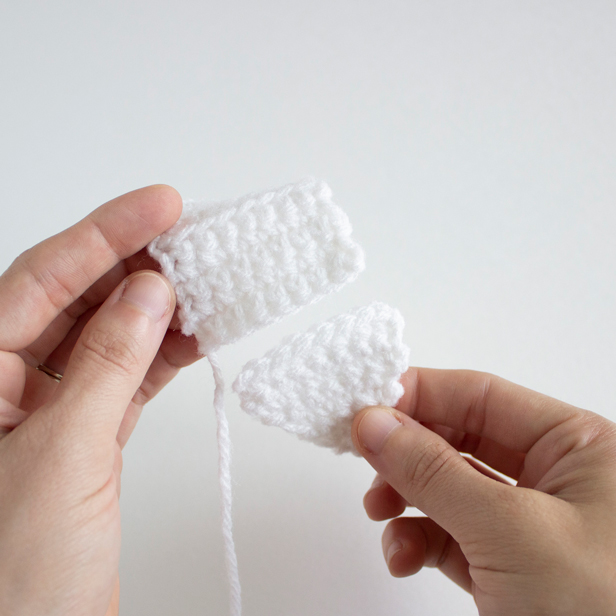
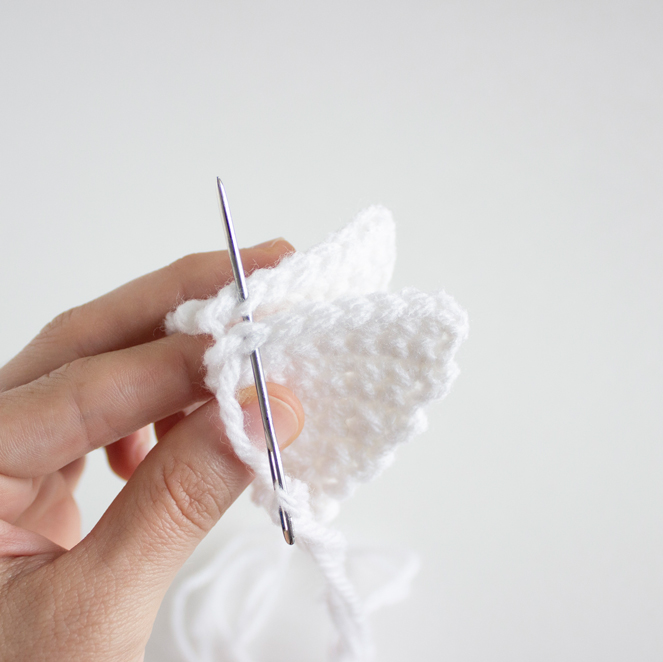
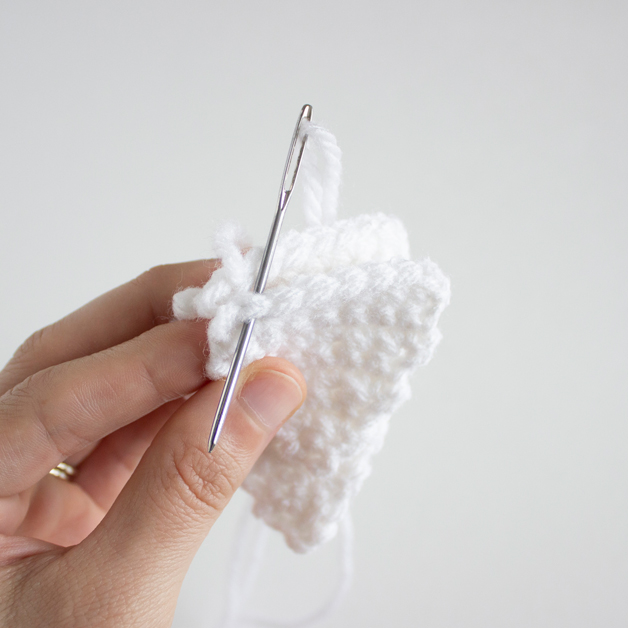
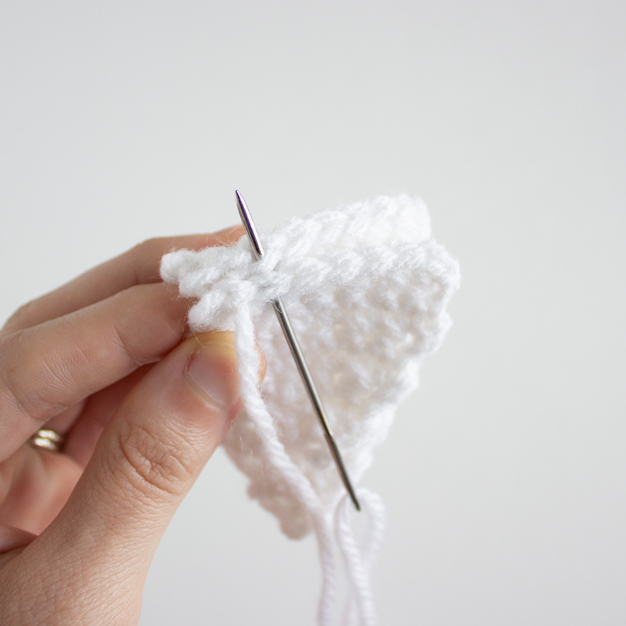
Take a piece of cardboard and trace the outline of the top piece. Once cut out, use a hole punch to make holes where the eyes go. This piece will go on the inside so make sure the holes line up with the back posts of the eyes. With the extra long tail and a yarn needle, sew the bottom and top pieces together. Weave the needle through the back loops of R14 on the top piece and the row of stitches from R9 on the bottom piece. When weaving the needle through the back loops, I came from the inside and went up through the middle. Then weave the needle back through the row of stitches from R9 on the bottom piece. Make sure to go through the stitches and not over them as this will create a clean finish. Leave the tail to use when sewing the inside piece.
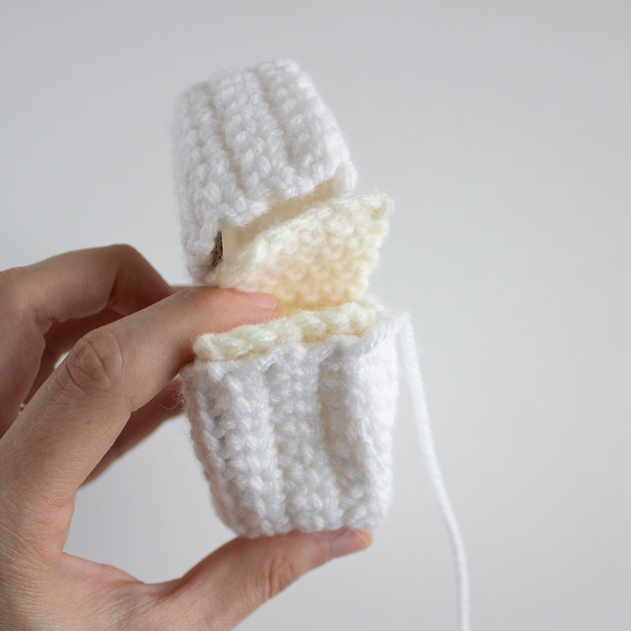
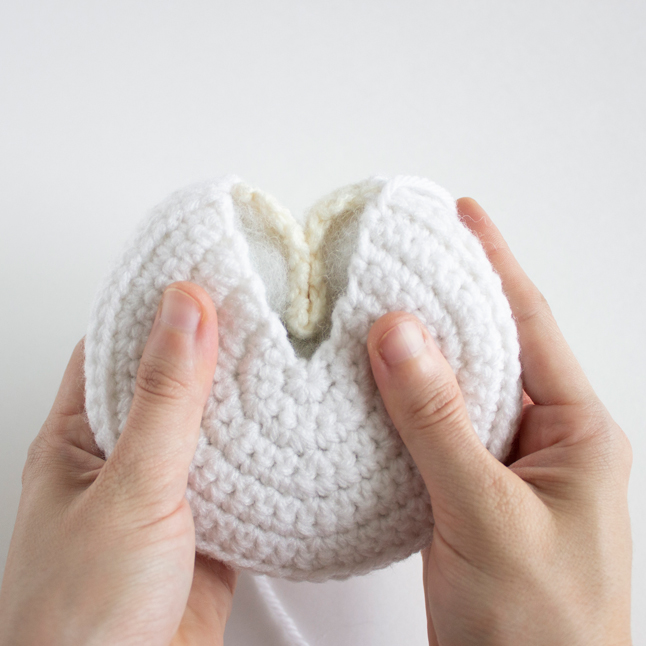
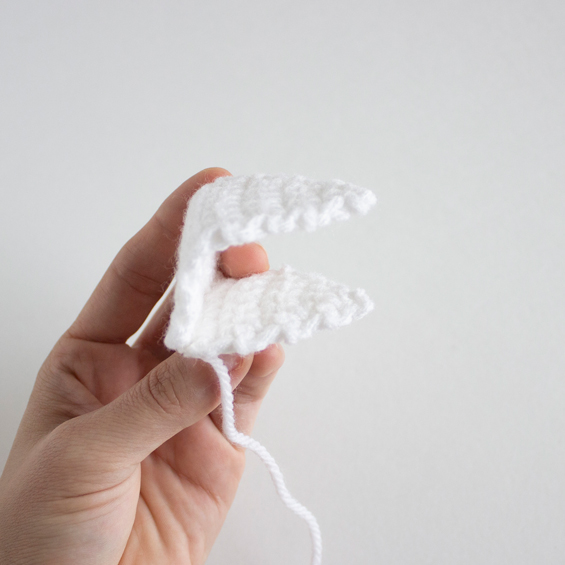
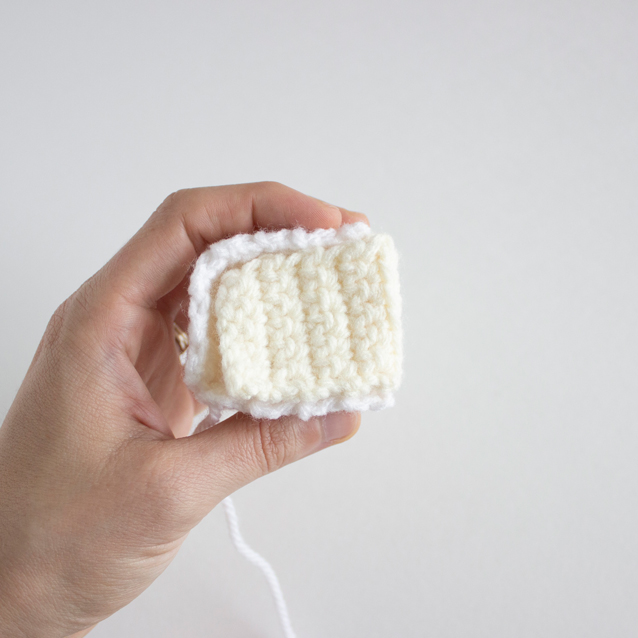
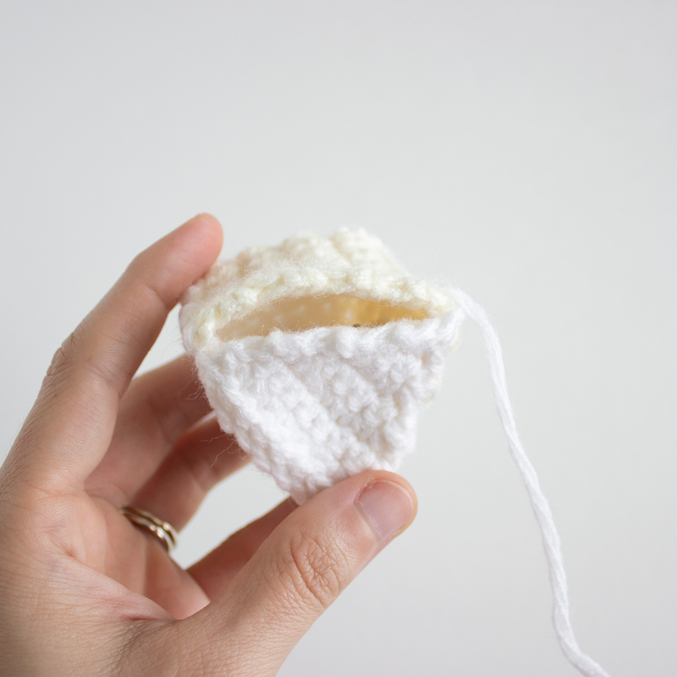
Next, take the inside piece and line it up with the cut out on the main brie piece. Start sewing on one of the short edges and continue sewing around. When the two long sides on the bottom remain, add fiberfill. Make sure to stuff the corners. Continue sewing the piece closed. Secure with a knot and hide end.
Brie Wedge – Using a Size F/3.75mm Crochet Hook
Top Piece
Using white yarn,
R1: Ch 2 then in 2nd ch from hook, inc. (2 sts) Ch 1 and turn.
R2: Inc in each space. (4 sts) Ch 1 and turn.
R3: Sc 4. Ch 1 and turn.
R4: Inc, sc 2, inc. (6 sts) Ch 1 and turn.
R5: Sc 6. Ch 1 and turn.
R6: Inc, sc 4, inc. (8 sts) Ch 1 and turn.
R7+8: Sc 8. Ch 1 and turn.
R9: In FLO, Sc 8. Ch 1 and turn.
R10-13: Sc 8. Ch 1 and turn. Do not ch 1 and turn after row 13.
Fasten off and leave a long tail for sewing.
Bottom Piece
Repeat Row 1-8 of the top piece.
Fasten off and weave in tails.
Brie Inside Piece
Using the color aran,
R1: Ch 7 then starting in 2nd ch from hook, sc across. (6 sts) Ch 1 and turn.
R2-8: Sc 6. Ch 1 and turn.
R9: In FLO, Sc 6. Ch 1 and turn.
R10-16: Sc 6. Ch 1 and turn. Do not ch 1 and turn after row 16.
Fasten off and weave in tails.
Add safety eyes, placing the first eye between rows 11&12, the second eye between rows 14&15. Place them about 2 stitches up from the edge.
Sew on mouth.
To Assemble
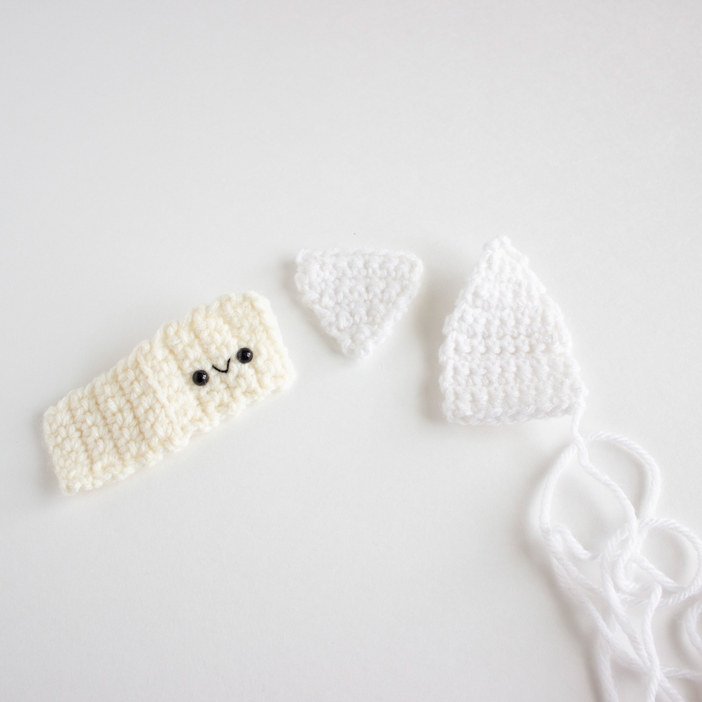
Sew the top and bottom pieces together. Weave the needle through the back loops of R13 on the top piece and the row of stitches from R8 on the bottom piece. When weaving the needle through the back loops, I came from the inside and went up through the middle. Then weave the needle back through the row of stitches from R8 on the bottom piece. Make sure to go through the stitches and not over them as this will create a clean finish. Leave the tail to use when sewing the inside piece.
Next, using the tail and a yarn needle, sew the inside piece to the main piece. Sew around each edge until there is one left. Add fiberfill, making sure to not overstuff. Continue sewing the piece closed and secure with a knot. Hide ends.
Gouda – Using a Size F/3.75mm Crochet Hook
Main Piece
Using the color cherry,
R1: Ch 2 then in 2nd ch from hook, inc. (2 sts) Ch 1 and turn.
R2: Inc in each space. (4 sts) Ch 1 and turn.
R3: Inc, sc 2, inc. (6 sts) Ch 1 and turn.
R4+5: Sc 6. Ch 1 and turn.
R6: Inc, sc 4, inc. (8 sts) Ch 1 and turn.
R7: Sc 8. Ch 1 and turn.
R8: Inc, sc 6, inc. (10 sts) Ch 1 and turn.
R9: Inc, sc 8, inc. (12 sts) Ch 1 and turn.
R10: Sc 12. Ch 1 and turn.
R11: Inc, sc 10, inc. (14 sts) Ch 1 and turn.
R12-19: Sc 14. Ch 1 and turn.
R20: Dec, sc 10, dec. (12 sts) Ch 1 and turn.
R21: Sc 12. Ch 1 and turn.
R22: Dec, sc 8, dec. (10 sts) Ch 1 and turn.
R23: Dec, sc 6, dec. (8 sts) Ch 1 and turn.
R24: Sc 8. Ch 1 and turn.
R25: Dec, sc 4, dec. (6 sts) Ch 1 and turn.
R26+27: Sc 6. Ch 1 and turn.
R28: Dec, sc 2, dec. (4 sts) Ch 1 and turn.
R29: Dec 2 times. (2 sts) Ch 1 and turn.
R30: Dec. (1 st)
Fasten off and leave a long tail for sewing.
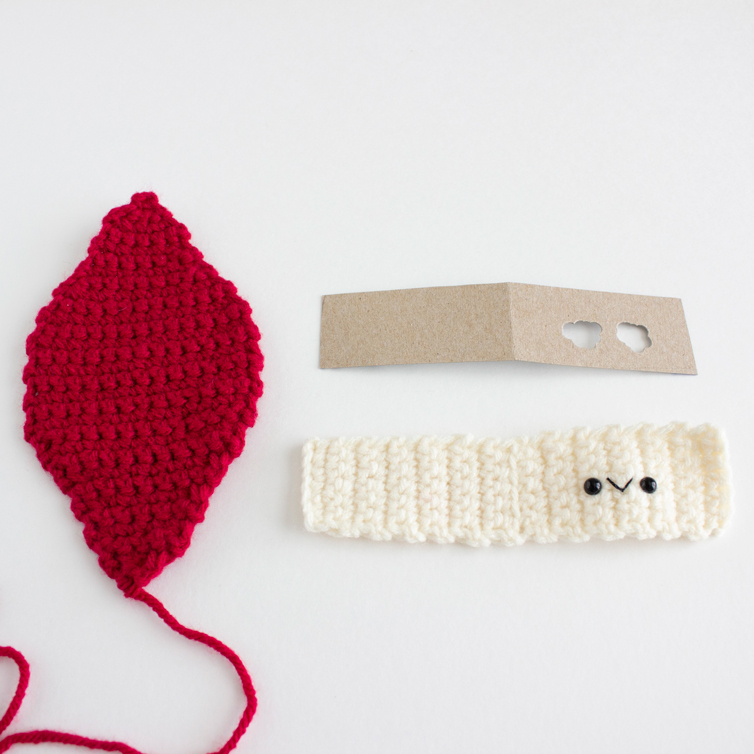
Gouda Inside Piece
Using the color aran,
R1: Ch 7 then starting in 2nd ch from hook, sc across. (6 sts) Ch 1 and turn.
R2-13: Sc 6. Ch 1 and turn.
R14: In FLO, Sc 6. Ch 1 and turn.
R15-26: Sc 6. Ch 1 and turn. Do not ch 1 and turn after row 26.
Fasten off and weave in tails.
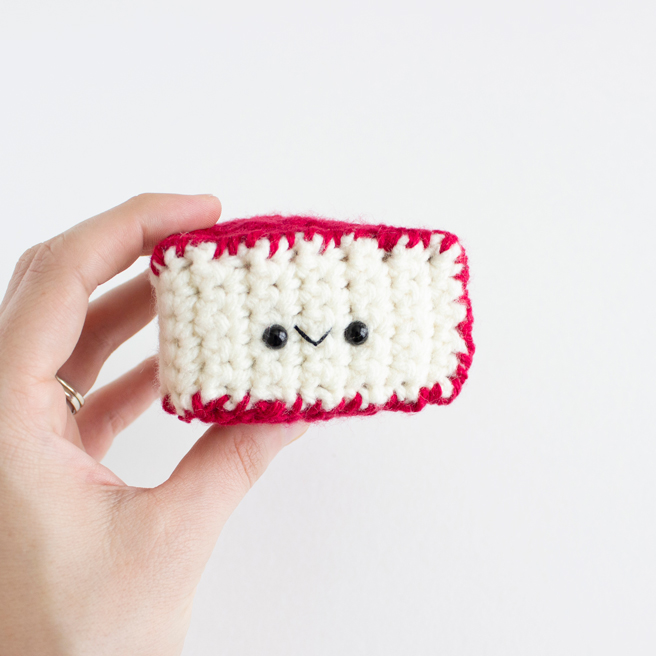
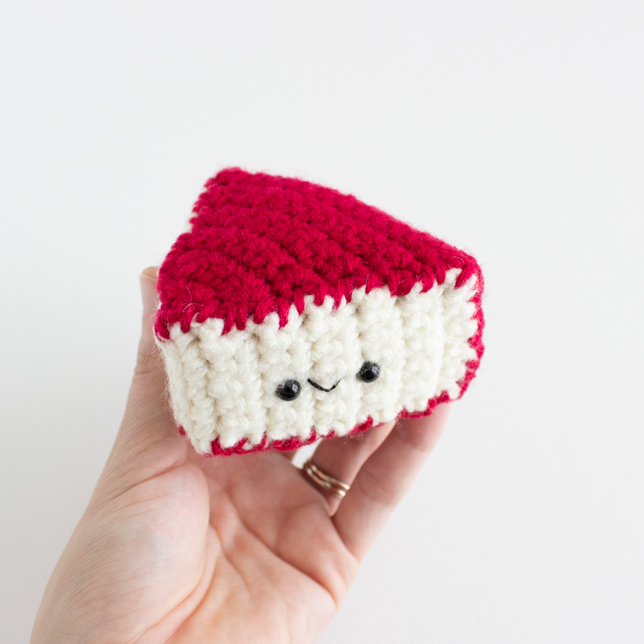
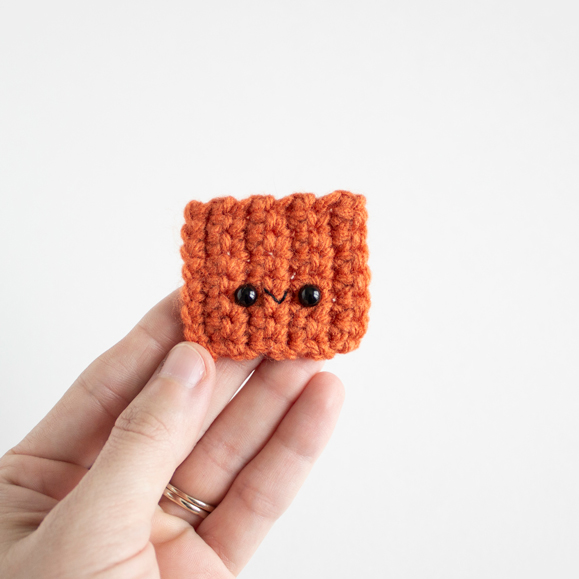
Add safety eyes, placing the first eye between rows 18&19, the second eye between rows 21&22. Place them about 3 stitches up from the edge. Sew on mouth.
Prefer an ad-free, printable PDF pattern?
Grab the Amigurumi Charcuterie Board Crochet Pattern HERE!
To Assemble
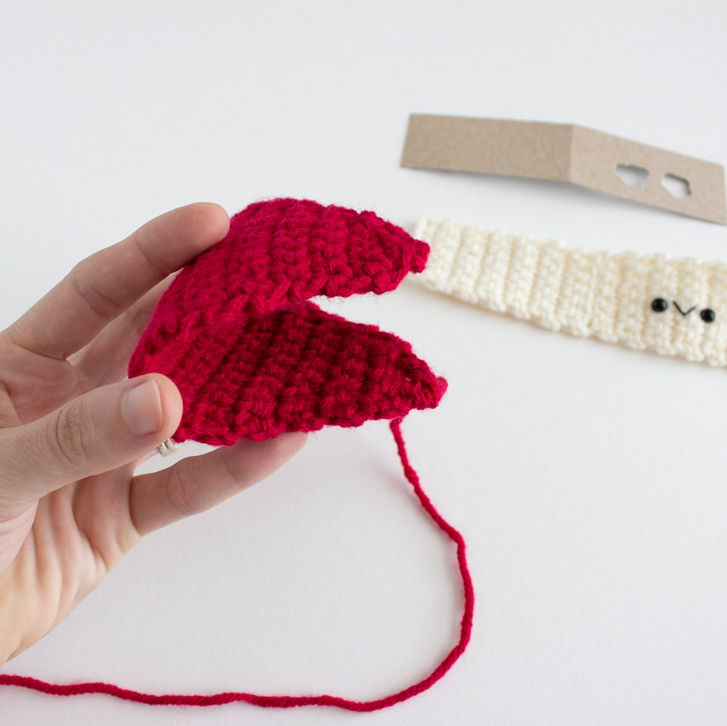
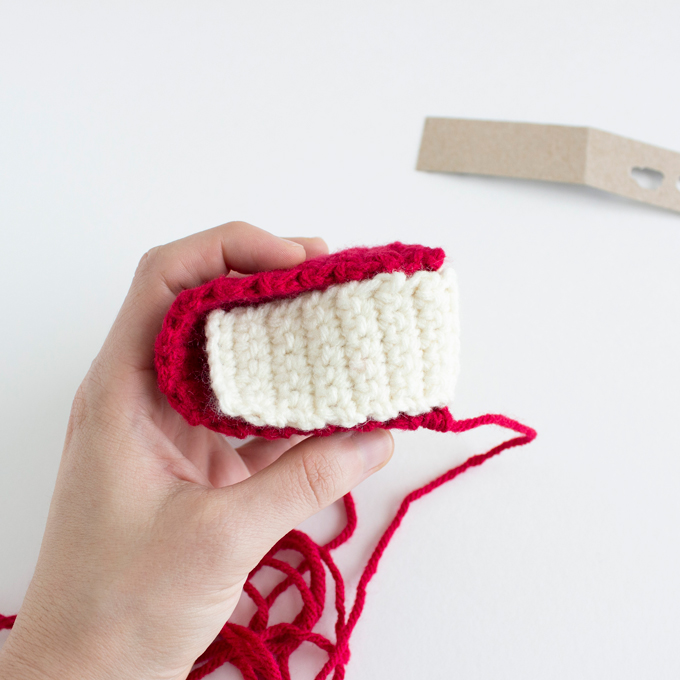
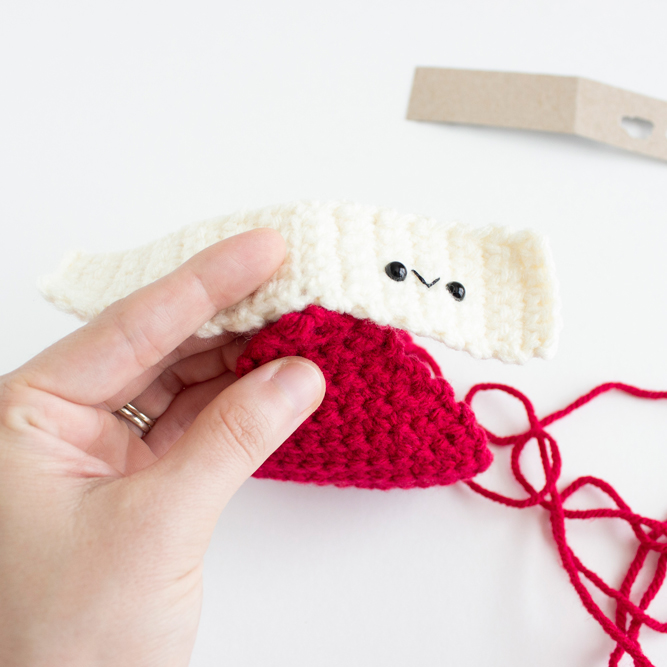
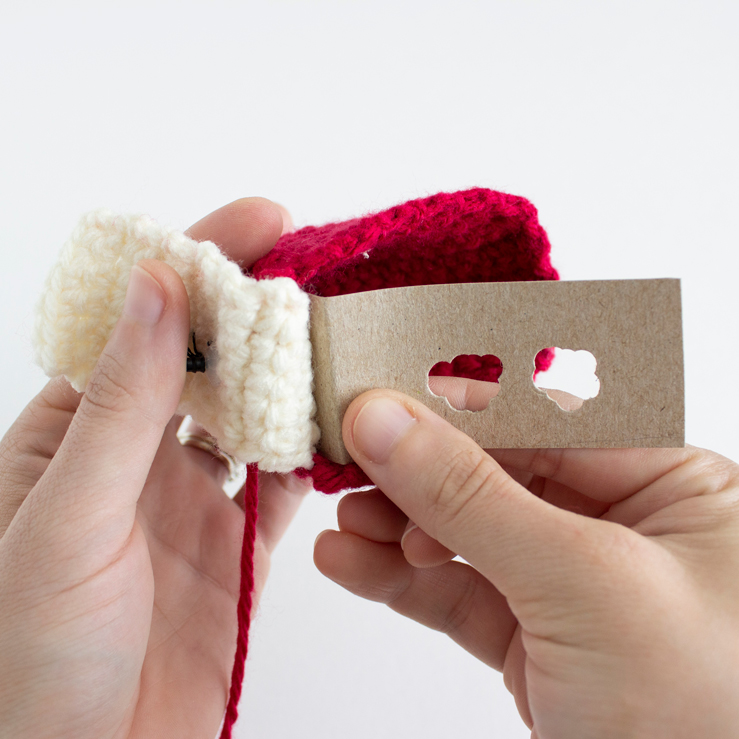
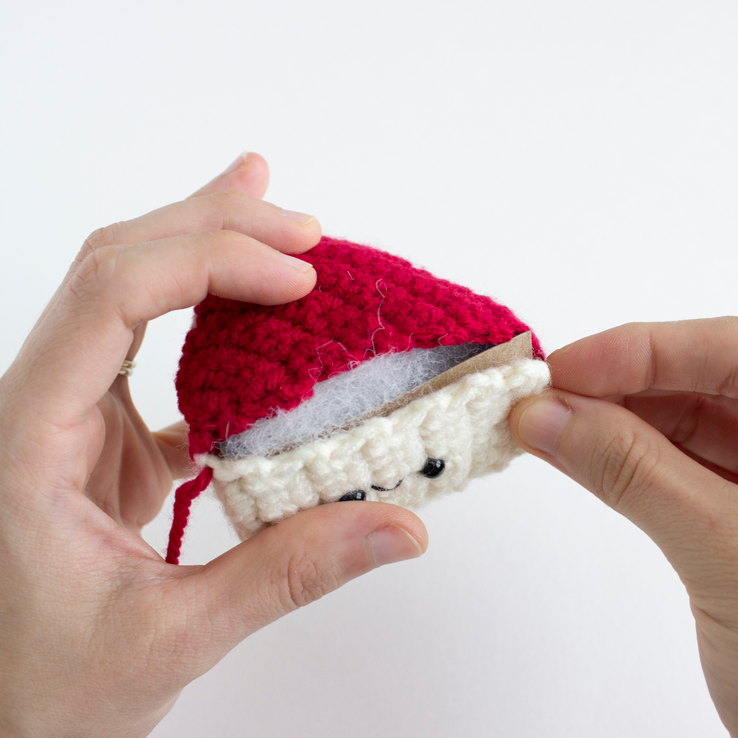
Take cardboard and trace the inside piece. Fold in half. Make a pencil mark on the cardboard where the safety eyes line up. With a hole punch, make holes so the safety eye back posts can slide through. Set the cardboard piece aside.
Fold the red piece in half and line up the inside piece, this piece will fit perfectly inside the red. Beginning at the bottom center tip, begin sewing to the left. Then sew up the short side. Continue sewing along the top back towards the tip. Insert the cardboard piece then add fiberfill. Fold the cardboard piece over, then fold the inside piece, making sure the holes and safety eyes line up. Continue sewing the inside piece to the red piece along the three remaining sides. Once you get back to the center, secure with a knot and hide ends.
Gouda Slice – Using a Size F/3.75mm Crochet Hook
Make 3
Using the color aran,
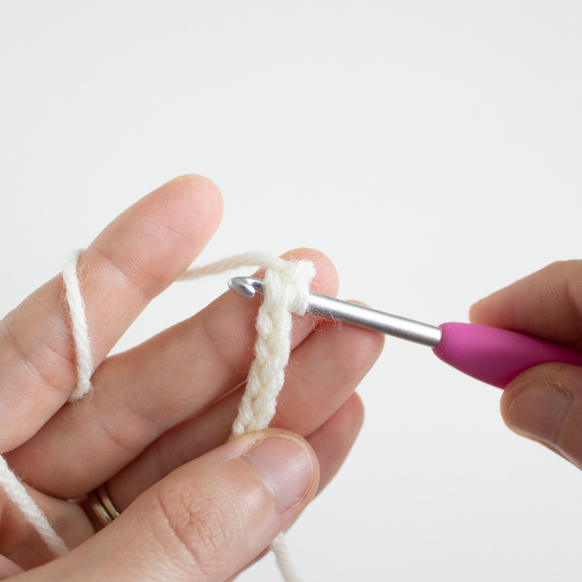
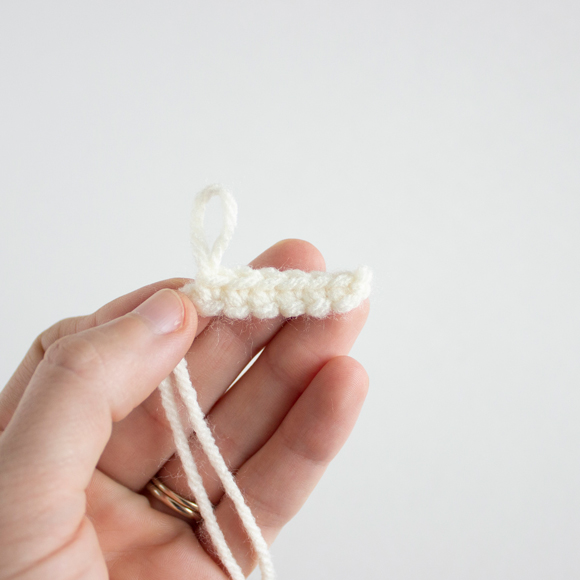
In the next row, go through both loops leaving the back “bump”.
R1: Ch 7 then starting in 2nd ch from hook, sc across. (6 sts) Ch 1 and turn.
R2-13: Sc 6. Ch 1 and turn. Do not ch 1 and turn after row 13.
Fasten off and weave in tails.
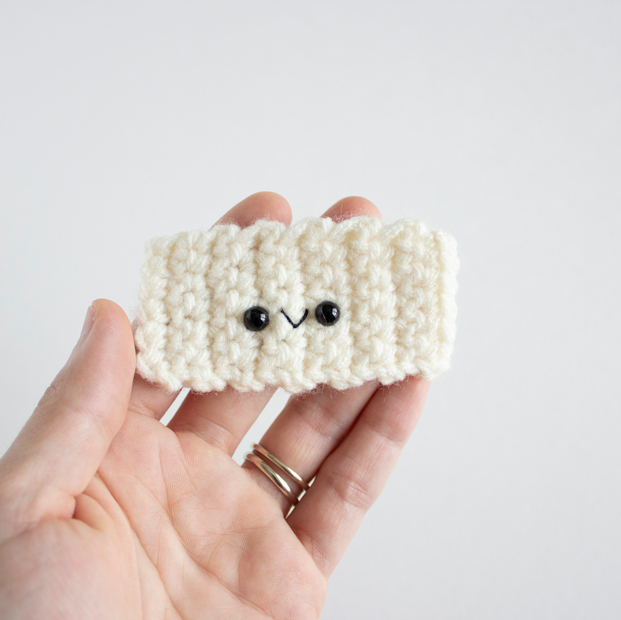
Add safety eyes, placing the first eye between rows 5&6, the second eye between rows 8&9. Place them about 3 stitches up from the edge. Sew on mouth.
Cheddar Slice – Using a Size F/3.75mm Crochet Hook
Make 3
Using the color pumpkin,
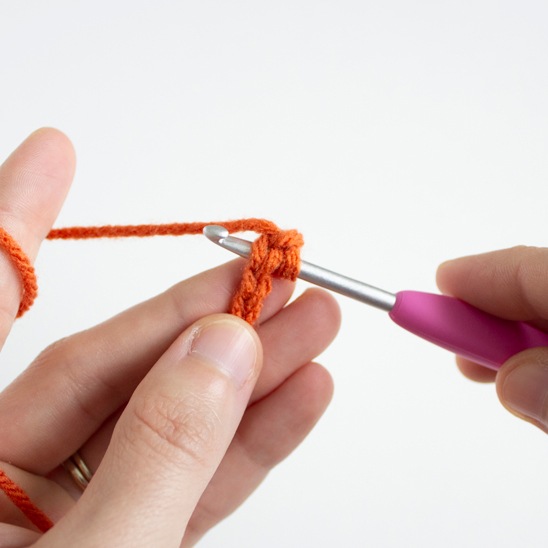
In the next row, go through both loops leaving the back “bump”.
R1: Ch 8 then starting in 2nd ch from hook, sc across. (7 sts) Ch 1 and turn.
R2-8: Sc 7. Ch 1 and turn. Do not ch 1 and turn after row 8.
Fasten off and weave in tails.
Add safety eyes, placing the first eye between rows 3&4, the second eye between rows 6&7. Place them about 2 stitches up from the edge. Sew on mouth.
Cheese Knife – Using a Size E/3.5mm Crochet Hook
Handle
Using the color green lagoon,
R1: 6 sc in magic ring. (6 sts)
R2: Inc in each st around. (12 sts)
R3: *Sc 1, inc* 6 times. (18 sts)
R4: *Sc 2, inc* 6 times. (24 sts)
R5+6: Sc 24.
R7: *Sc 2, inv dec* 6 times. (18 sts)
R8+9: Sc 18.
R10: *Sc 1, inv dec* 6 times. (12 sts)
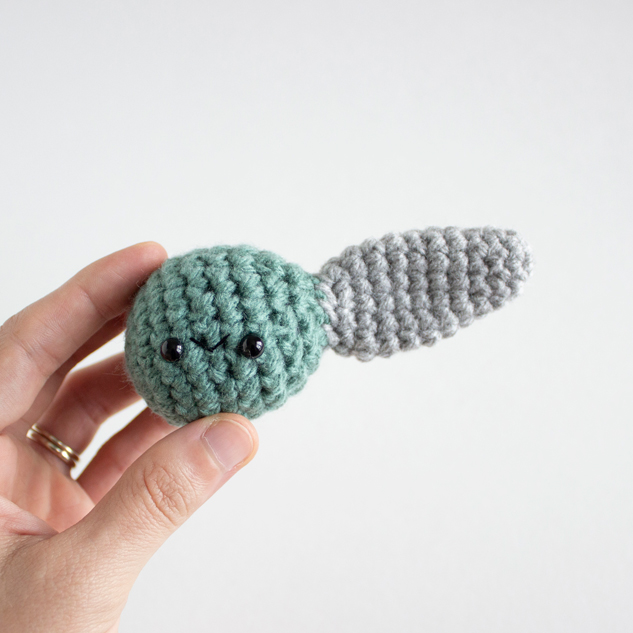
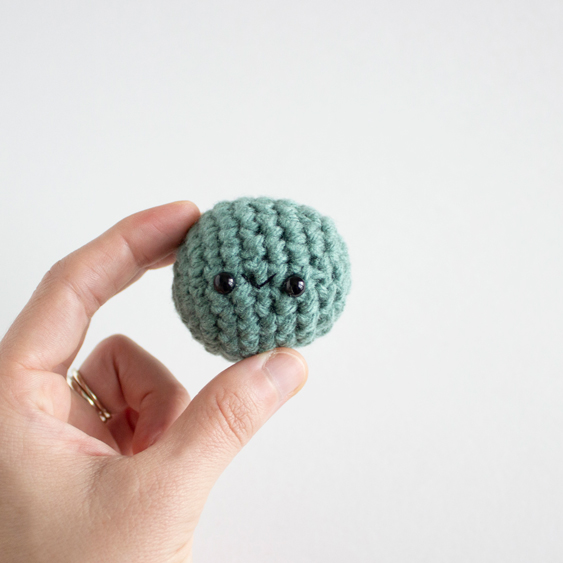
Add safety eyes, placing the first eye between rounds 5&6, the second between rounds 8&9. Sew on mouth.
Add fiberfill and continue to stuff as you close piece.
R11: Sc 12.
R12: Inv dec around 6 times. (6 sts)
Fasten off, close piece and weave in tail.
Blade
Using the color pale gray,
R1: 6 sc in magic ring. (6 sts)
R2: *Sc 1, inc* 3 times. (9 sts)
R3: Sc 9.
R4: *Sc 2, inc* 3 times. (12 sts)
R5-9: Sc 12.
R10: *Sc 2, inv dec* 3 times. (9 sts)
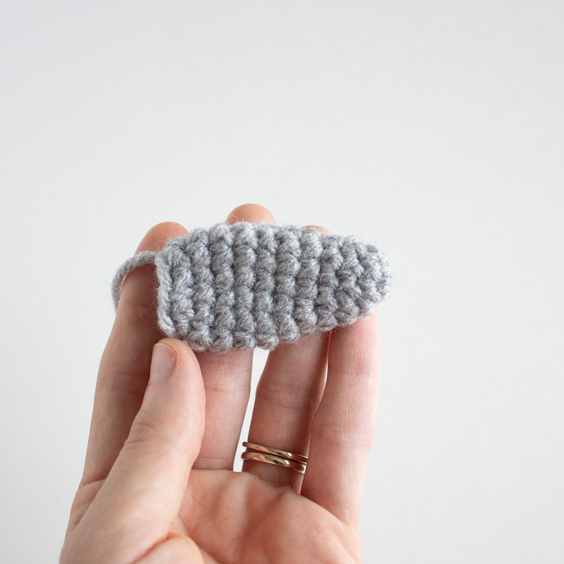
Fasten off and leave a tail for sewing. Leave unstuffed.
Prefer an ad-free, printable PDF pattern?
Grab the Amigurumi Charcuterie Board Crochet Pattern HERE!
To Assemble
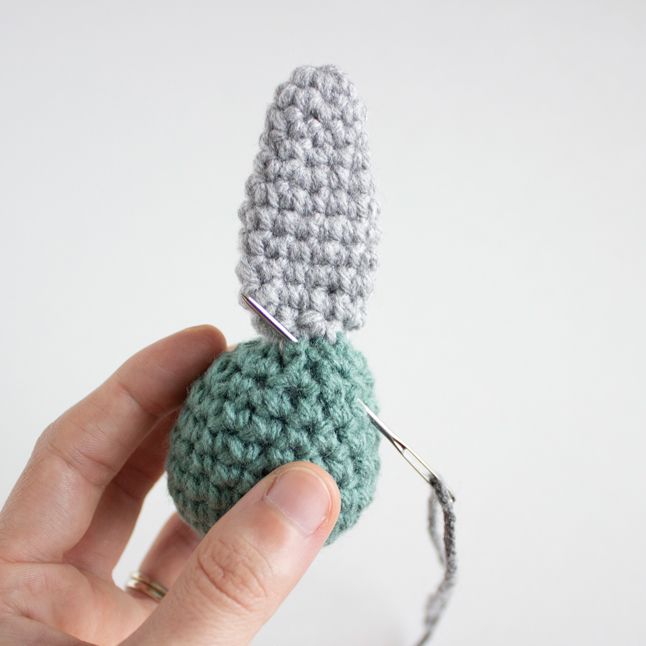
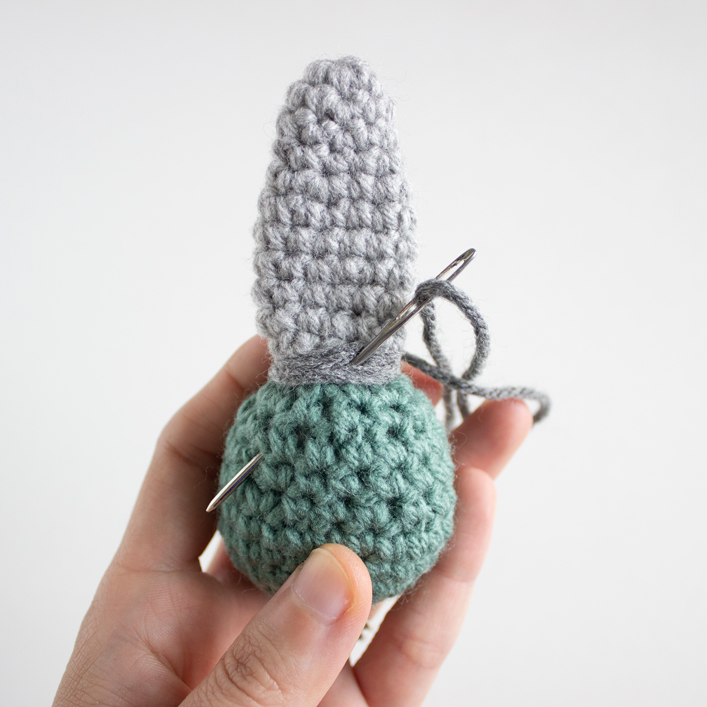
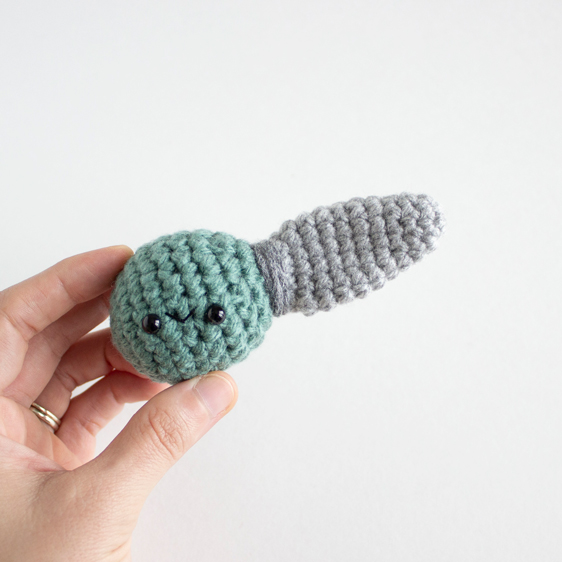
Using the tail, sew the blade to the smaller end of the handle. Secure and hide the tail. Using the color true gray, cut about 10-15 inches. Tie a knot at one end, use a yarn needle to weave this tail through to where the blade and handle meet. Wrap the yarn around this meeting point 5 times. This will create a clean finish where these two pieces meet. Weave needle back through the handle. Secure and hide the tail.
Make sure to head over to PART TWO to finish your charcuterie board!
➤Make sure to check out all my free crochet patterns here!
This crochet pattern is an original amigurumi pattern by Lauren Espy of A Menagerie of Stitches. Please do not claim this crochet pattern as your own. If you’d like to share this crochet pattern, you may provide a link to this post but please do not reprint it on your website.
You may sell products made from this amigurumi pattern but please credit me, Lauren Espy of A Menagerie of Stitches, and provide a link to my blog www.amenagerieofstitchesblog.com Absolutely no mass production or manufacturing of any kind is allowed. Thank you for understanding. I hope you loved this Free Crochet Pattern – Amigurumi Charcuterie Board – Part 1!
Disclaimer- This crochet post contains affiliate links. By clicking these links, you help support me and my business at no cost to you. All opinions are my own.
