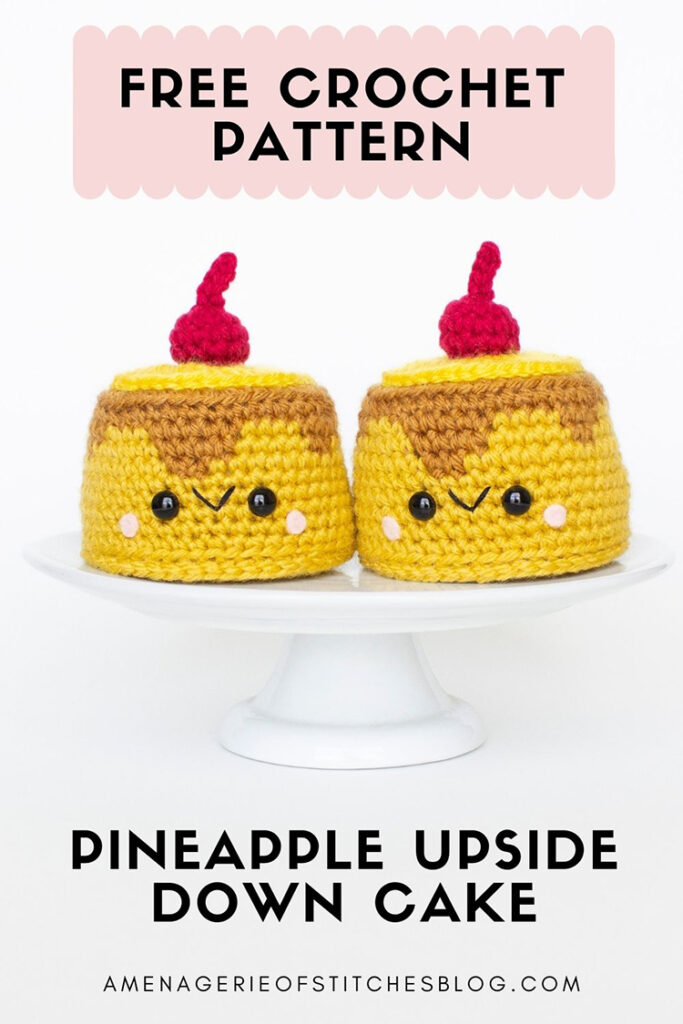
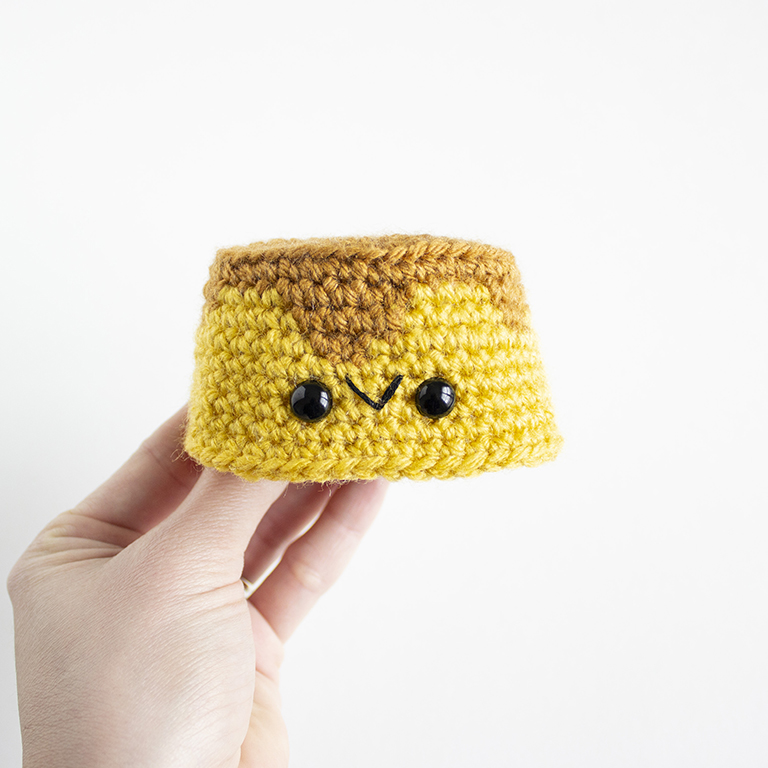
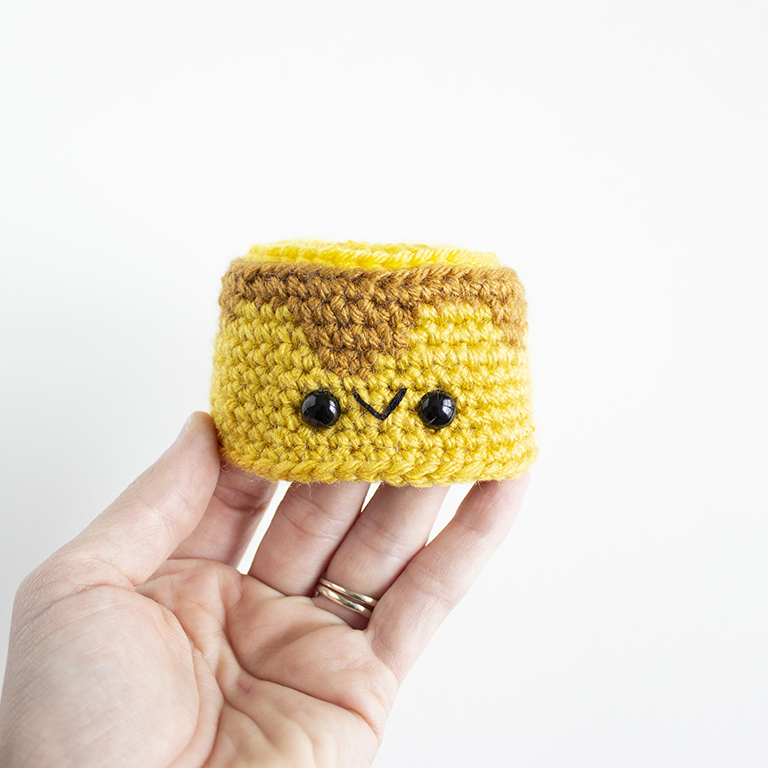
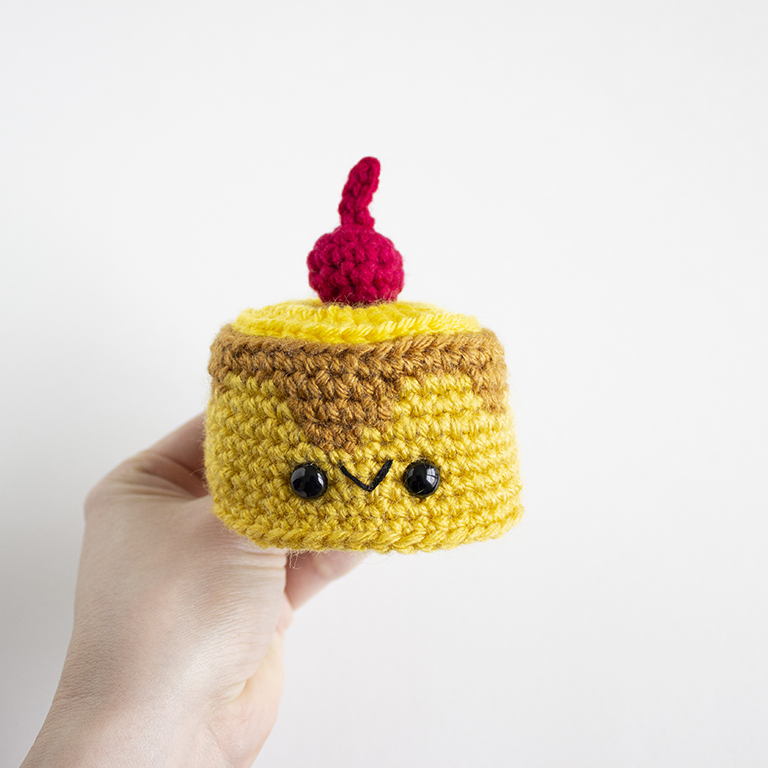
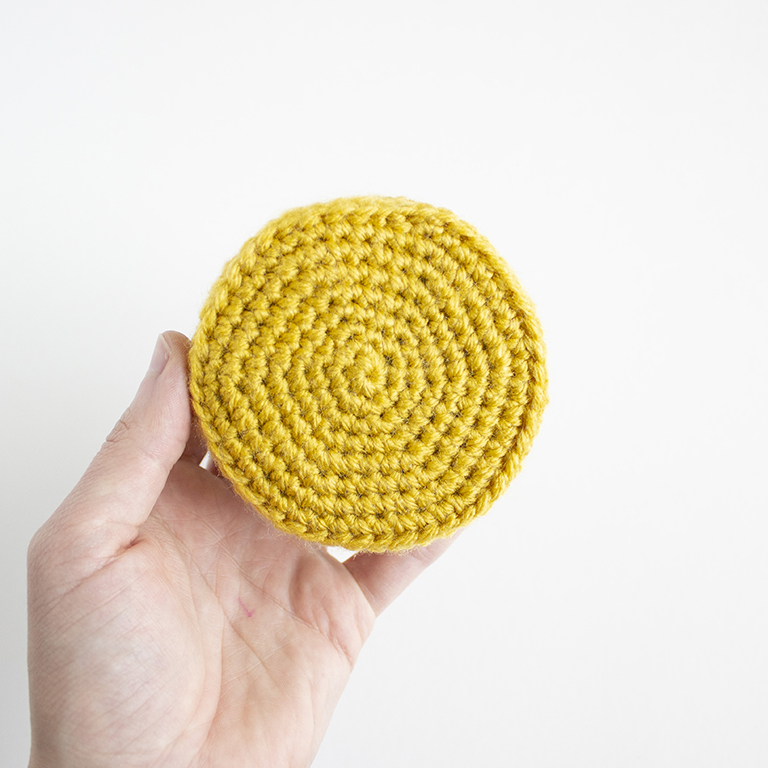
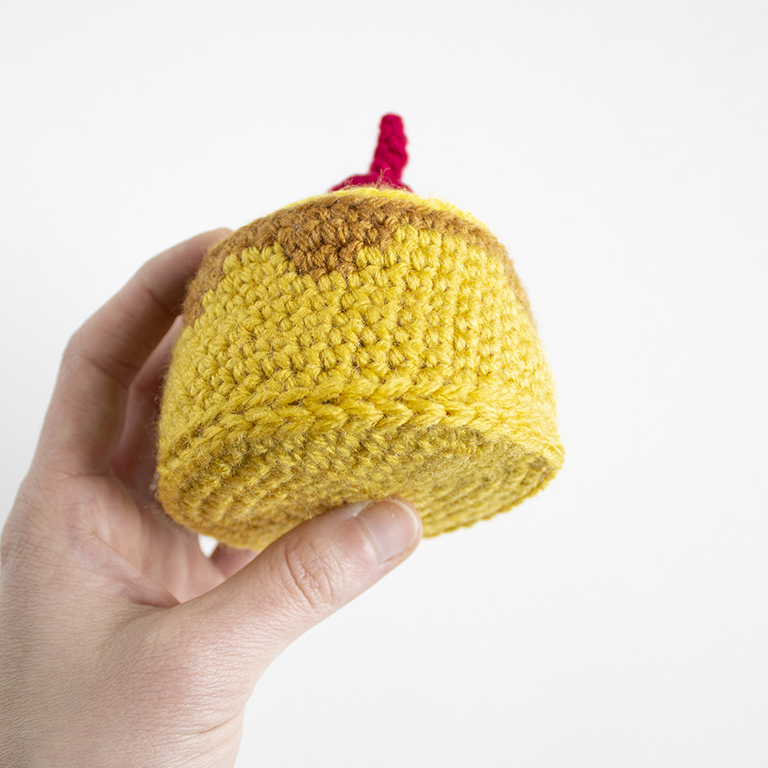
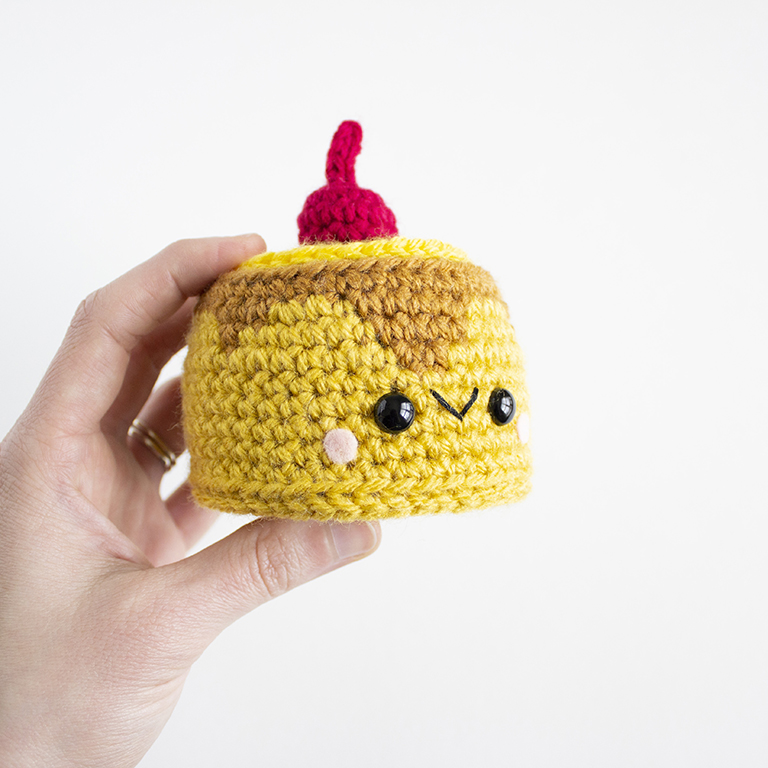
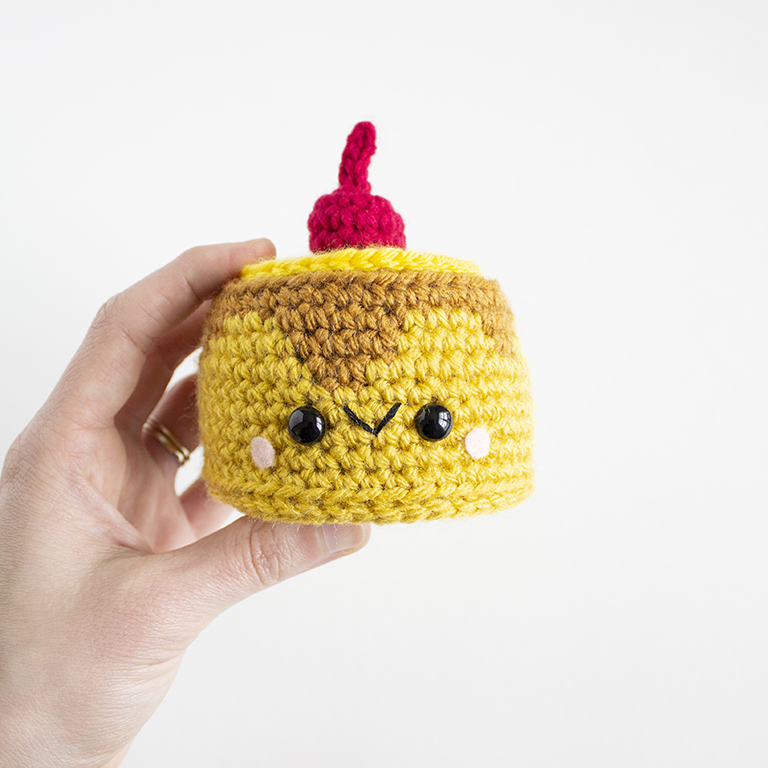
Hi friends! Today I’m thrilled to share my free Crochet Pineapple Upside Down Cake Pattern that is part of the Amigurumi Bake Off! Based on one of my favorite tv shows, The Great British Bake Off, this crochet-a-long is perfect for anyone who has a sweet tooth like me! A group of talented amigurumi designers over on Instagram have teamed up to bring you a fun and new amigurumi dessert each week. Each one overflowing with cuteness and the perfect amount of sweet!

This week we’re baking an amigurumi Pineapple Upside Down Cake! An easy color change creates a nice interpretation of the iconic yellow cake and caramelized top. A crochet pineapple ring and maraschino cherry complete this delicious dessert! Crocheting this cake and assembling it is super easy which means you’ll want to bake a dozen of these for your next party!
And with any good Bake Off Challenge, there is, of course, the chance to win STAR BAKER!
Make sure to post a photo of your amigurumi pineapple upside down cake on Instagram, use the hashtag #amigurumibakeoff and tag me for your chance to win Star Baker for the week! Entries must be submitted by Sunday April 4th, 2021. Winner will win a crochet pattern of their choice from my shop. (excludes ebooks and bundles)
CLICK TO PIN THIS POST NOW!
I hope you’ll join me for this week’s Amigurumi Bake Off Challenge!
Be sure to check out all the other amazing crochet designers from the Bake Off!
Lex – @lex_in_stitches
Amanda – @belleandgrace_hmc
Anne – @craftygibbon
Melissa – @yarnblossomboutique
Marie – @socroch
Anneris – @amigurumifood
Sarah-Jane – @flo_and_dot
Get the Pineapple Upside Down Cake Crochet Pattern from Amenagerieofstitches.com. The PDF printable version comes with extra photos and is ad-free for easy crocheting.
Keep scrolling for the free amigurumi pineapple upside down cake pattern!
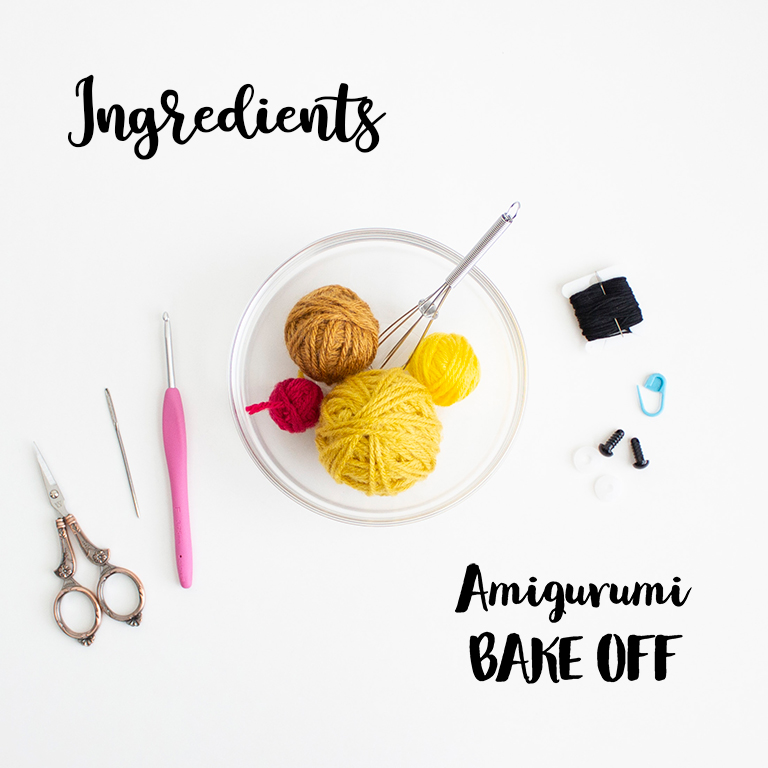
Here’s what you’ll need:
- Worsted weight yarn: Yellow, Gold, Bright Yellow and Red (I used Lion Brand Vanna’s Choice in “Mustard” and “Honey”, Premier Anti-Pilling Everyday Worsted in “Lemon” and Loops & Thread Impeccable in “Cherry”)
- Size F/3.75mm crochet hook (These are the hooks I LOVE!)
- Black embroidery floss and needle
- One pair of 9mm safety eyes (Can be Purchased HERE)
- Polyester fiberfill stuffing
- Yarn needle
- Scissors
- Stitch marker
- Straight Pins
- Thick cardboard (A shipping box works great or if you don’t have one, use a cereal box and double up for extra sturdiness)
- Optional – pink felt and a hot glue gun
Abbreviations:
Crochet pattern is written using U.S. crochet terminology.
Crochet technique video & photo tutorials can be found here.
R- Round/Row
Mr- Magic Ring
Sc- Single Crochet
Inc- Increase
Inv Dec- Invisible Decrease
BLO- Back Loops Only
Dc- Double Crochet
Sl St- Slip Stitch
St/s- Stitch/es
* – Repeat the directions in between * and * as many times as stated.
( ) – The number inside will indicate how many stitches you should have at
the end of each round.
Finished Measurements:
Cake measures 3.5 inches wide by 4 inches tall
*Please note- Sizes will vary depending on your tension, hook and yarn used.
Pattern Notes:
This pattern is worked in continuous rounds. This means you do not join at the end of each round and you simply continue onto the next round. Use a stitch marker to mark the end of the round.
Changing Colors:
- When working the last stitch of the old color, do the last single crochet, stopping when you have 2 loops left on the hook.
- Use the new color to yarn over and pull through the 2 loops to complete the stitch.
- Continue to crochet with the new color as normal. Make sure to secure the ends.
Cake
Using honey yarn,
R1: 6 sc in magic ring. (6 sts)
R2: Inc in each st around. (12 sts)
R3: *Sc 1, inc* 6 times. (18 sts)
R4: *Sc 2, inc* 6 times. (24 sts)
R5: *Sc 3, inc* 6 times. (30 sts)
R6: *Sc 4, inc* 6 times. (36 sts)
R7: *Sc 5, inc* 6 times. (42 sts)
R8: In BLO, Sc 42.
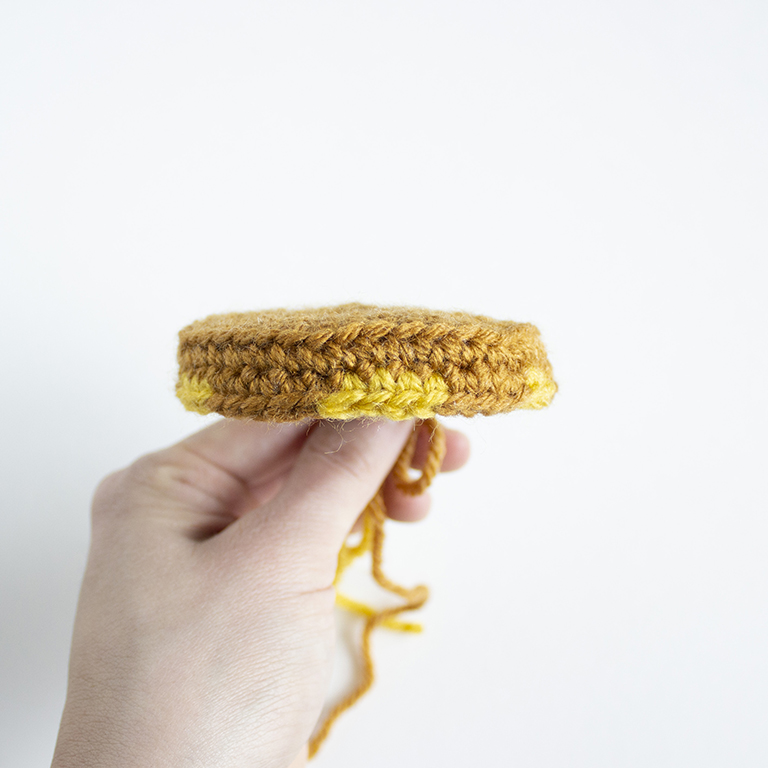
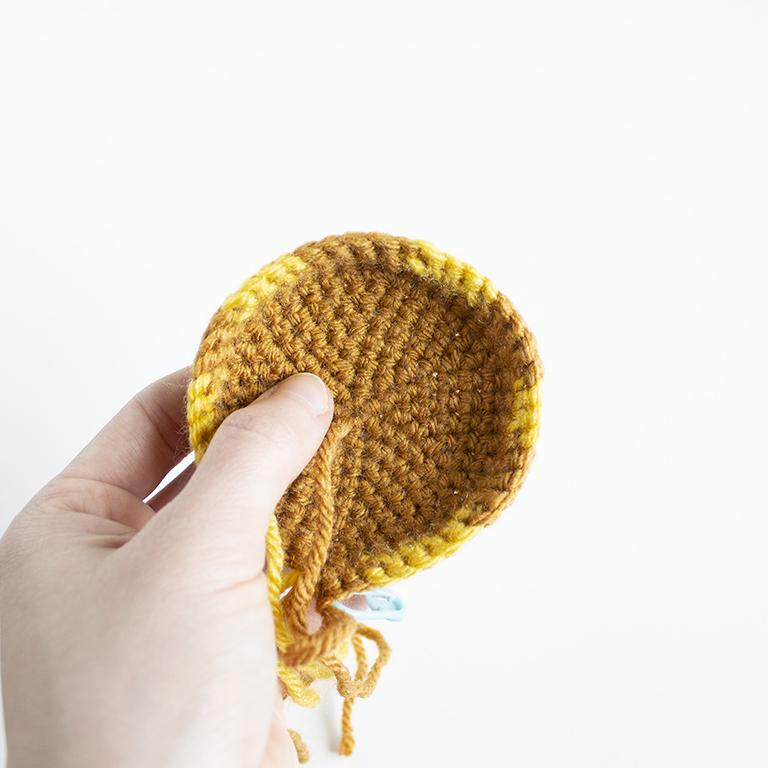
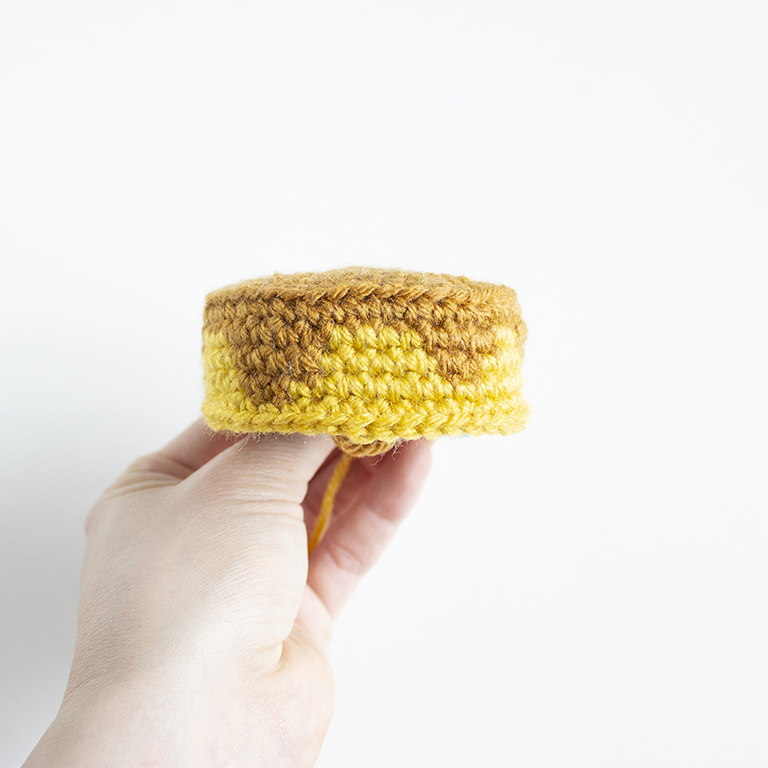
There are quite a few color changes for the next several rounds. After each color change, carry the old yarn behind the work until you need to change back to it.
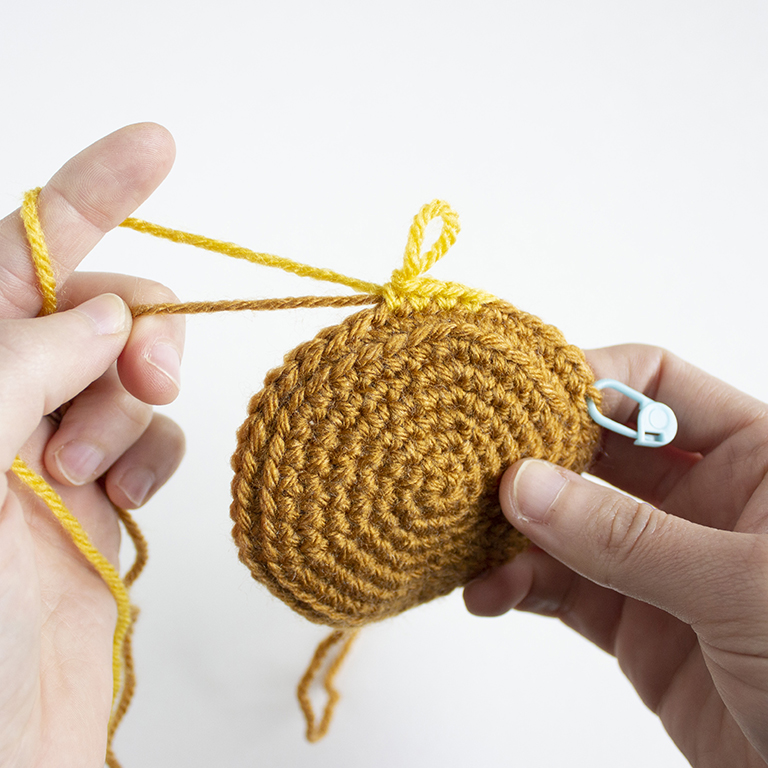
R9: *Sc 13, inc* 3 times. (45 sts)
Following this color pattern:
Sc 5 in honey, sc 5 in mustard, sc 3 in honey, inc in mustard, sc 2 in mustard, sc 5 in honey, sc 4 in mustard, sc 2 in honey, inc in honey, sc 3 in mustard, sc 4 in honey, sc 5 in mustard, sc 1 in honey, inc in honey.
You’ll notice in the second photo below, that there are no tails since the yarn was carried.
R10: Sc 45, following this color pattern:
Sc 4 in honey, sc 7 in mustard, sc 1 in honey, sc 6 in mustard, sc 4 in honey, sc 5 in
mustard, sc 2 in honey, sc 5 in mustard, sc 2 in honey, sc 8 in mustard, sc 1 in honey.
R11: Sc 45, following this color pattern:
Sc 3 in honey, sc 16 in mustard, sc 2 in honey, sc 24 in mustard.
R12: Sc 45, following this color pattern:
Sc 1 in mustard, sc 1 in honey, sc 43 in mustard.
Cut the honey yarn and secure with a knot.
Continue using mustard for the remaining rounds.
R13-16: Sc 45.
Fasten off and weave in tail.
Add safety eyes between rounds 13&14, placing them about 4 stitches apart.
Sew on mouth.
Prefer an ad-free, printable PDF version?
Grab the Pineapple Upside Down Cake Crochet Pattern HERE.
Pineapple Ring
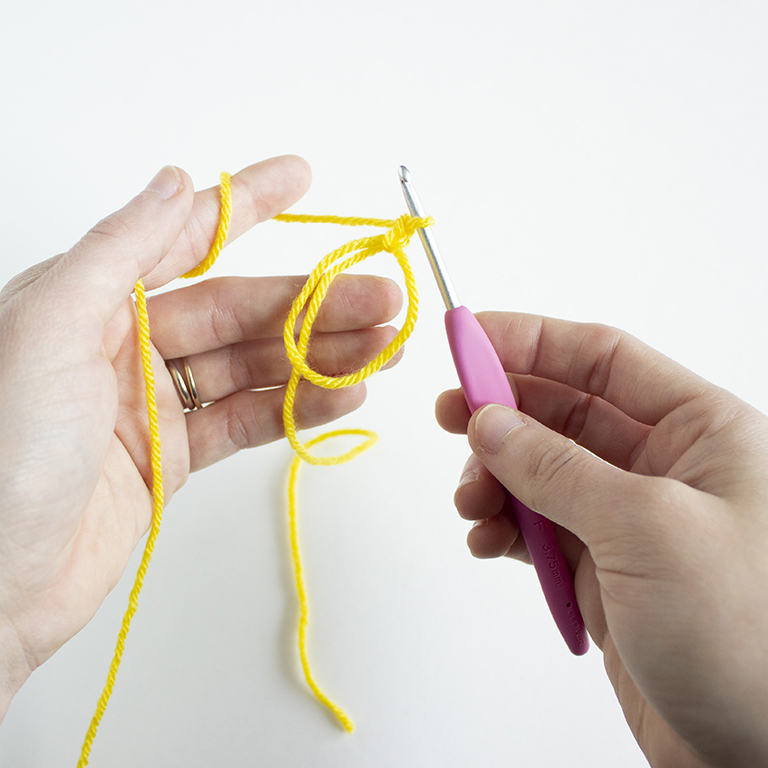
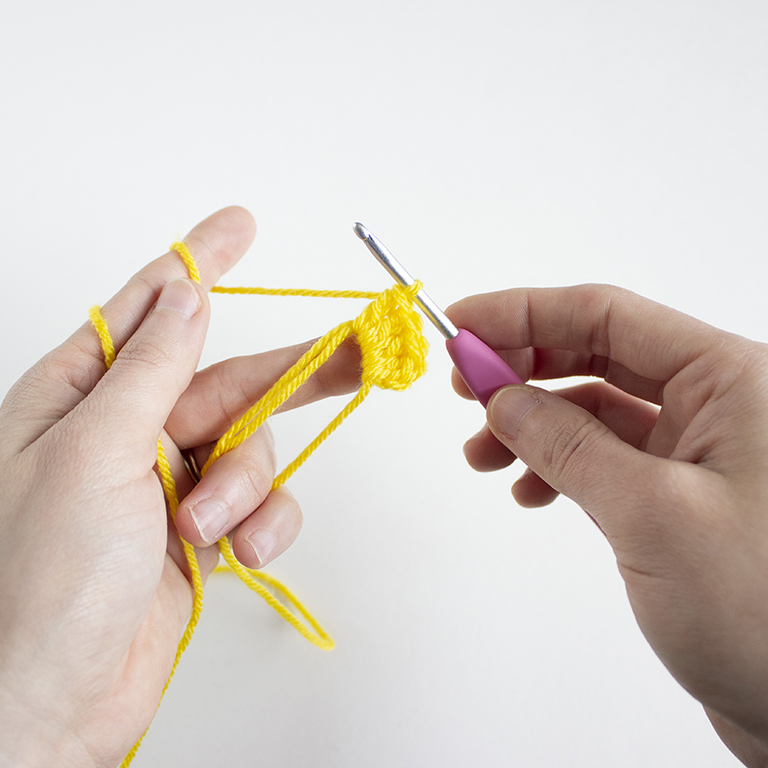
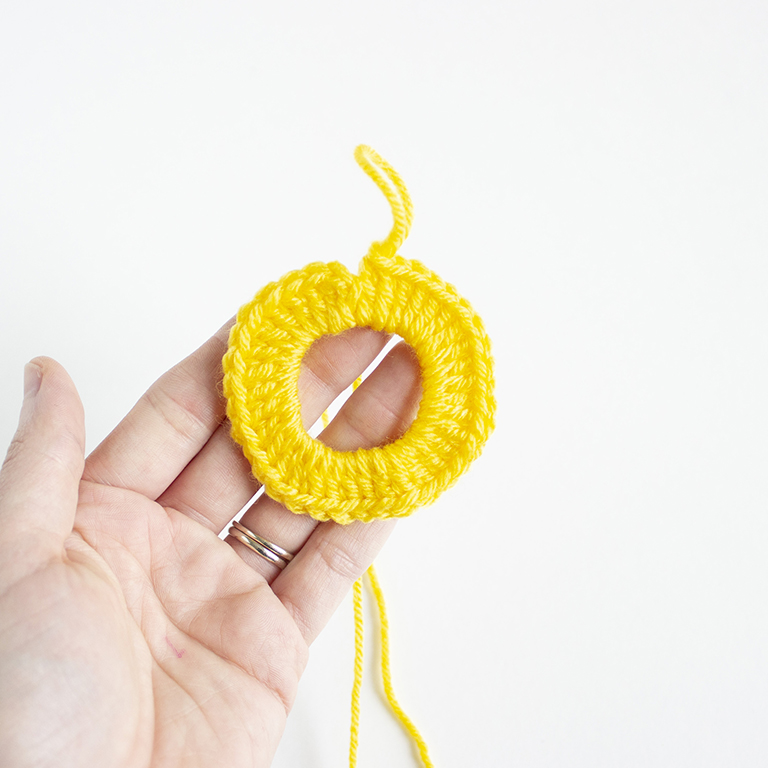
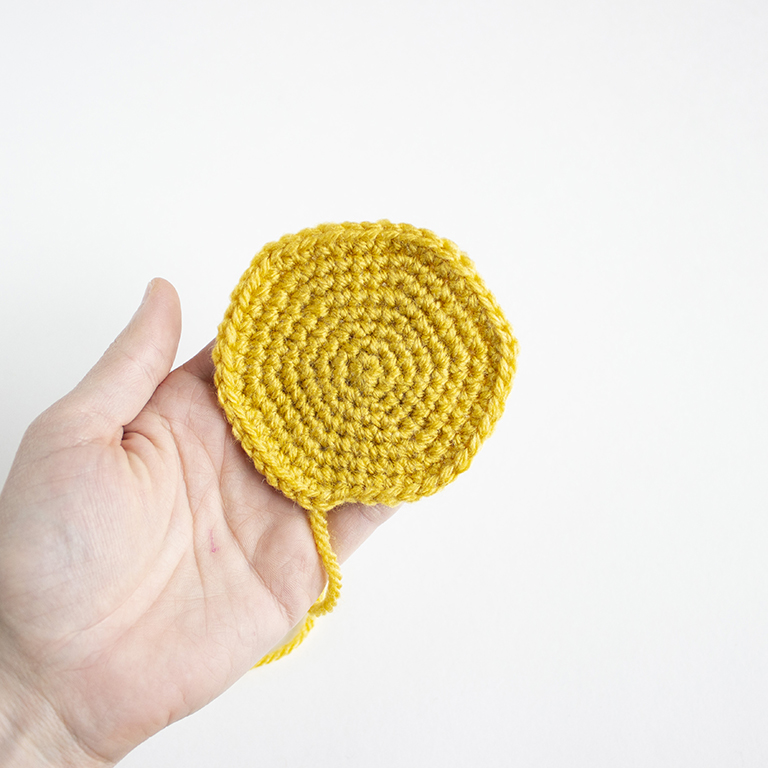
Leave about 8 inches of yarn at the start of the magic ring. This will help in making a large enough ring for all the double crochet stitches we have to make. I found that holding the magic ring with my ring finger made it a bit easier to work those double crochets into the magic ring.
Using lemon yarn,
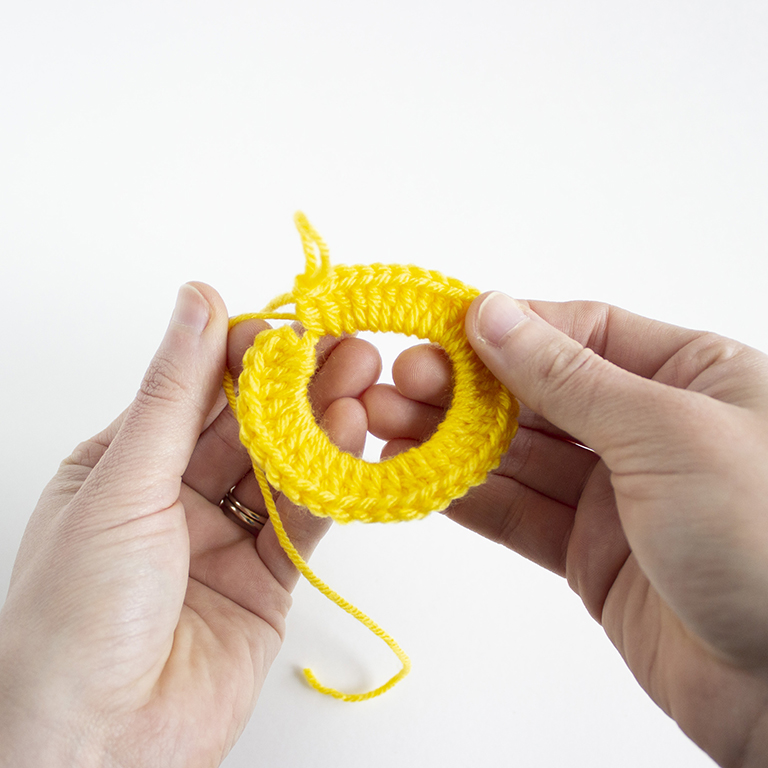
R1: Make a magic ring, ch 1, then dc 35.
Fasten off and use the clean fasten off method mentioned in the pattern notes.
Leave a long tail for sewing.
Gently pull the 8 inch tail from the start, only to bring the first and last double crochets together. Pulling too tight will cause the pineapple ring to get misshapen which leads it to not fitting properly on the cake.
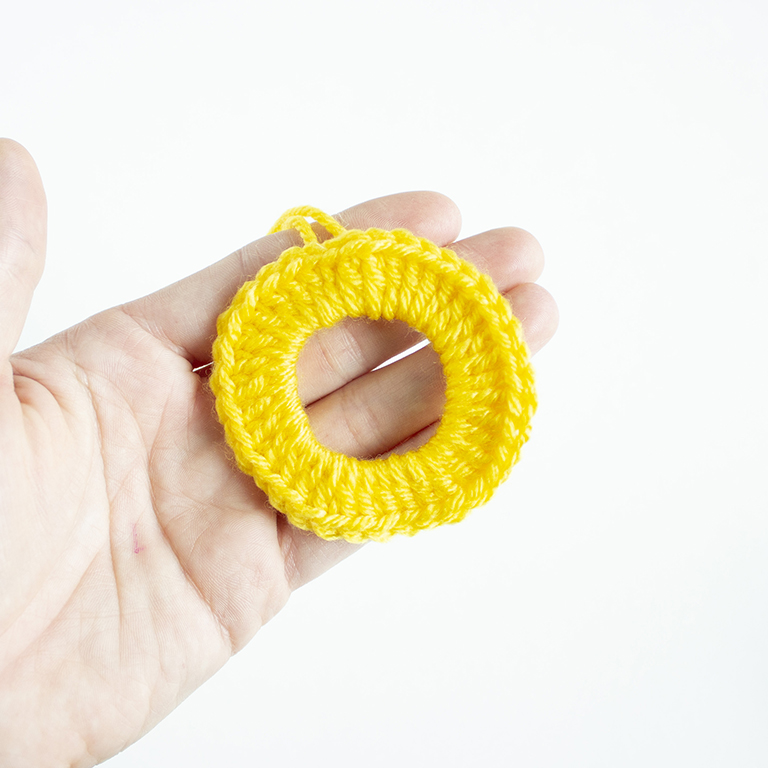
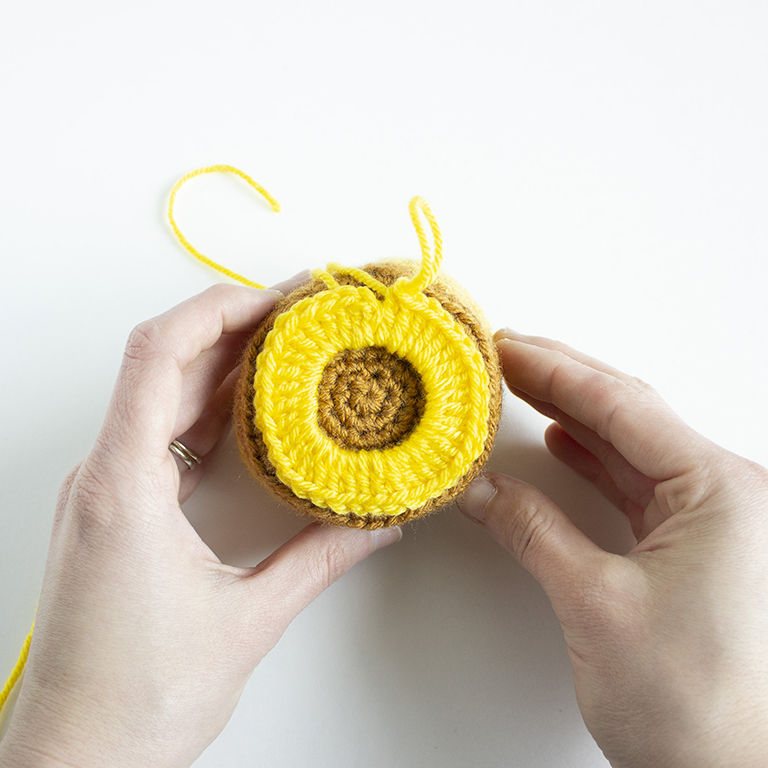
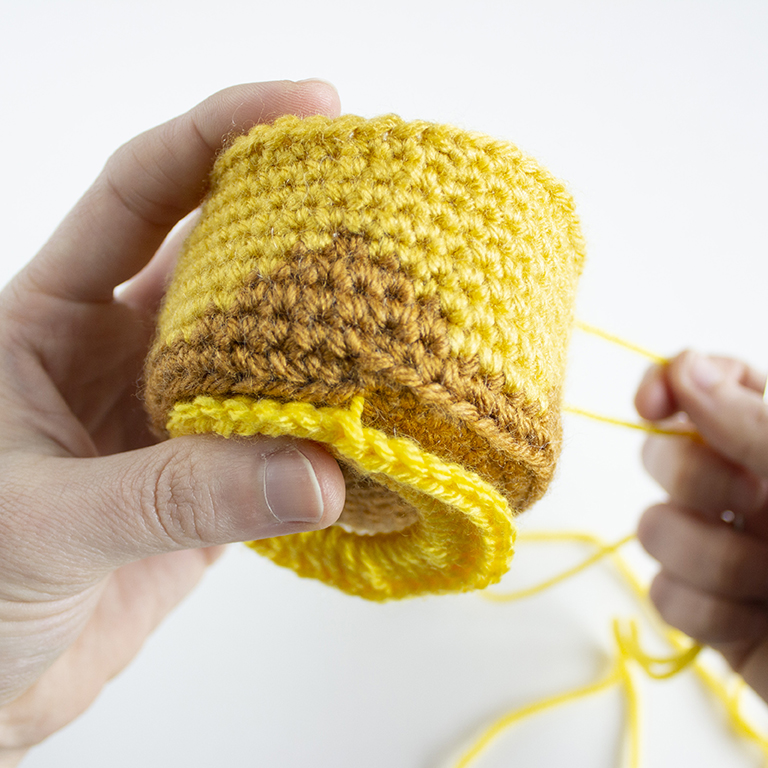
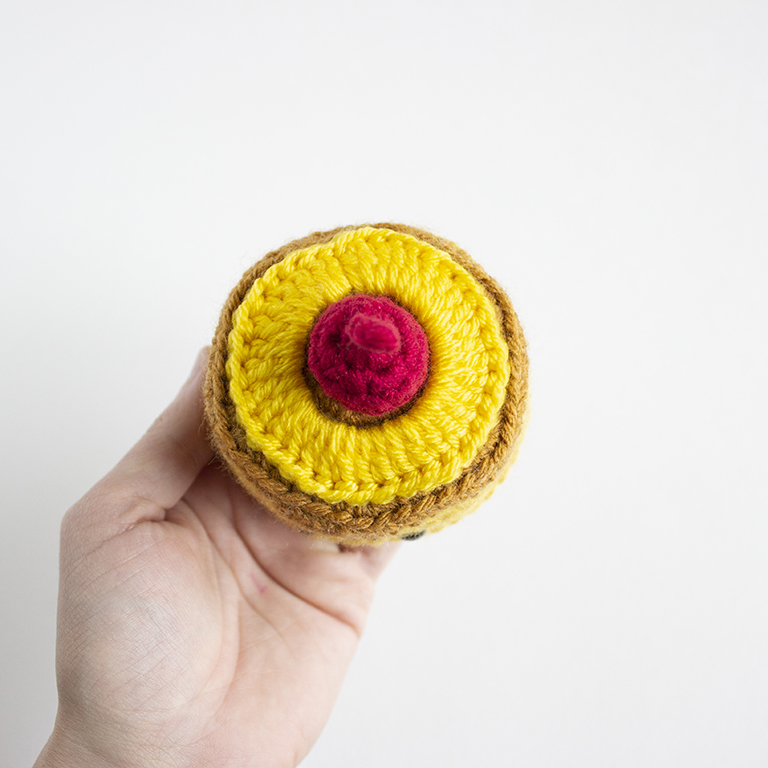
Place the ring on the top of the cake.
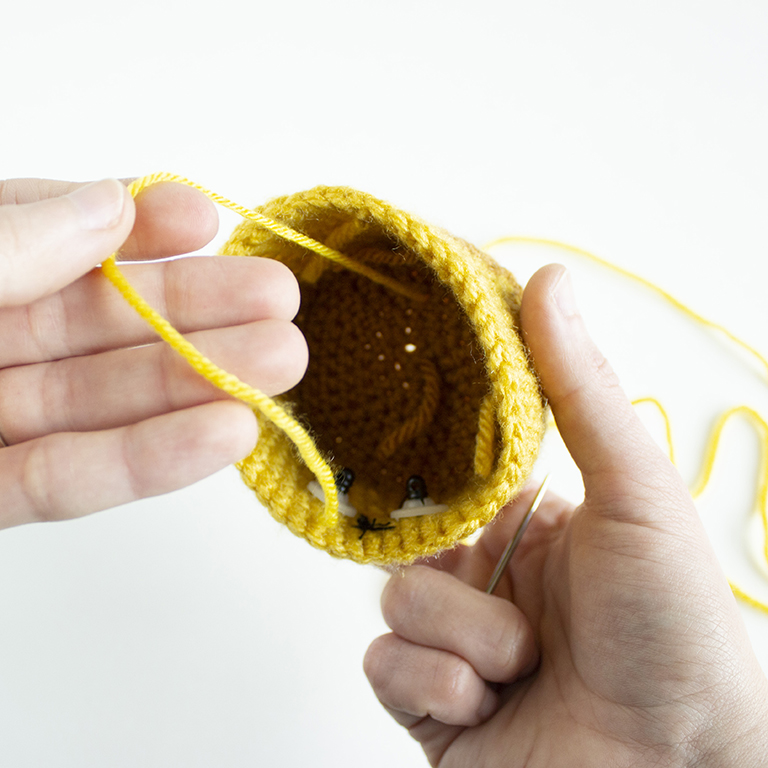
With a yarn needle, weave the 8 inch tail to the inside of the cake and secure with a knot.
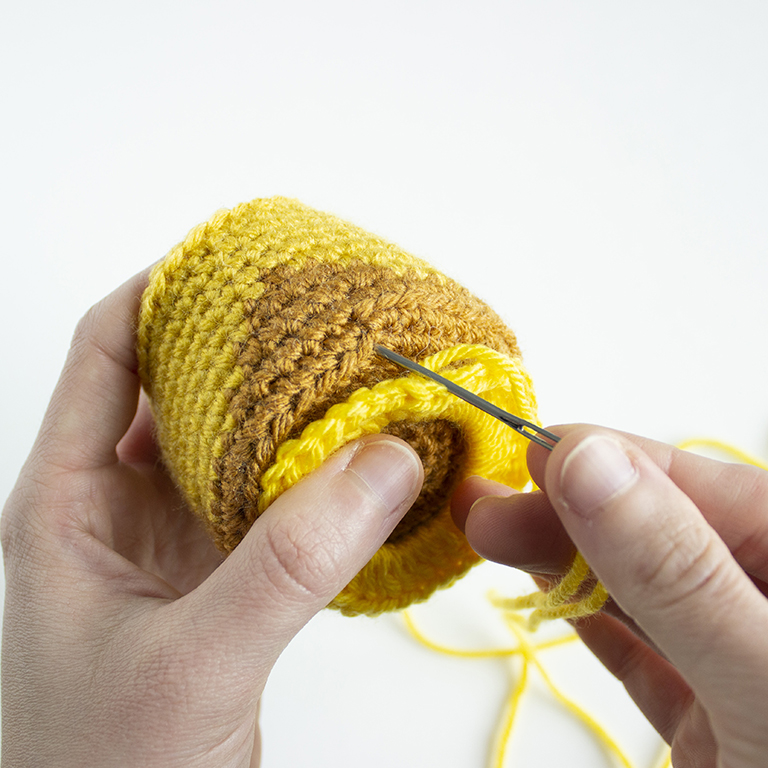
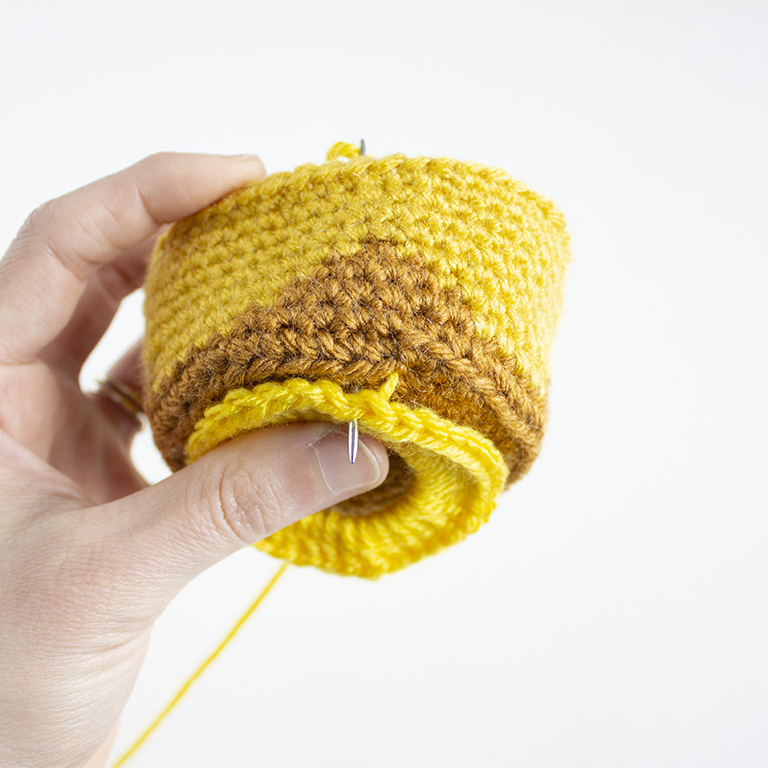
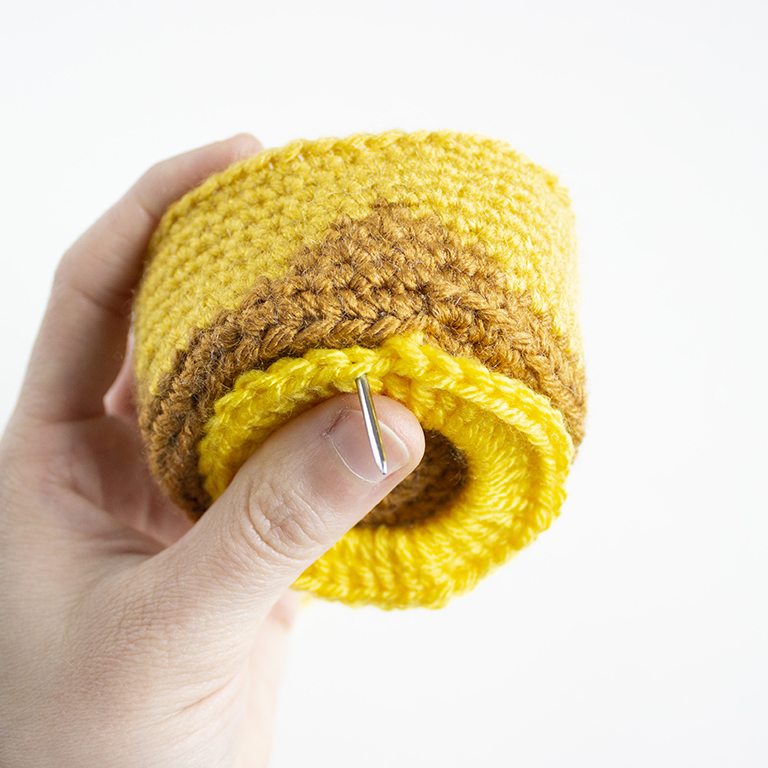
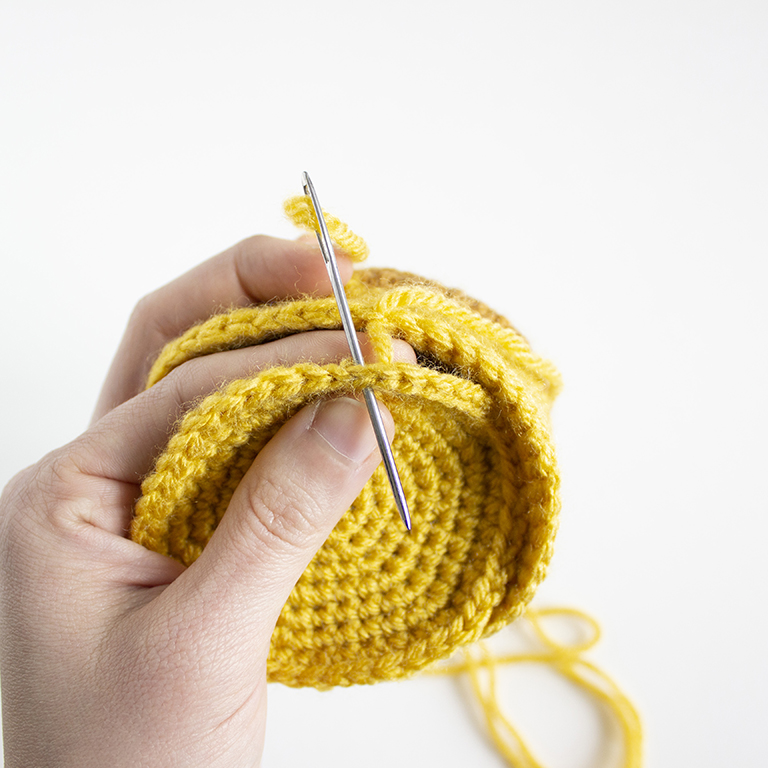
Then with the longer tail, use this to sew the pineapple ring to the top of the cake. First weave the needle and long tail into the top of the cake.
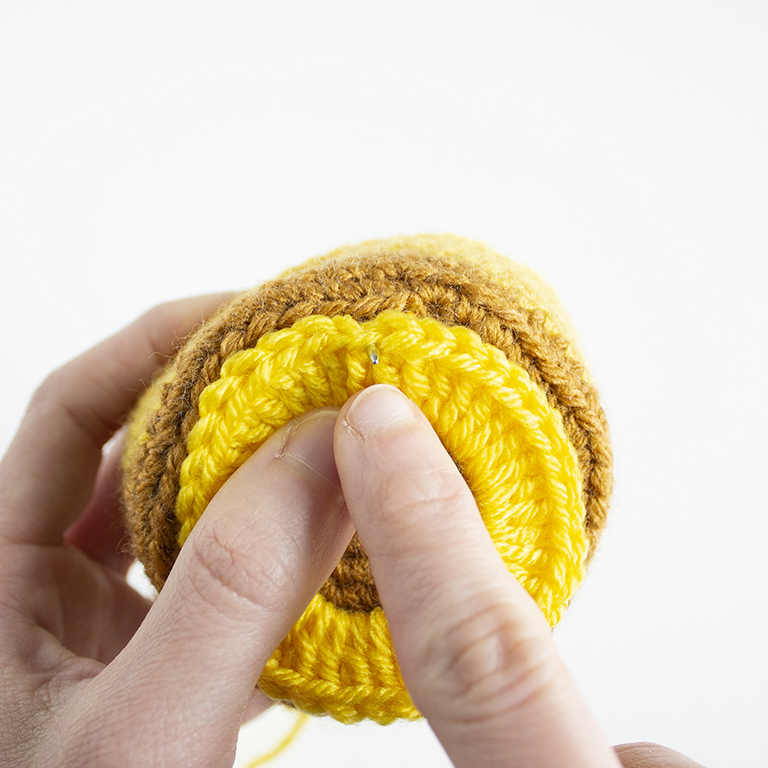
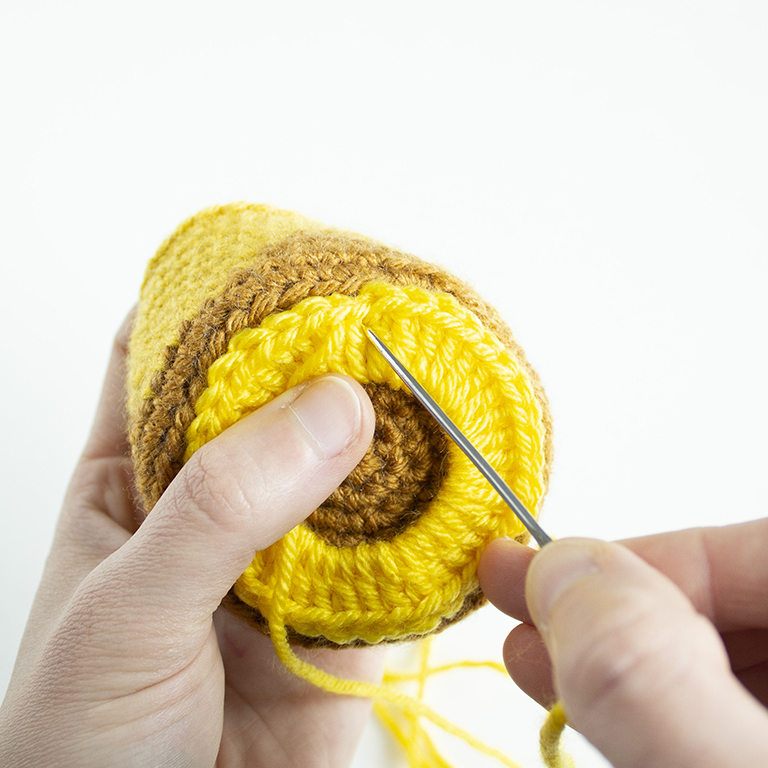
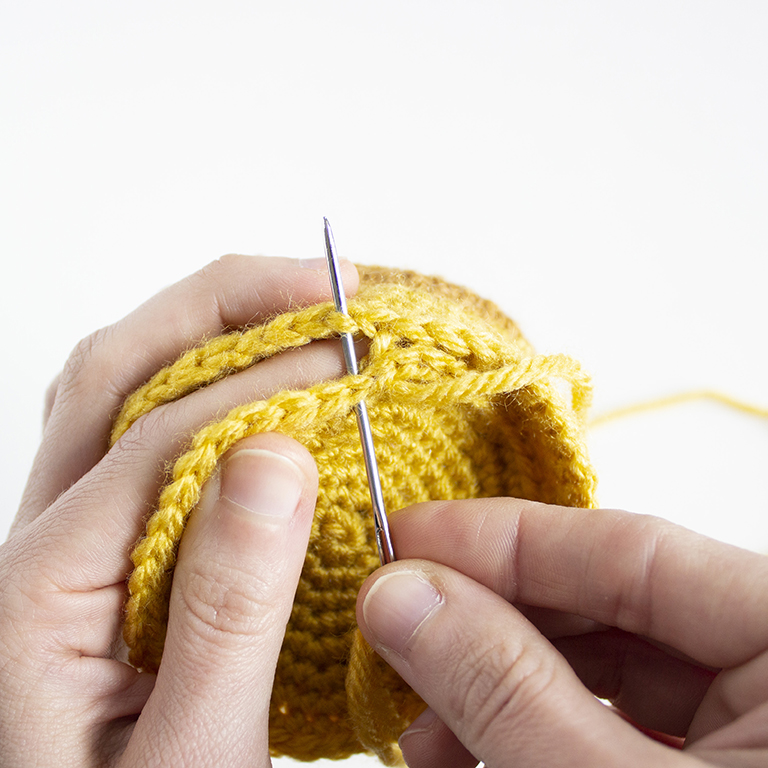
Then weave the needle back through the top and under both loops (the “V”) of the stitches from R1 of the pineapple ring. Moving to the next stitch, go under both loops and back into the cake.
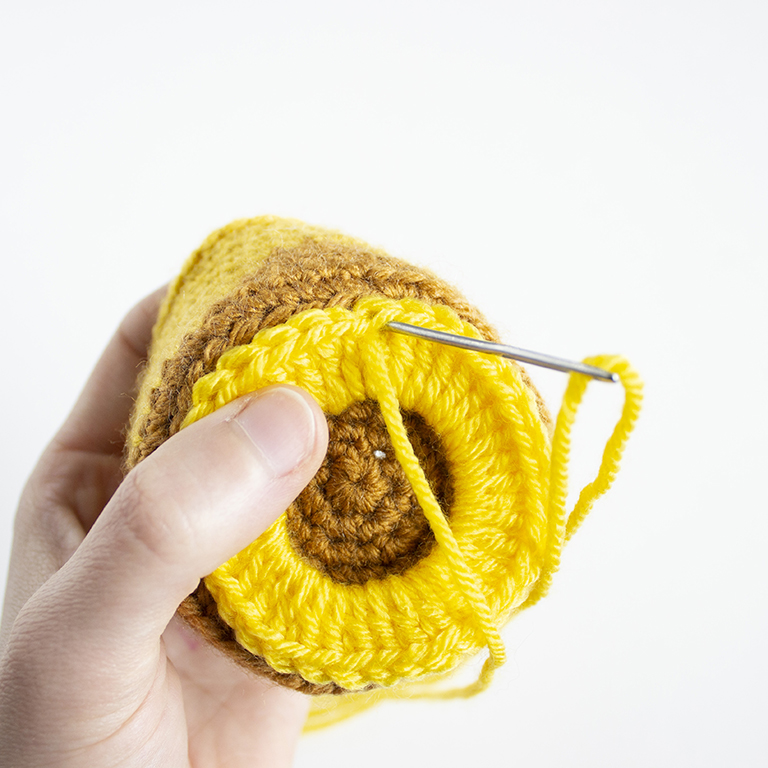
Repeat by weaving the needle back up through the cake and under both loops of the stitches from R1. Continue around until you have reached the end.
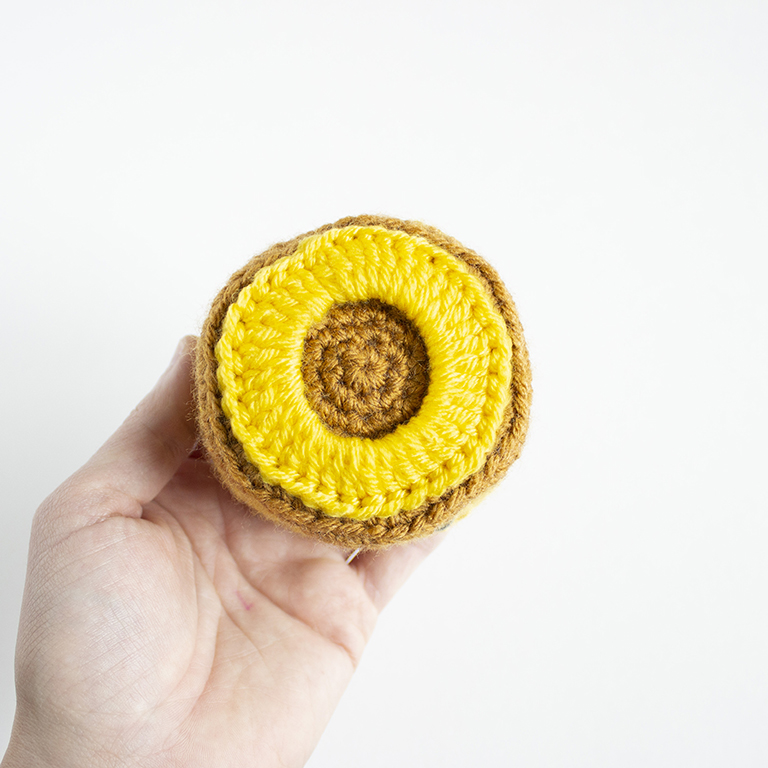
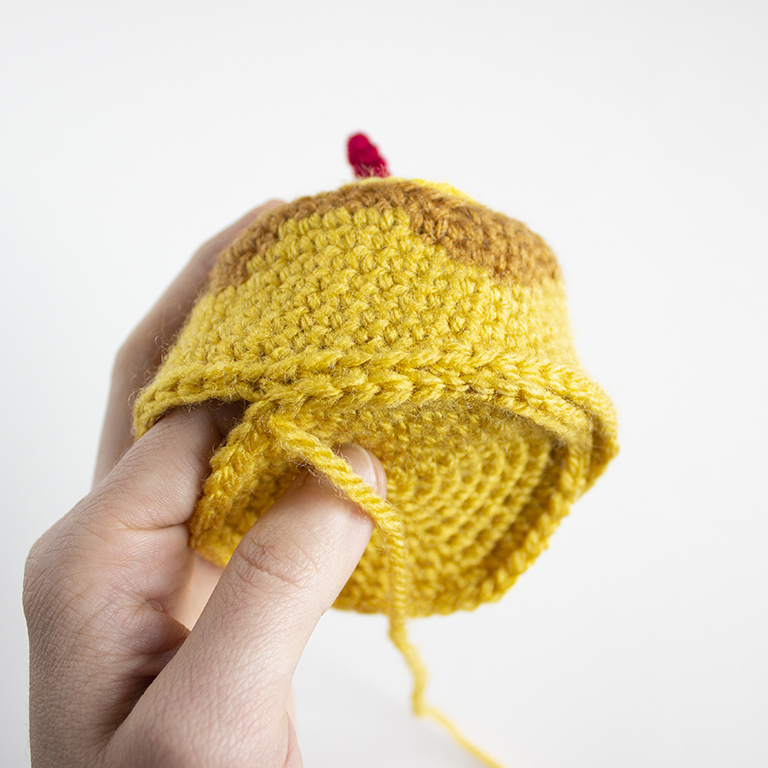
You can see in that this technique creates a nice stitching along the edge.
Prefer an ad-free, printable PDF version?
Grab the Pineapple Upside Down Cake Crochet Pattern HERE.
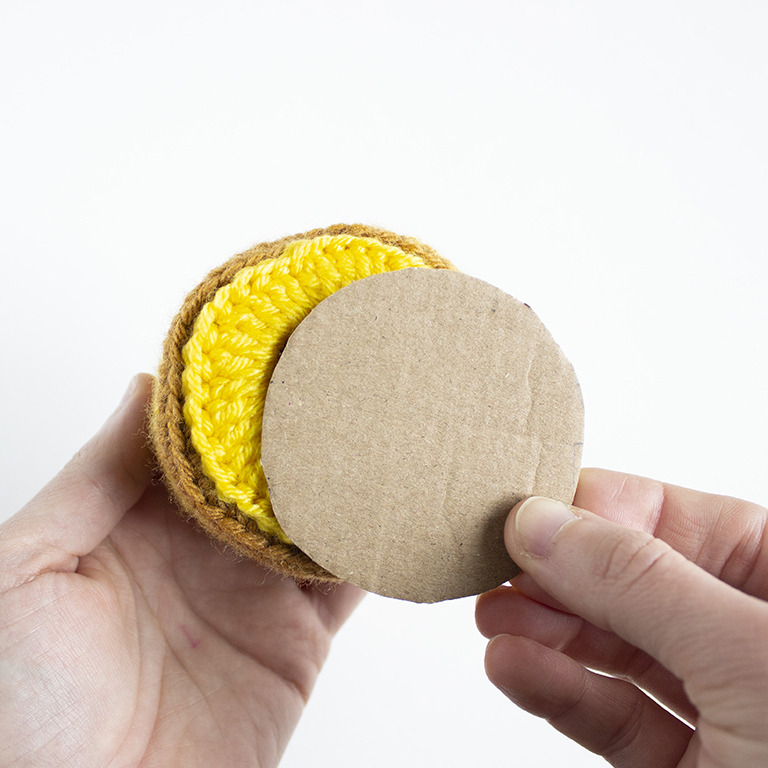
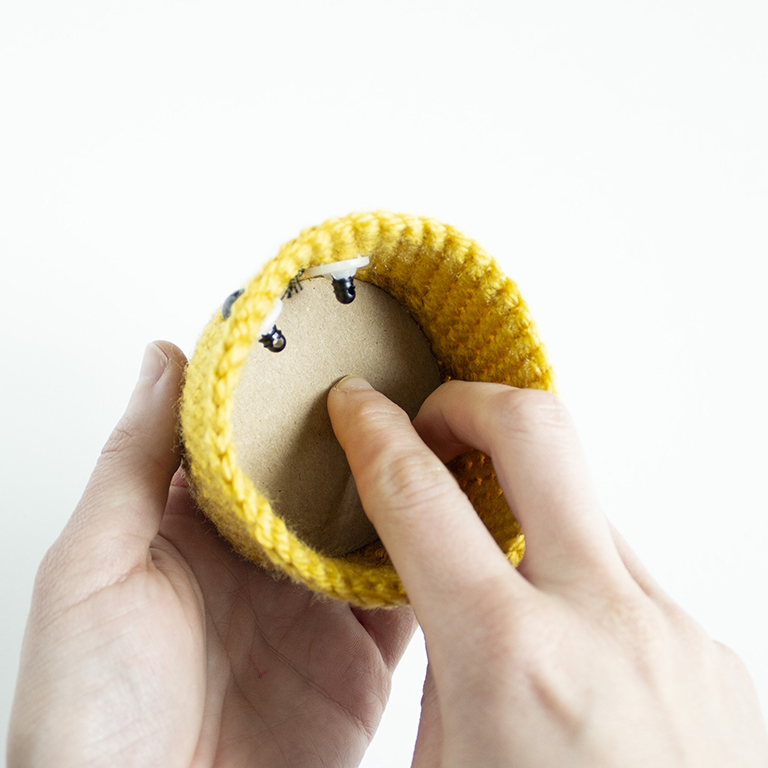
Note – The inside of the ring will not be sewn onto the cake. This doesn’t affect the ring at all, and it will still stay in place with just the one side of the ring being sewn down. With the thick cardboard, trace the top of the cake and cut out the circle. Set aside.
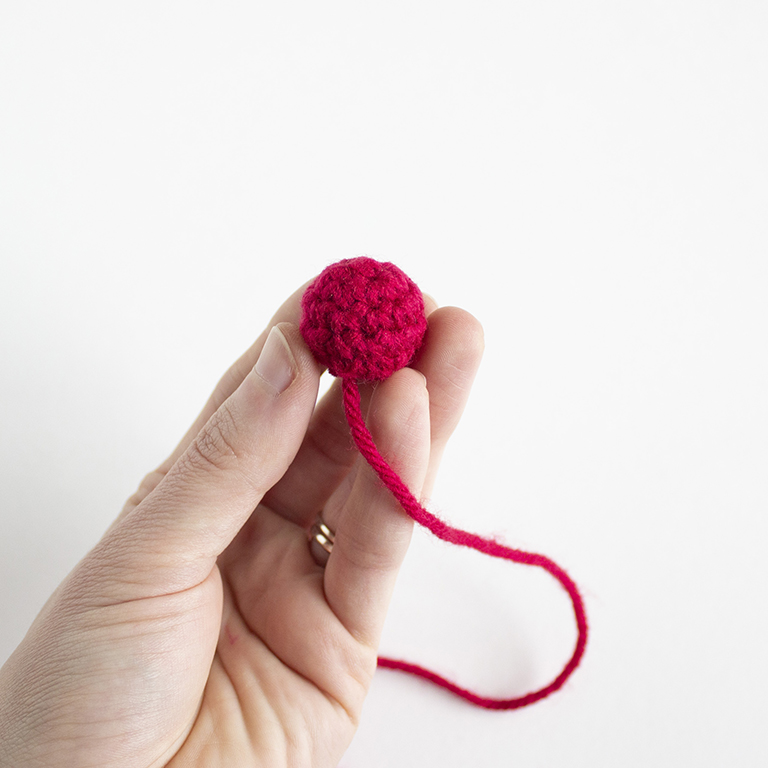
Cherry
Using cherry yarn,
R1: 6 sc in magic ring. (6 sts)
R2: Inc in each st around. (12 sts)
R3+4: Sc 12.
Begin adding fiberfill and continue as you close the piece.
R5: Inv dec around 6 times. (6 sts)
Fasten off and leave a tail to close the piece.
Make sure to leave this tail as we will use it to
sew the cherry to the top of the cake.
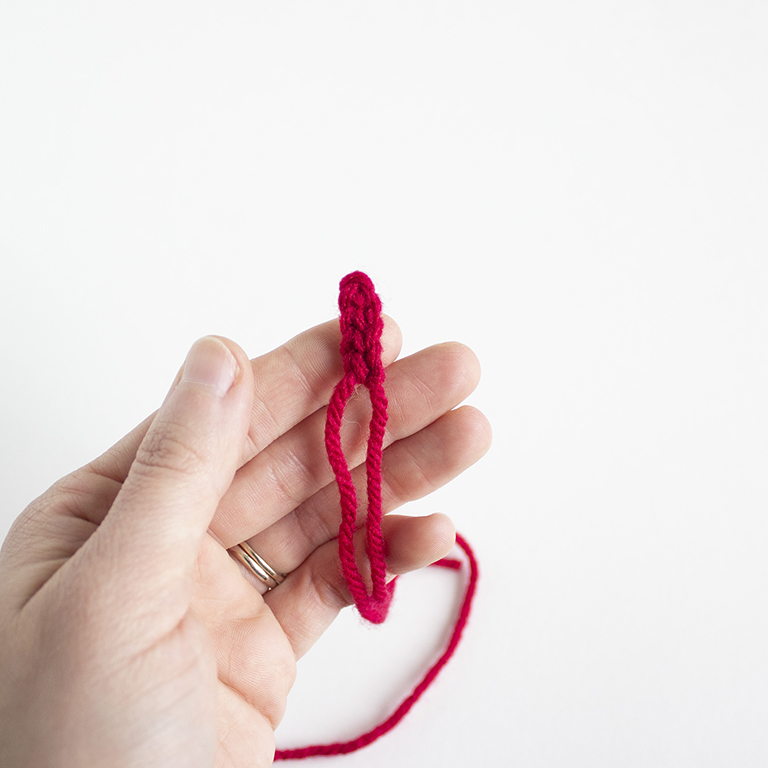
Using cherry yarn,
R1: Ch 5 then starting in the 2nd ch from hook, sl st in each space across. (4 sts)
Fasten off and leave a tail for sewing.
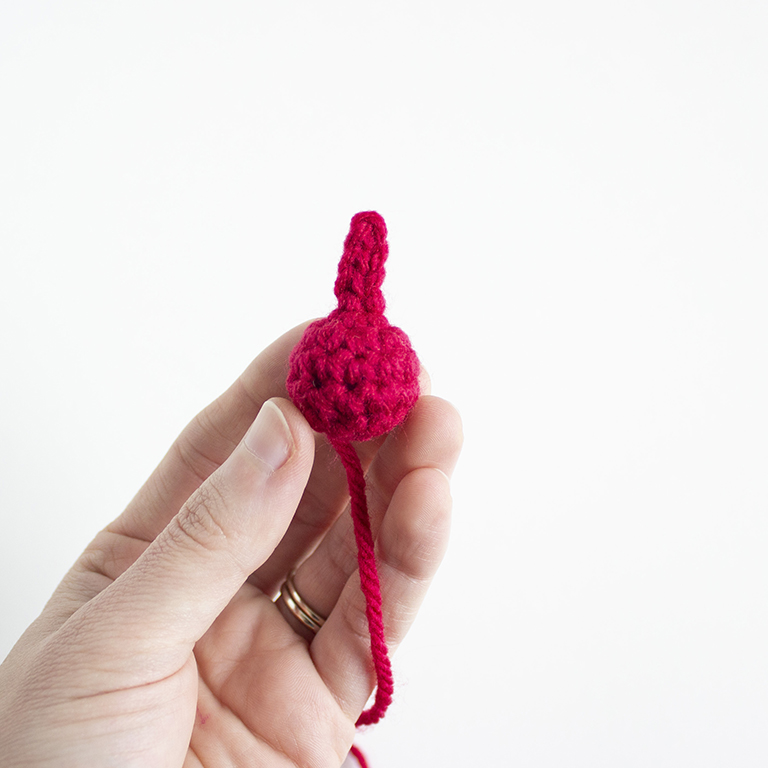
With the yarn needle, sew the stem to the top of the cherry piece. Secure the ends and hide inside the cherry.
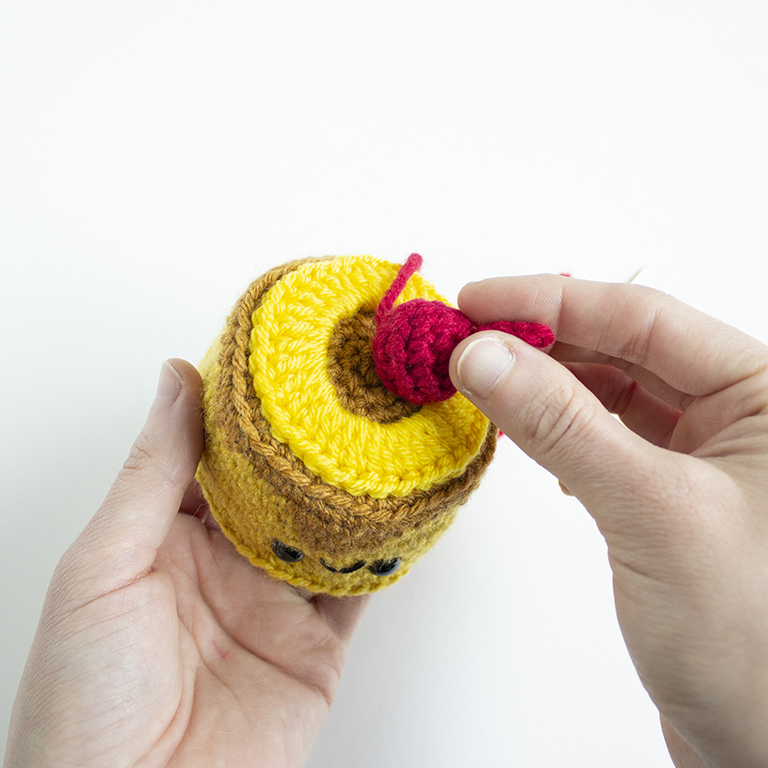
Using the leftover tail, sew the cherry to the top of the cake, placing in the center of the pineapple ring. Secure with a knot inside the cake.
Add the cardboard piece to the inside of the cake.
Cake Base
Using mustard yarn,
R1: 6 sc in magic ring. (6 sts)
R2: Inc in each st around. (12 sts)
R3: *Sc 1, inc* 6 times. (18 sts)
R4: *Sc 2, inc* 6 times. (24 sts)
R5: *Sc 3, inc* 6 times. (30 sts)
R6: *Sc 4, inc* 6 times. (36 sts)
R7: *Sc 5, inc* 6 times. (42 sts)
R8: *Sc 13, inc* 3 times. (45 sts)
Fasten off and leave an extra long tail for sewing.
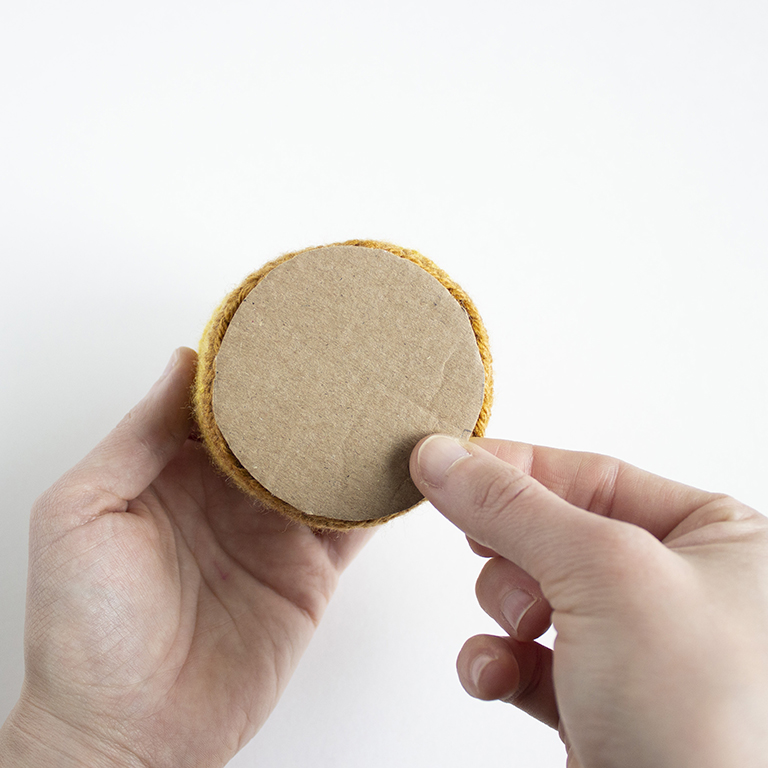
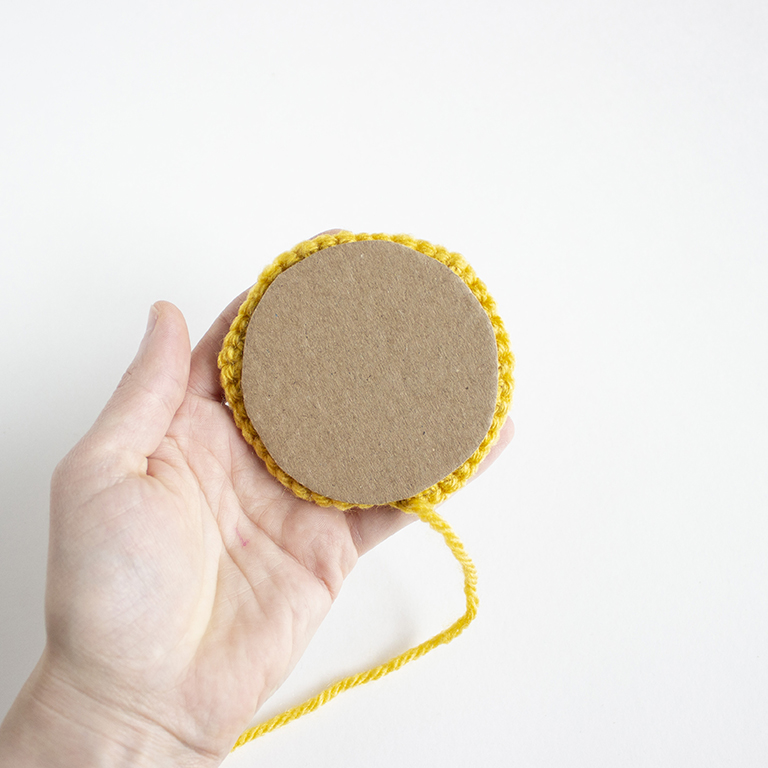
With the thick cardboard, trace the base piece and cut out the circle. Set aside.
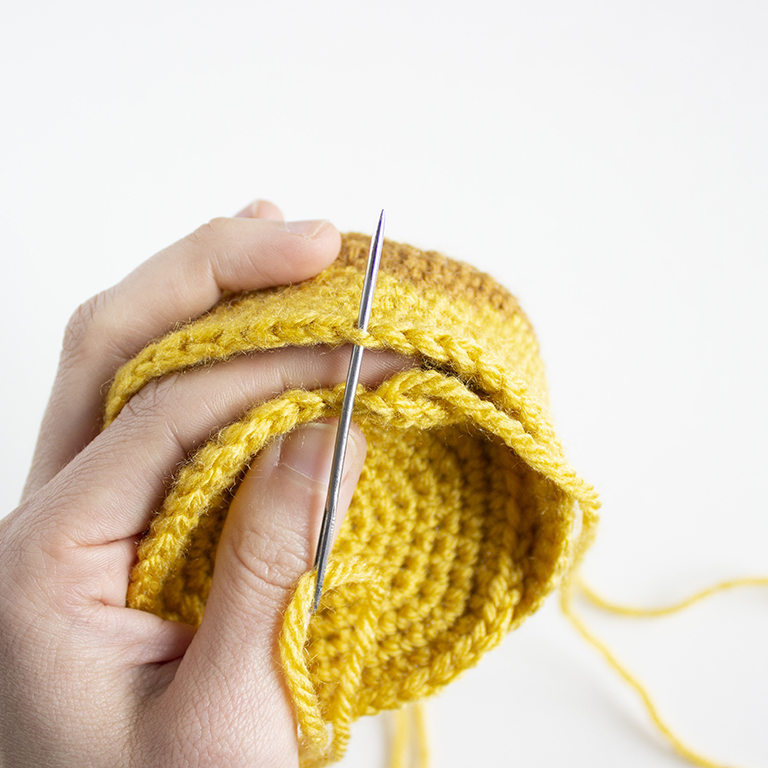
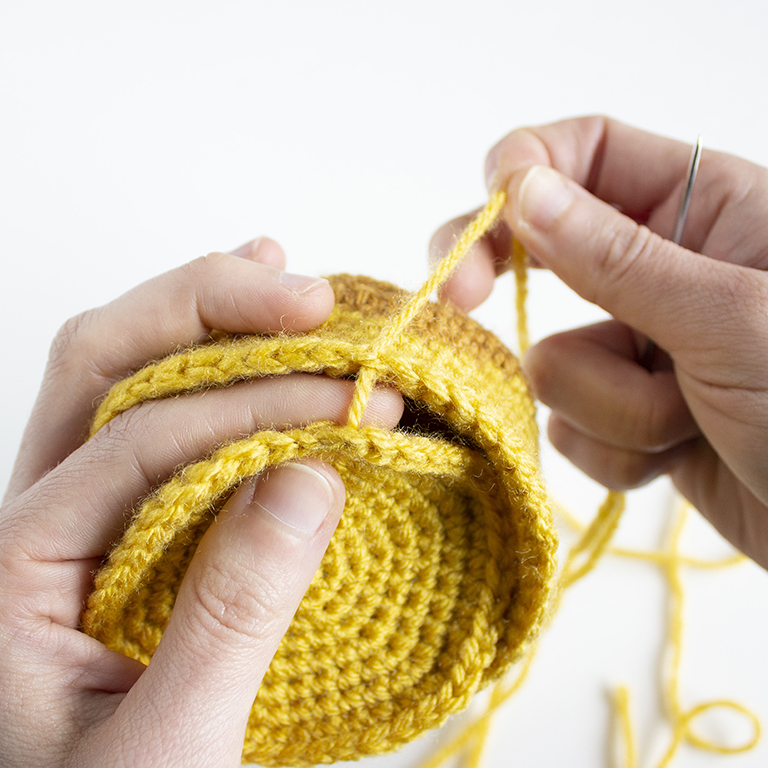
With the yarn needle, sew the base piece to the main cake piece. Weave the needle through the back loops from R16 of the cake and then under both loops (the “V”) of the stitches from R8 of the base piece.
Move to the next stitch on the base and go under both loops and then into the next
back loop of the cake.
Continue this technique to create a clean finish.
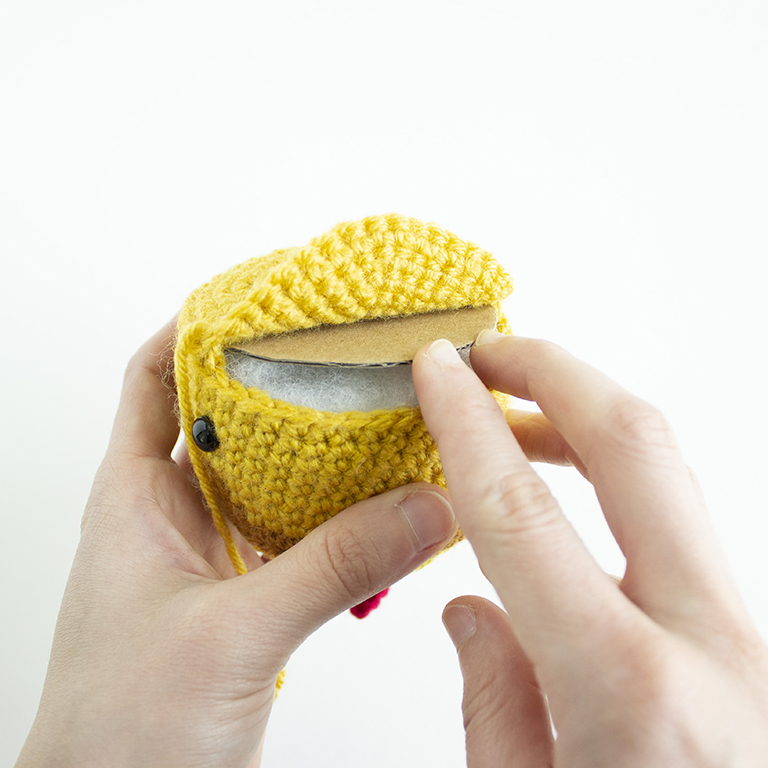
About halfway through, add fiberfill and then add the cardboard circle to contain it.
Make sure to add all the fiberfill you need.
Prefer an ad-free, printable PDF version?
Grab the Pineapple Upside Down Cake Crochet Pattern HERE.
Continue sewing the piece closed then secure with a knot and hide the end inside the cake. To finish, cut two small pink felt cheeks and glue into place.
Thank you so much for participating in this week’s Amigurumi Bake Off Challenge! I hope you loved this FREE Pineapple Upside Down Cake crochet pattern!
➤If you’d like to make more Free Amigurumi Patterns, check them out here!
Be sure to check out all the other crochet designers from the Amigurumi Bake Off for their amigurumi dessert patterns as well!
If you have any trouble with this crochet pattern, please don’t hesitate to reach out!
If you would like to make even more free crochet amigurumi cuties check others out here!
This free crochet pineapple upside down cake pattern is an original amigurumi pattern by Lauren Espy of A Menagerie of Stitches. Please do not claim this crochet pattern as your own. If you’d like to share this crochet pattern, you may provide a link to this post but please do not reprint it on your website.
You may sell products made from this amigurumi pattern but please credit me, Lauren Espy of A Menagerie of Stitches, and provide a link to my blog www.amenagerieofstitchesblog.com Absolutely no mass production or manufacturing of any kind is allowed. Thank you for understanding.
Happy Crocheting!
Lauren
Disclaimer- This crochet post contains affiliate links. By clicking these links, you help support me and my business at no cost to you.
