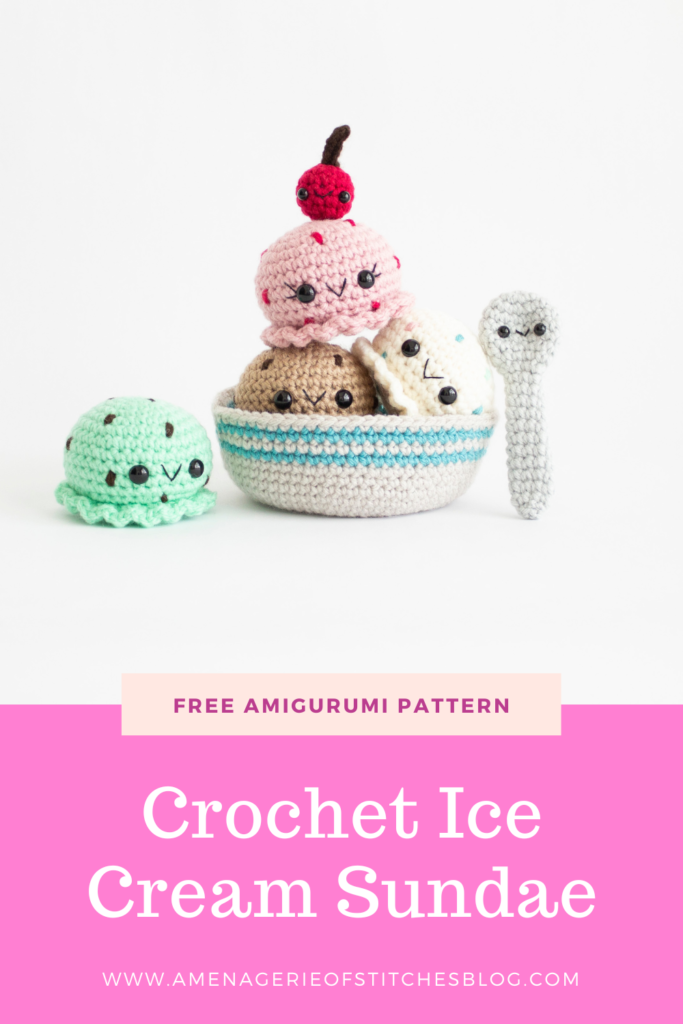
Summer is quickly approaching which can only mean one thing- ICE CREAM!
When I think of summer, I immediately think of ice cream sundaes. With the warmer months quickly coming up, I had to make a crocheted version of an ice cream sundae! I’m a firm believer in that ice cream can be eaten all year round, even when it’s super cold outside. But there’s just something about eating ice cream on a hot summer day that hits differently. Maybe it’s those days spent by the pool while the sun is shining or when you just need a cold treat to cool you down after a long hike.
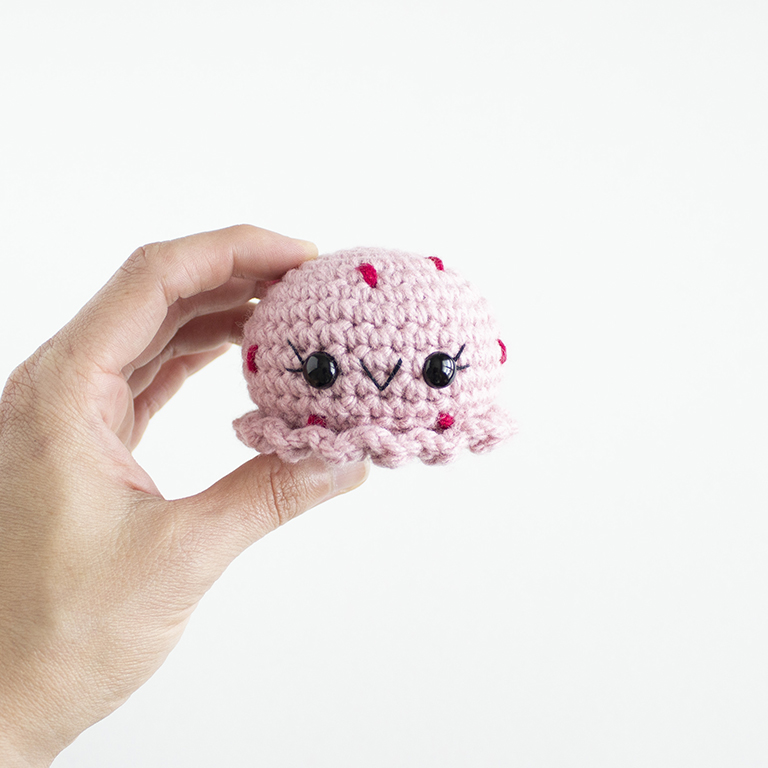
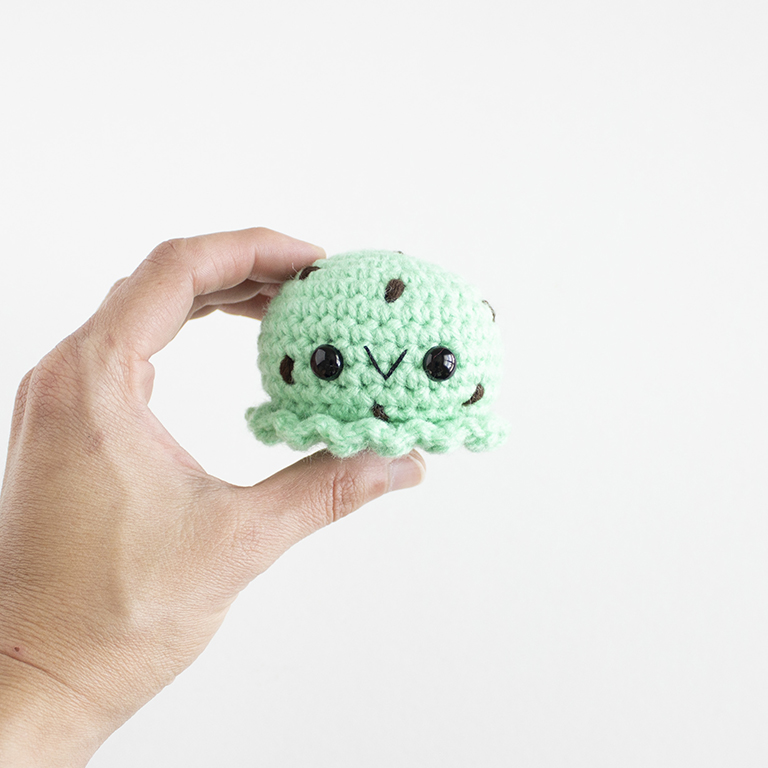
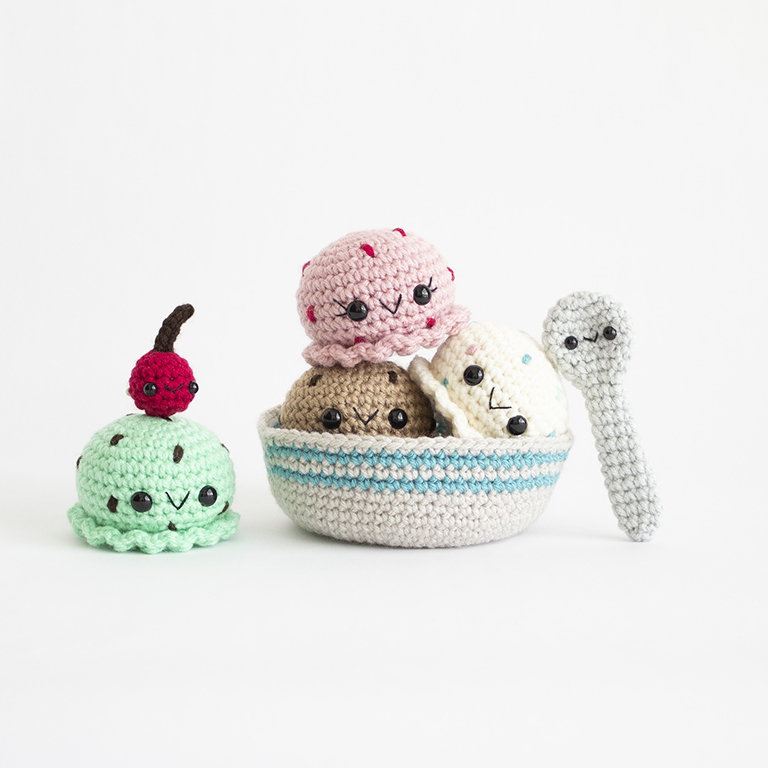
This crocheted ice cream sundae can be customized to show off your favorite ice cream flavors. Whether you’re a fan of mint chocolate chip, like me, prefer birthday cake, or like to keep it simple with strawberry or chocolate, these amigurumi scoops of ice cream will have you wanting to make a trip to the store for the real deal! Stuff your bowl with one or two crochet scoops or go big with three or four. Just don’t forget the amigurumi cherry on top and your spoon!
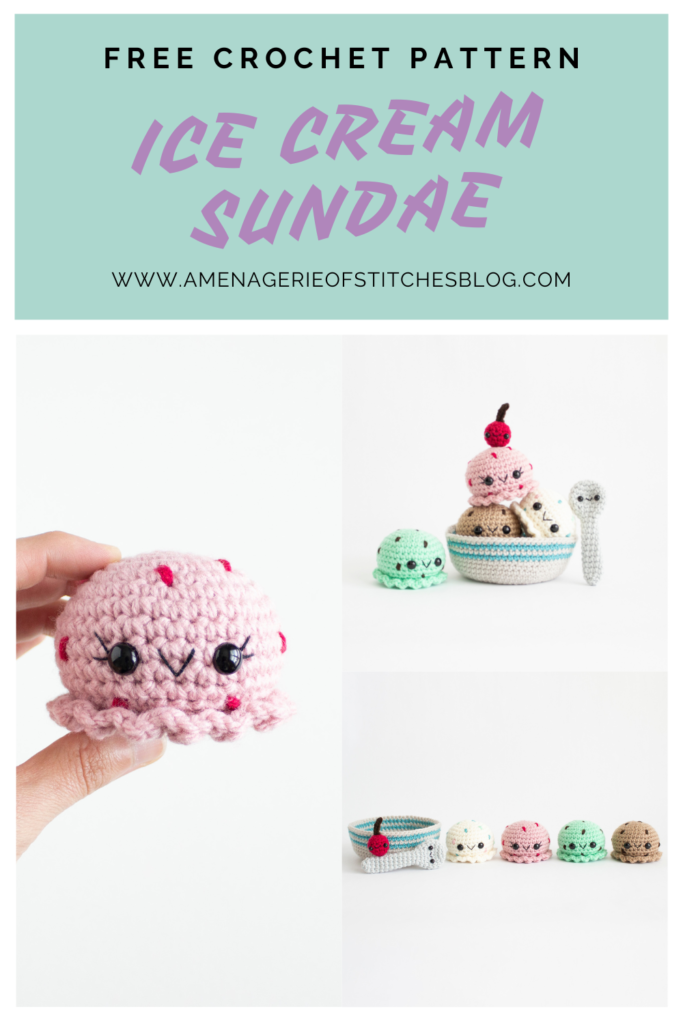
CLICK TO PIN THIS POST NOW!
Here’s what you’ll need:
- Worsted weight yarn: I used Michaels Loops & Threads Impeccable in the colors Putty, Aqua, Aran (Cream), Mint, Chocolate, Soft Taupe (Light Brown), Soft Rose (Pink), Cherry and Classic Grey
- Size F/3.75mm crochet hook
- Black embroidery floss and needle
- Four pairs of 9mm safety eyes
- Two pairs of 6mm safety eyes
- Polyester fiberfill stuffing
- Yarn needle
- Scissors
- Straight Pins
- Stitch marker
Abbreviations:
Crochet pattern is written using U.S. crochet terminology.
Crochet technique video & photo tutorials can be found here.
R- Round
Mr- Magic Ring
Sc- Single Crochet
Inc- Increase
Inv Dec- Invisible Decrease
Ch- Chain
Sl St- Slip Stitch
BLO- Back Loops Only
FLO- Front Loops Only
Hdc- Half Double Crochet
Dc- Double Crochet
St/s- Stitch/es
* – Repeat the directions in between * and * as many times as stated.
( ) – The number inside will indicate how many stitches you should have at
the end of each round.
Finished Measurements:
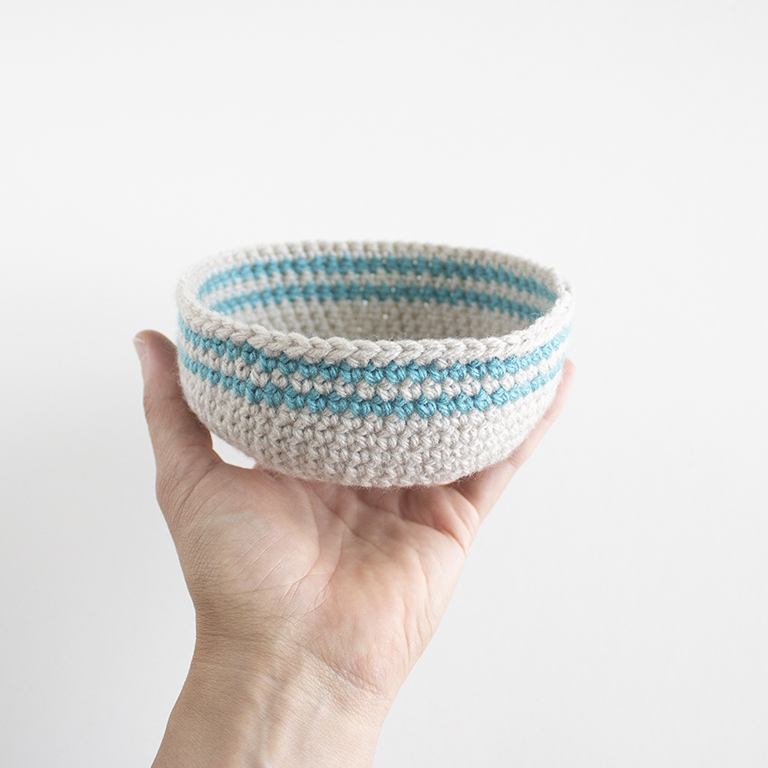
Bowl measures 2 inches tall and 5 inches wide
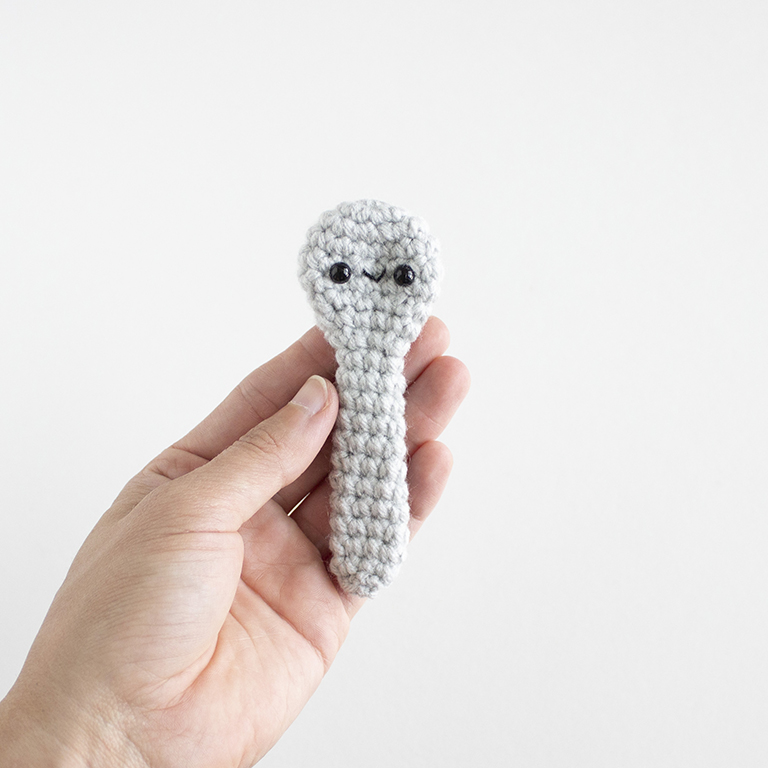
Spoon measures 4.25 inches tall and 1.5 inches wide
Scoop of ice cream measures 2 inches tall and 3 inches wide
Cherry measures 2 inches tall and 1 inch wide
*Please note- Sizes will vary depending on your tension, hook and yarn used.
Pattern Notes:
- Crochet pattern is worked in continuous rounds. The stem of the cherry is worked flat.
- In the ice cream pattern, for “hdc dc hdc, sc” this means to place the hdc dc hdc together in one stitch, then move to the next stitch and sc.
➤Clean Color Change – Video & Photo tutorial found here
➤Clean Fasten off – Video & Photo tutorial found here
Prefer an ad-free, printable PDF version?
Grab The Ice Cream Sundae Crochet Pattern HERE.
Bowl
Using putty yarn,
R1: 6 sc in magic ring. (6 sts)
R2: Inc in each st around. (12 sts)
R3: *Sc 1, inc* 6 times. (18 sts)
R4: Sc 1, inc, *sc 2, inc* 5 times, sc 1. (24 sts)
R5: *Sc 3, inc* 6 times. (30 sts)
R6: Sc 2, inc, *sc 4, inc* 5 times, sc 2. (36 sts)
R7: *Sc 5, inc* 6 times. (42 sts)
R8: Sc 3, inc, *sc 6, inc* 5 times, sc 3. (48 sts)
R9: *Sc 7, inc* 6 times. (54 sts)
R10: Sc 4, inc, *sc 8, inc* 5 times, sc 4. (60 sts)
R11: *Sc 9, inc* 6 times. (66 sts)
R12-15: Sc 66.
Change to aqua yarn,
R16: Sc 66.
Change to putty yarn,
R17: Sc 66.
Change to aqua yarn,
R18: Sc 66.
Change to putty yarn,
R19: Sc 66.
Fasten off and weave in tail. Make sure to weave in the color changes and the starting magic ring tail.
Spoon
Using classic grey yarn,
R1: 6 sc in magic ring. (6 sts)
R2: Inc in each st around. (12 sts)
R3: *Sc 1, inc* 6 times. (18 sts)
R4-6: Sc 18.
Add 6mm safety eyes between rounds 5 and 6, placing them 3 stitches apart. Sew mouth on with black embroidery floss. Melt the backs of the safety eyes, if desired. See tutorial here.
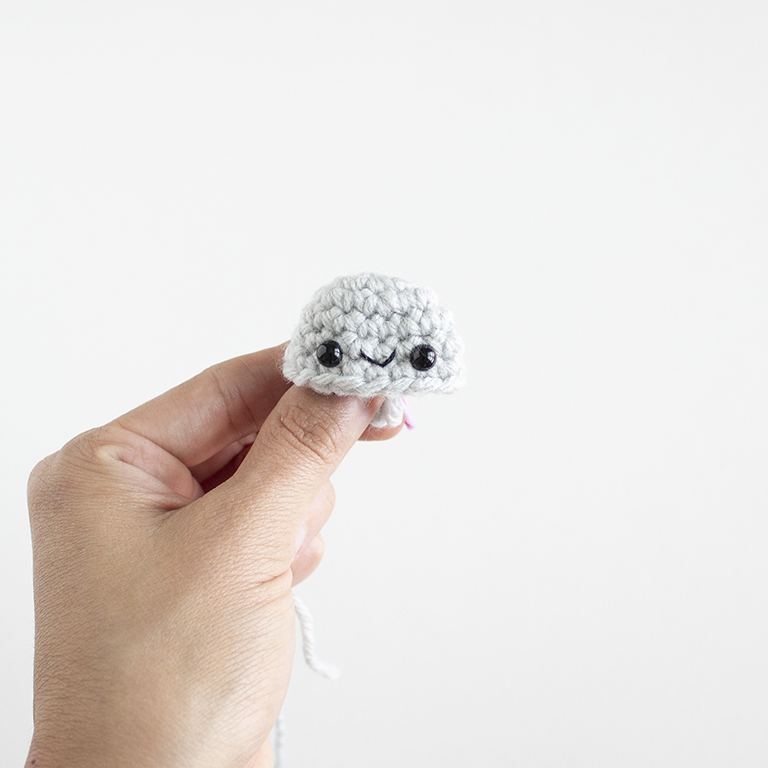
R7: *Sc 1, inv dec* 6 times. (12 sts)
R8: Sc 12.
R9: *Sc 1, inv dec* 4 times. (8 sts)
R10-20: Sc 8.
R21: Inv dec 4 times. (4 sts)
Fasten off and leave a tail to close piece. Spoon will be left unstuffed.
Prefer an ad-free, printable PDF version?
Grab The Ice Cream Sundae Crochet Pattern HERE.
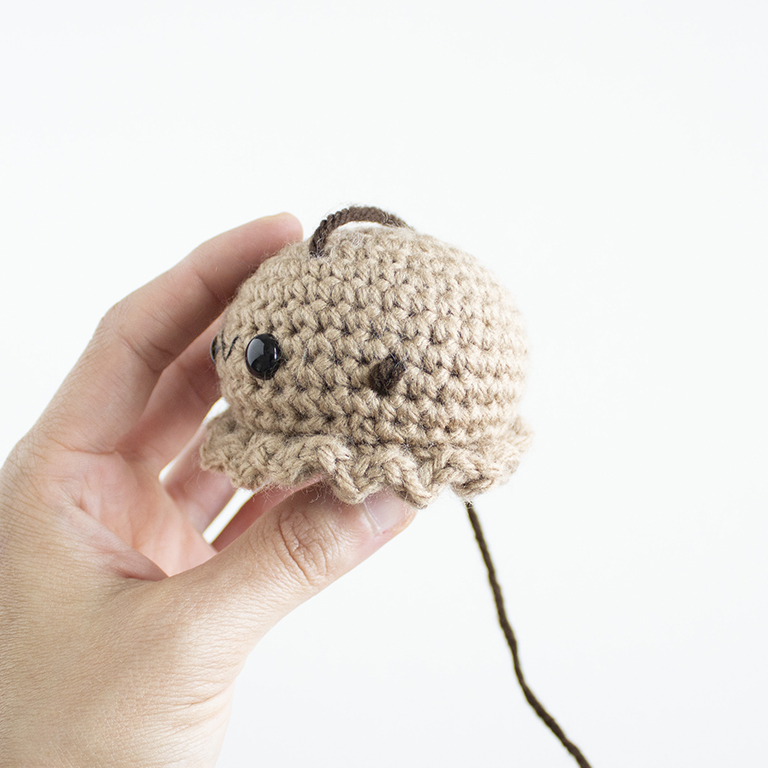
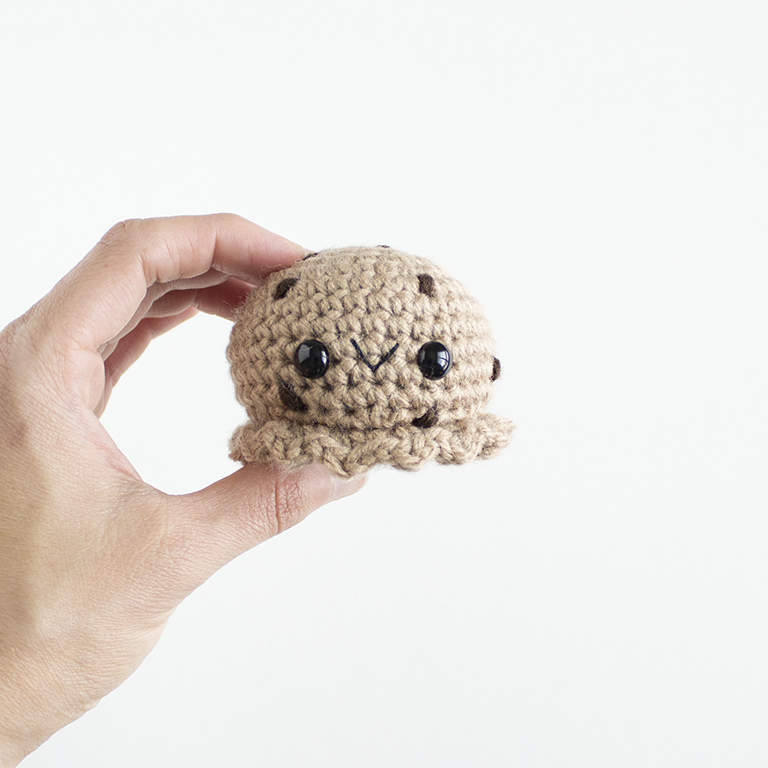
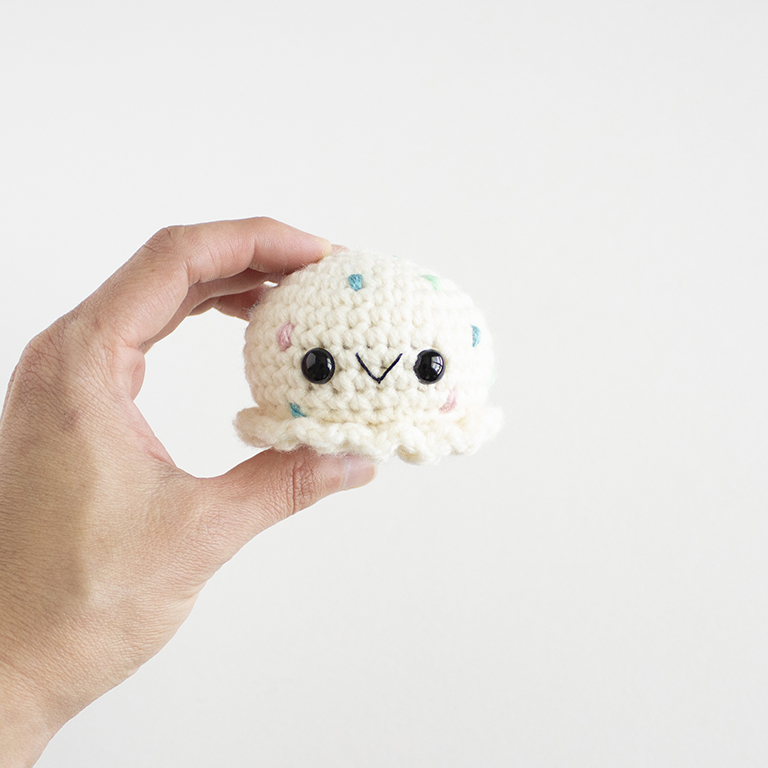
Scoop of Ice Cream – Make as many as you’d like!
Use different colors of yarn to make your favorite ice cream flavor! Below are the flavors I chose, along with the yarn colors used to make them.
Birthday Cake- Aran, Aqua, Soft Rose, and Mint
Mint Chocolate Chip- Mint and Chocolate
Strawberry- Soft Rose and Cherry
Chocolate Chunk- Soft Taupe and Chocolate
R1: 6 sc in magic ring. (6 sts)
R2: Inc in each st around. (12 sts)
R3: *Sc 1, inc* 6 times. (18 sts)
R4: Sc 1, inc, *sc 2, inc* 5 times, sc 1. (24 sts)
R5: *Sc 3, inc* 6 times. (30 sts)
R6: Sc 2, inc, *sc 4, inc* 5 times, sc 2. (36 sts)
R7-11: Sc 36.
R12: Sc 2, inv dec, *sc 4, inv dec* 5 times, sc 2. (30 sts)
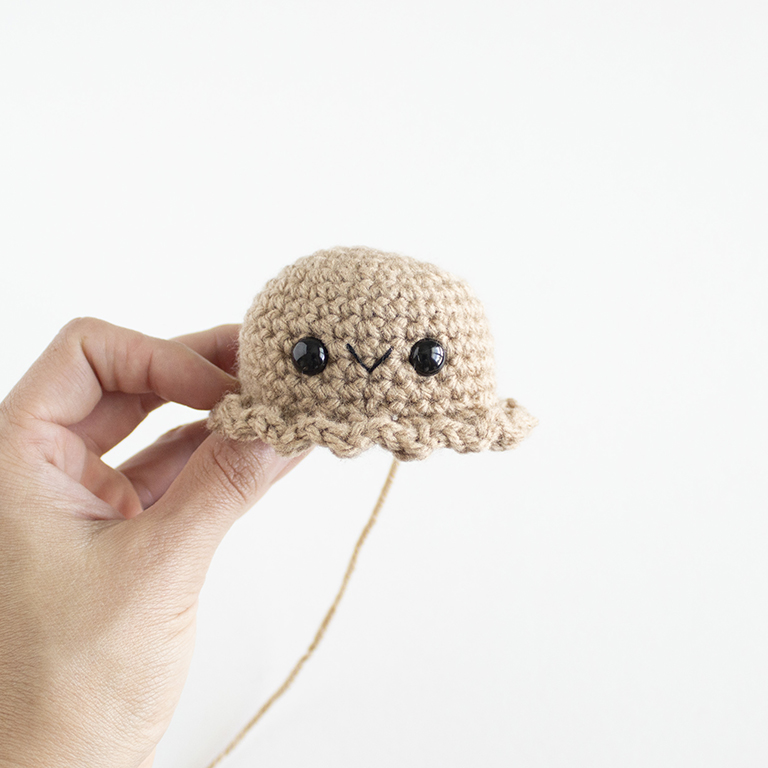
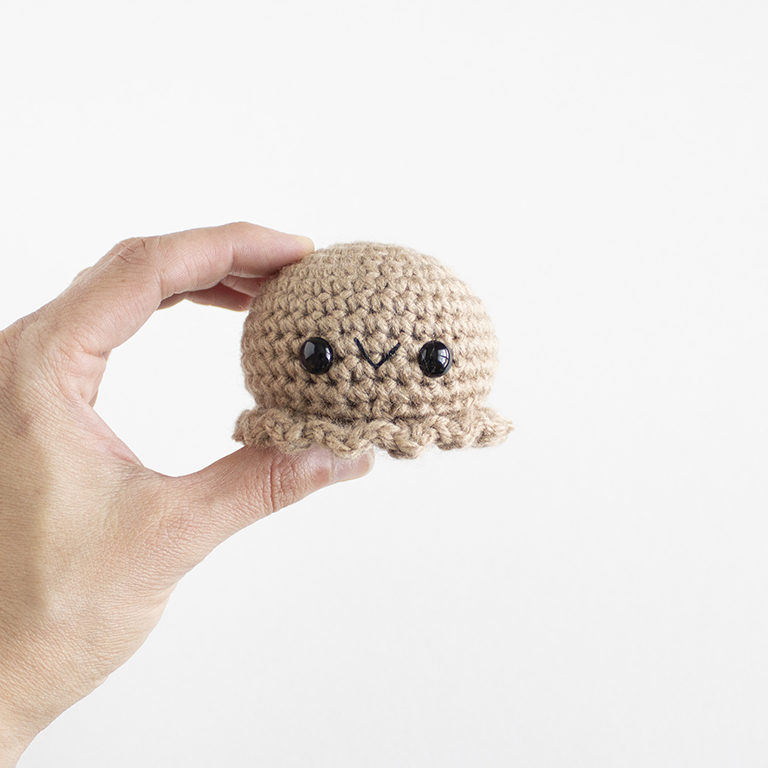
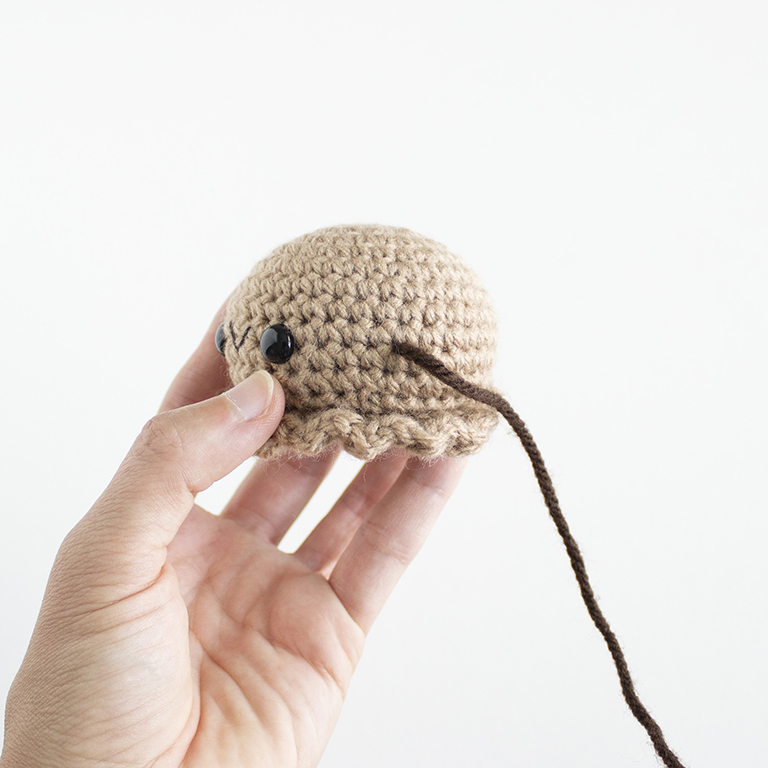
Add 9mm safety eyes between rounds 9 and 10, placing them 4 stitches apart. Sew mouth on with black embroidery floss.
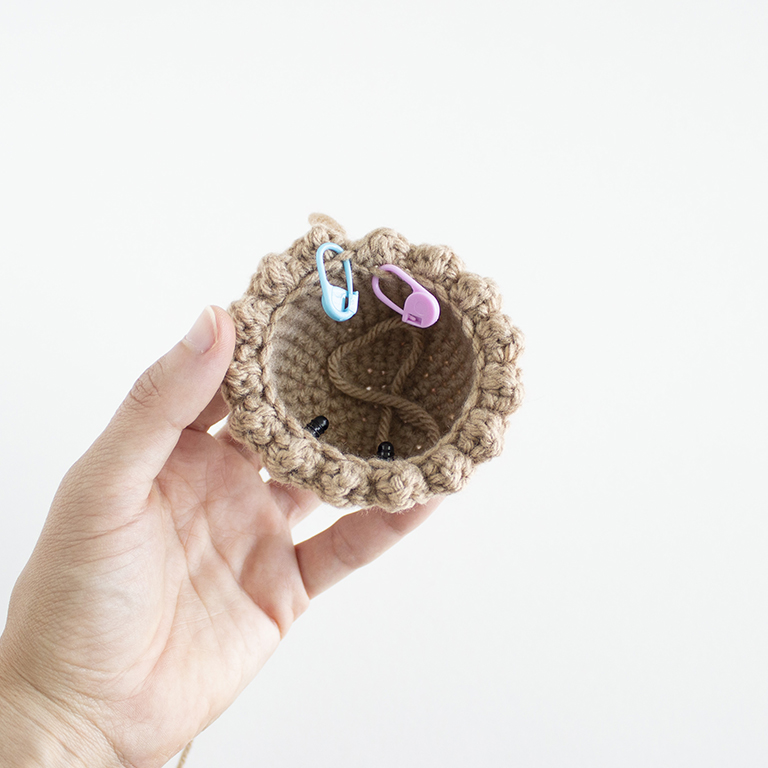
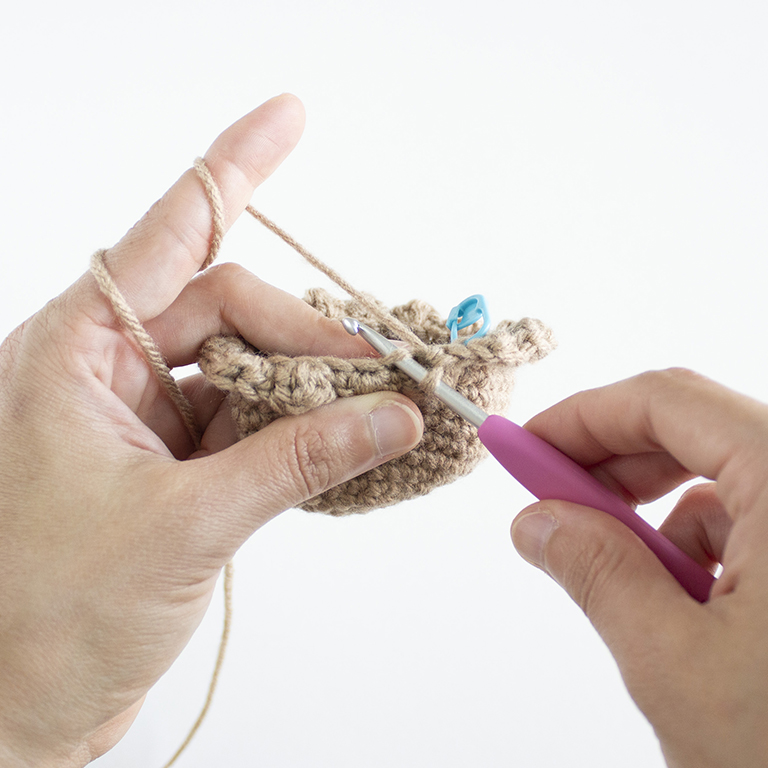
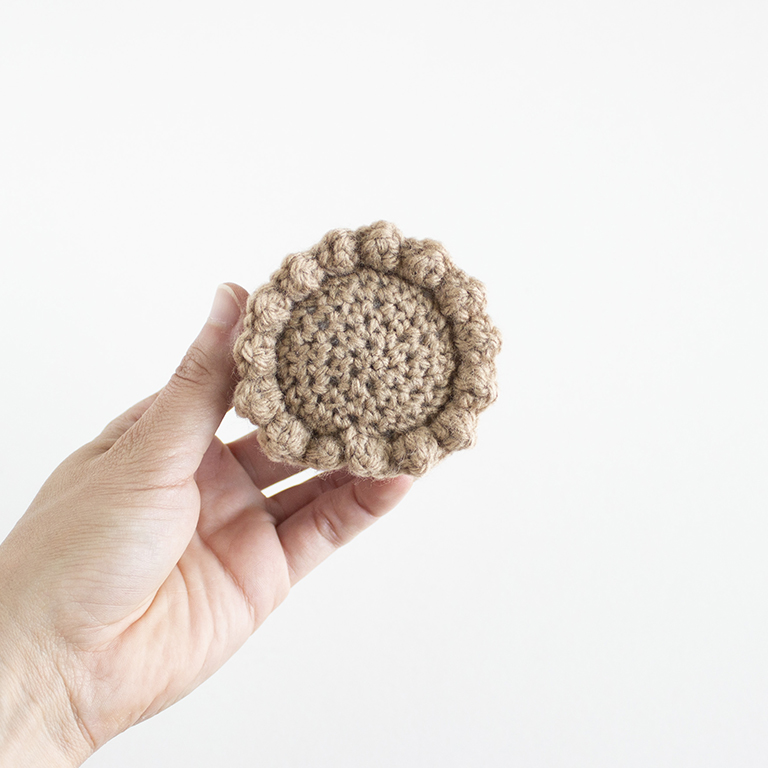
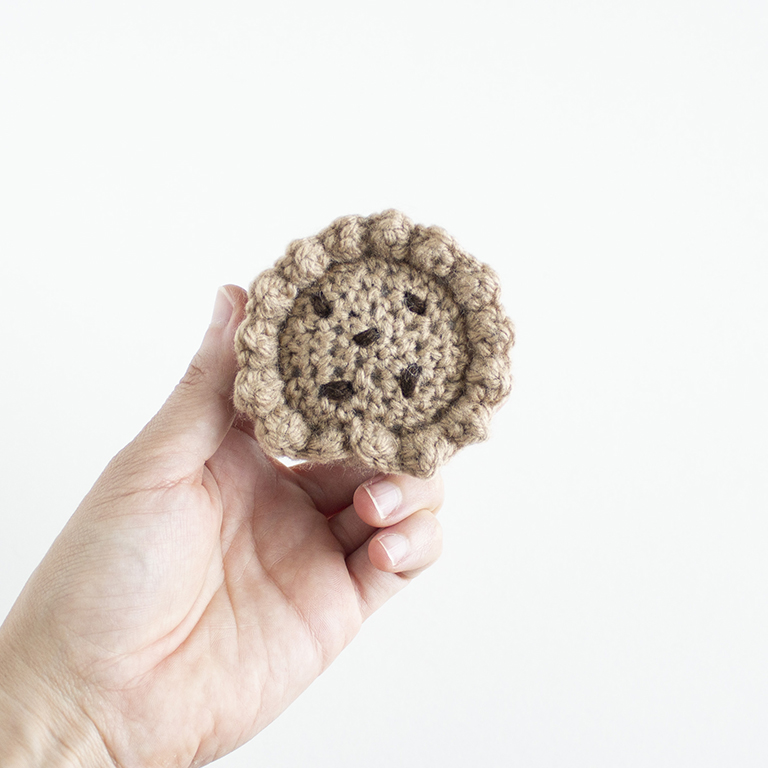
R13: In FLO, *Hdc dc hdc, sc* 15 times. (60 sts)
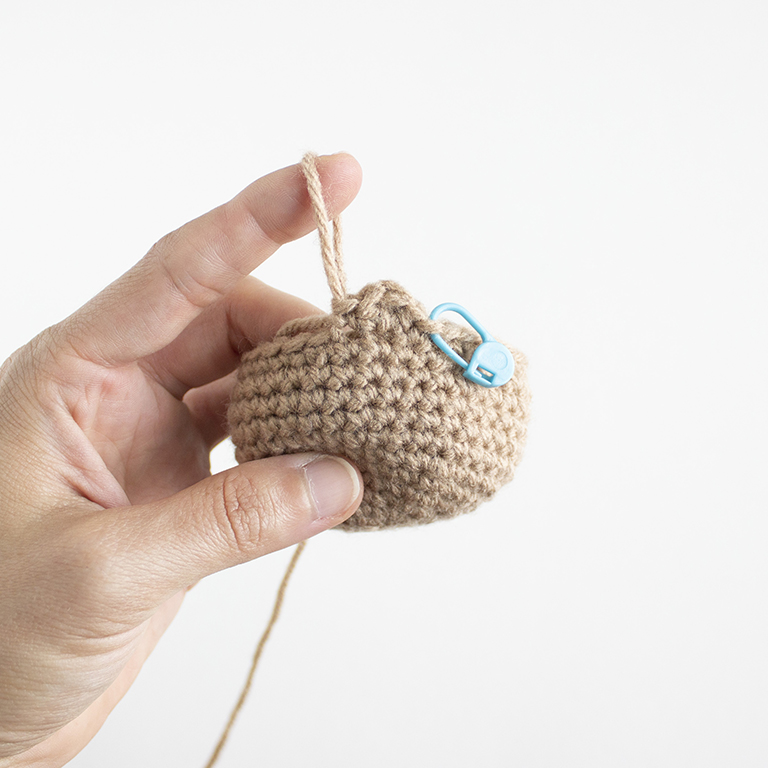
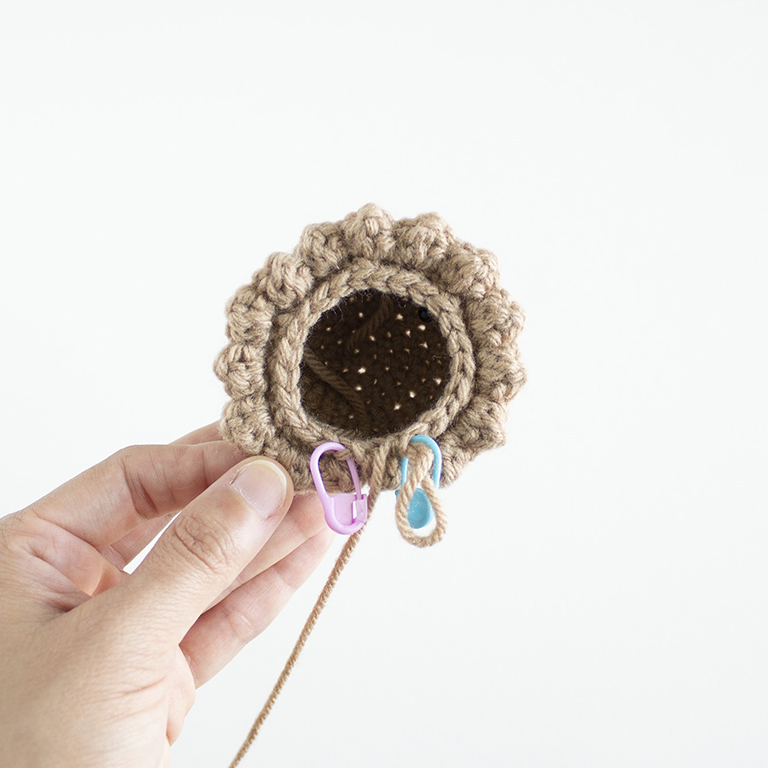
Helpful Tip – Place two different colored stitch markers to mark the end and the start of your round. I used a blue stitch marker to mark the end of the round and a pink stitch marker to mark the start of the round.
R13: In BLO, *Sc 3, inv dec* 6 times. (24 sts)
Begin adding fiberfill and continue adding as you close the piece.
R14: Sc 1, inv dec, *sc 2, inv dec* 5 times, sc 1. (18 sts)
R15: *Sc 1, inv dec* 6 times. (12 sts)
R16: Inv dec around 6 times. (6 sts)
Fasten off and leave a tail to close piece.
For the chocolate chips, cake pieces, or strawberry pieces:
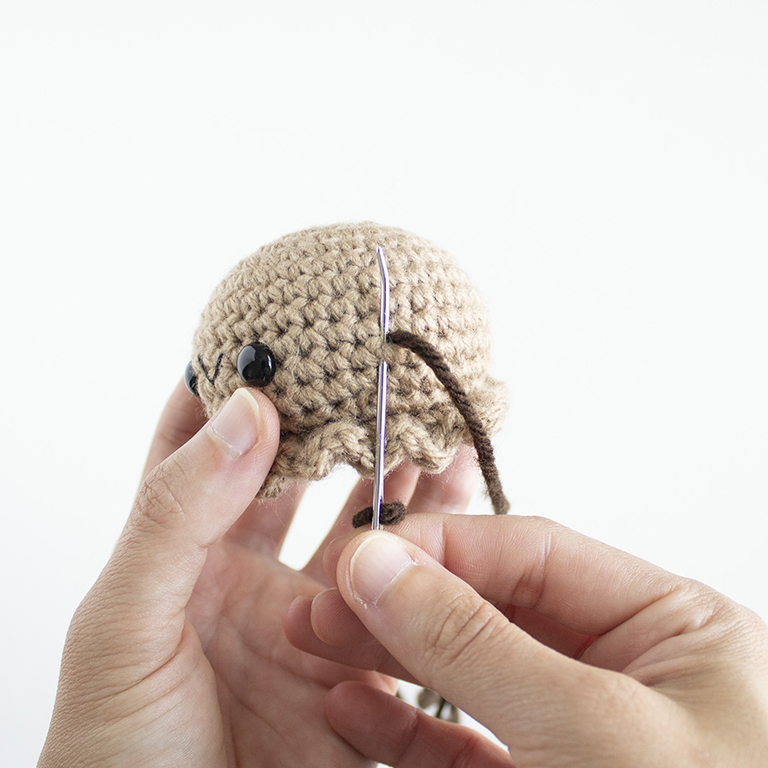
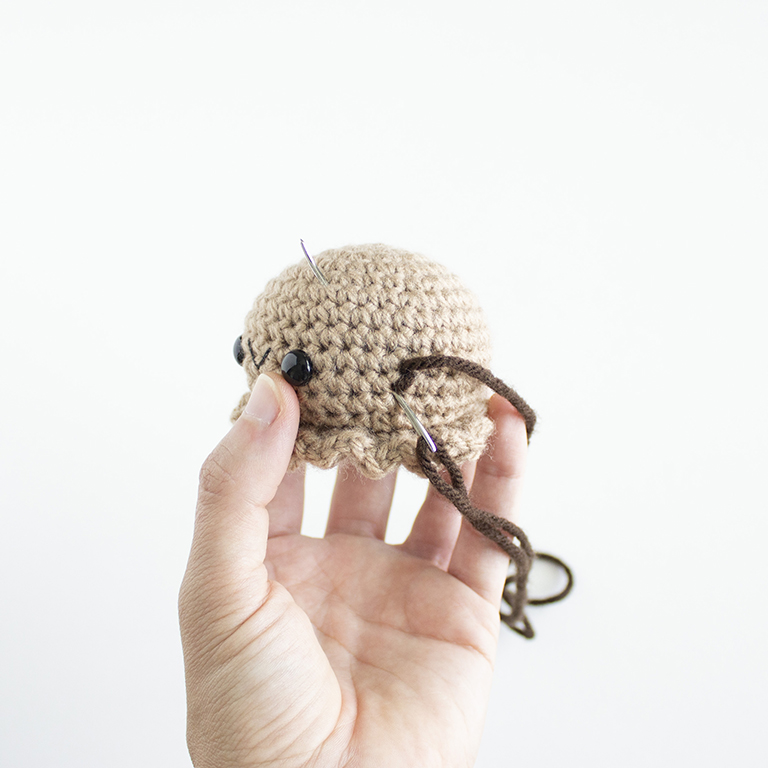
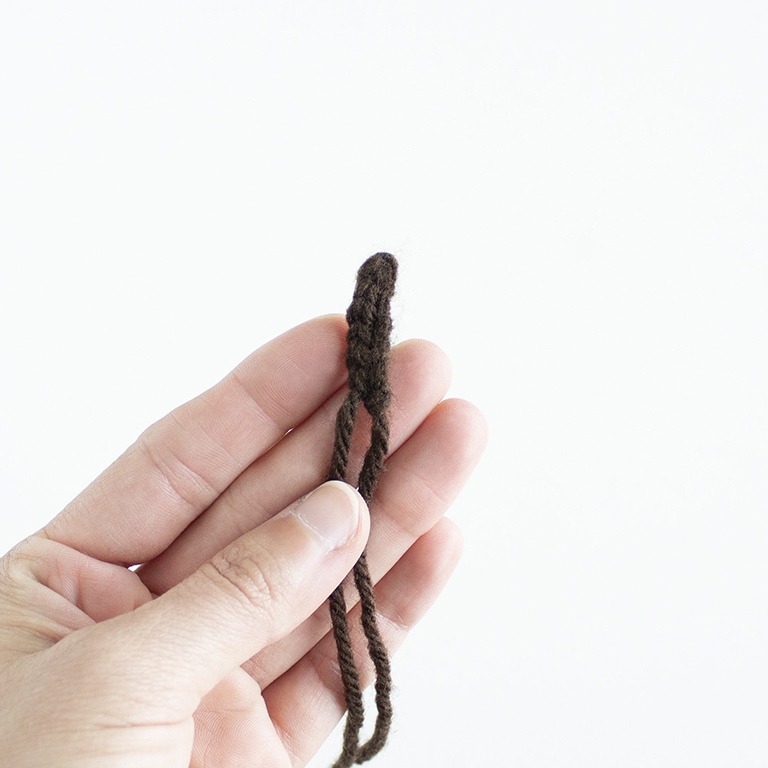
Cut a length of yarn about 15 inches or so. Tie a knot at one end. Using the yarn needle, stitch the pieces in various places all over the ice cream. I stitched over each spot twice so that the pieces were more visible and prominent. Don’t forget to make pieces on the bottom of the scoop as well!
Secure the yarn with a tail and hide inside the piece.
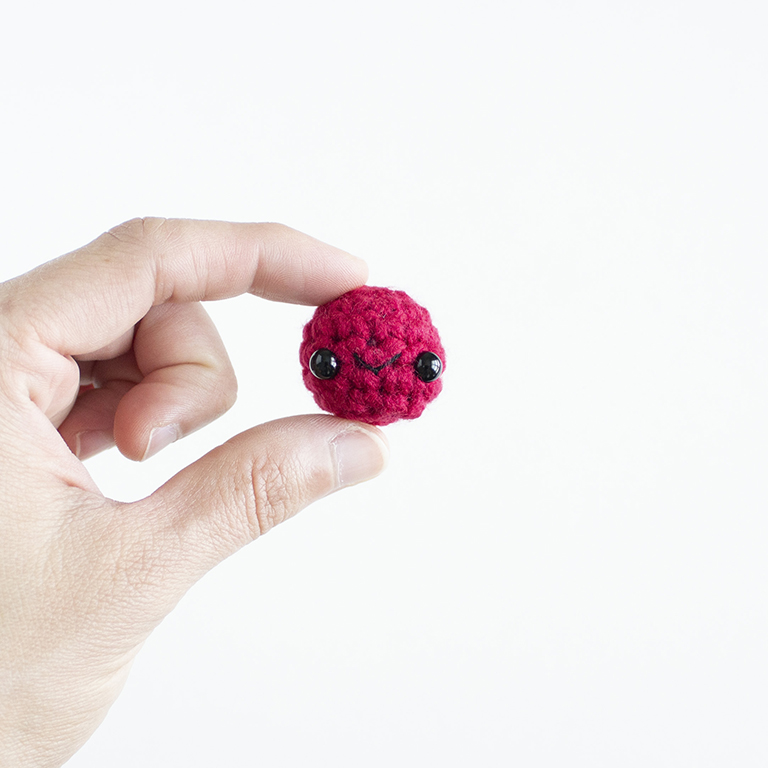
Cherry
Using cherry yarn,
R1: 4 sc in magic ring. (4 sts)
R2: Inc in each st around. (8 sts)
R3: *Sc 1, inc* 4 times. (12 sts)
R4-6: Sc 12.
Add 6mm safety eyes between rounds 5 and 6, placing them about 2 stitches apart. Sew mouth on with black embroidery floss.
R7: *Sc 1, inv dec* 4 times. (8 sts)
Add fiberfill to the piece.
R8: Inv dec around 4 times. (4 sts)
Fasten off and leave a tail to close piece.
Prefer an ad-free, printable PDF version?
Grab The Ice Cream Sundae Crochet Pattern HERE.
Stem
Using chocolate yarn,
R1: Ch 7 then starting in the 2nd chain from hook, sl st across. (6 sts)
Fasten off and leave a tail for sewing.
➤Make sure to check out all of my other free crochet patterns here!
Using the yarn needle, sew the stem to the top of the cherry, right on the magic ring. Secure with a knot and hide the ends inside the piece.
Assemble your amigurumi ice cream sundae as desired! You can leave the cherry separate, or you can glue/sew it into place on a scoop of ice cream.
CLICK TO PIN THIS POST NOW!
And there you have it! A super adorable and easy to make crochet ice cream sundae! I hope you’ve loved this free amigurumi ice cream sundae pattern. I can’t wait to see all the adorable crochet sundaes you all make. Please be sure to tag me in your ice cream posts on Instagram @amenagerieofstitches and use the hashtag #amenagerieofstitches
Happy Crocheting!
Lauren
If you have any trouble with this crochet pattern, please don’t hesitate to reach out!
If you would like to make even more free amigurumi cuties check others out here!
This crochet ice cream sundae pattern is an original pattern by Lauren Espy of A Menagerie of Stitches. Please do not claim this amigurumi pattern as your own. If you’d like to share this crochet pattern, you may provide a link to this post but please do not reprint it on your website. You may sell products made from this crochet pattern but please credit me, Lauren Espy of A Menagerie of Stitches, and provide a link to my blog www.amenagerieofstitchesblog.com Absolutely no mass production or manufacturing of any kind is allowed. Thank you for understanding.
Disclaimer- This crochet post contains affiliate links. By clicking these links, you help support me and my business at no cost to you.
