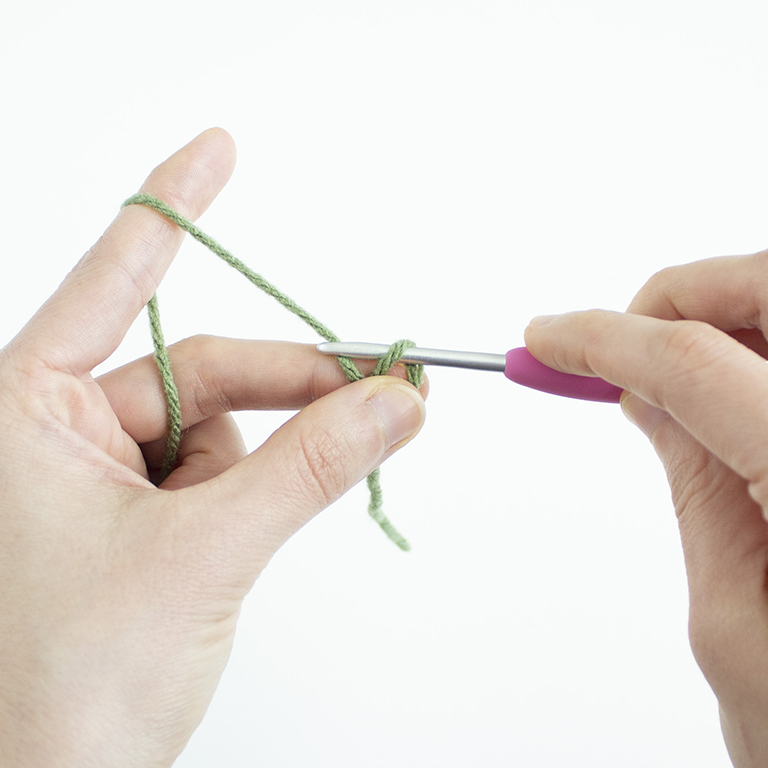
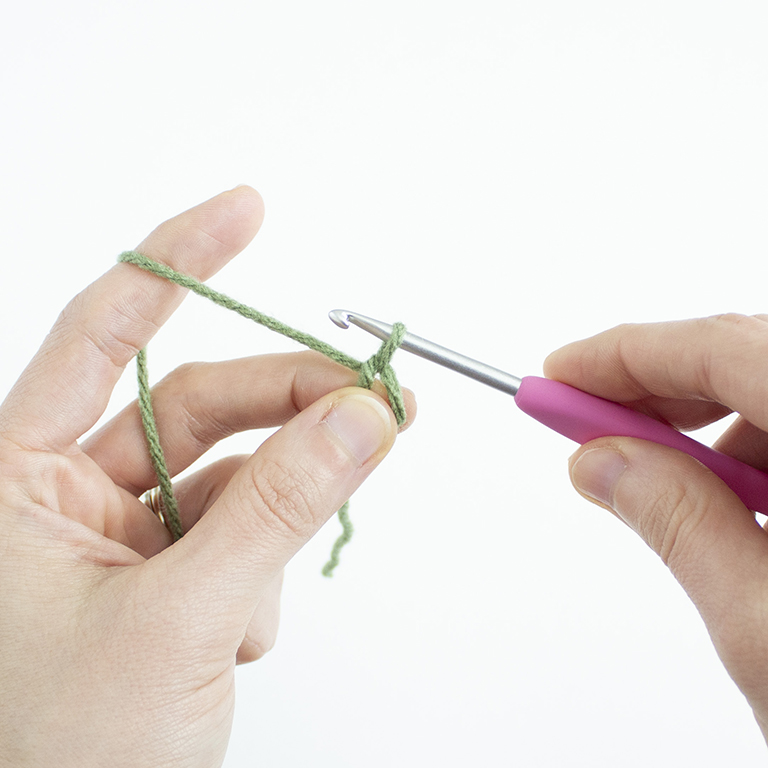
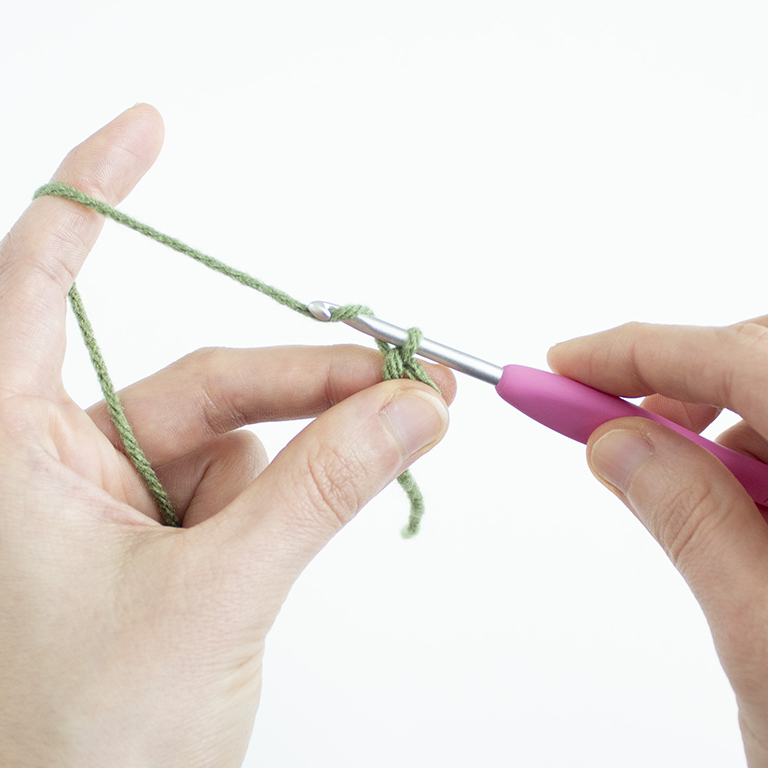
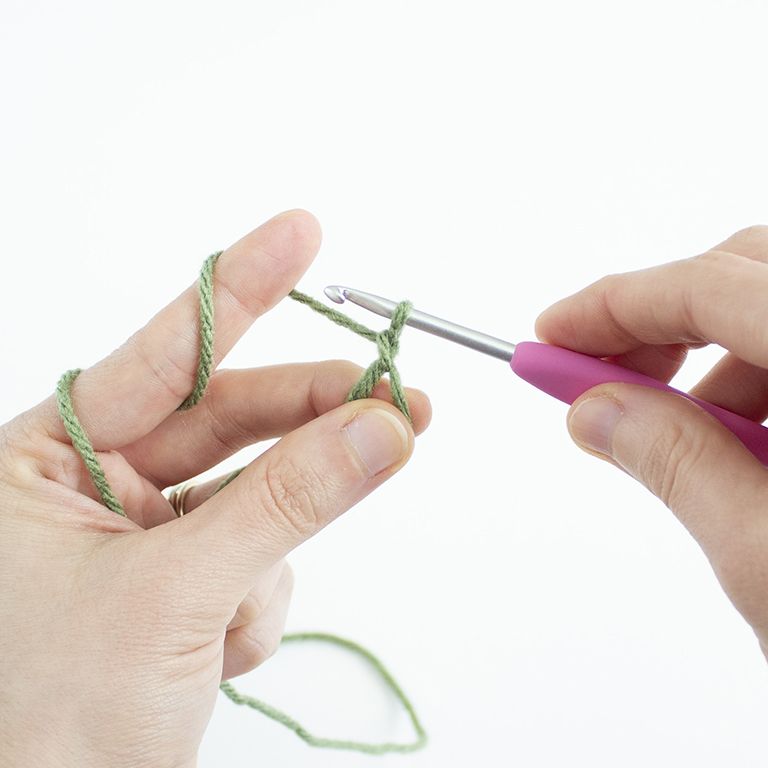
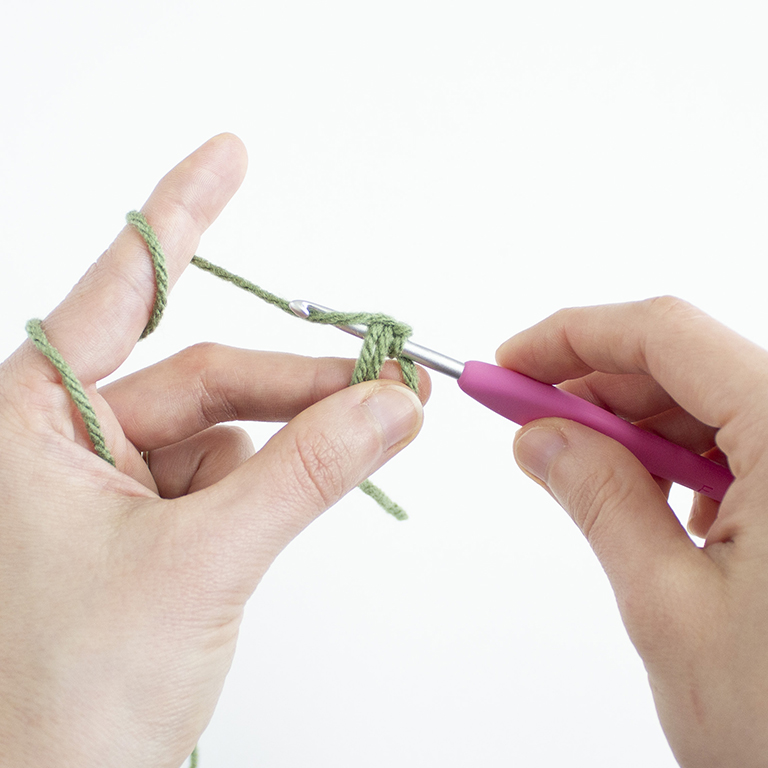
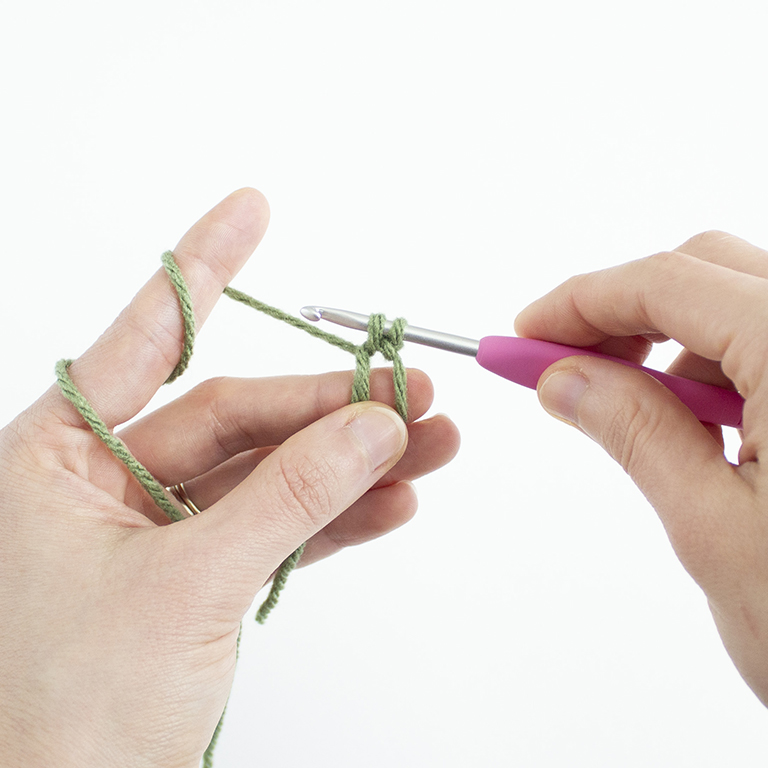
A Magic Ring is also known as an adjustable ring, magic circle, and many other things. In this tutorial I teach you my preferred method of how to crochet a magic ring. I like this method best because it closes up the piece more and doesn’t leave a small hole in the top like some other ways.

Check out my other crochet how to stitches and techniques!
Follow along with the video or scroll down for the written tutorial with step by step photos for how to Magic Ring – Abbreviated as (Mr)
To Crochet A Magic Ring
Step 1: Make a loop and place the working yarn on top of the loose tail.
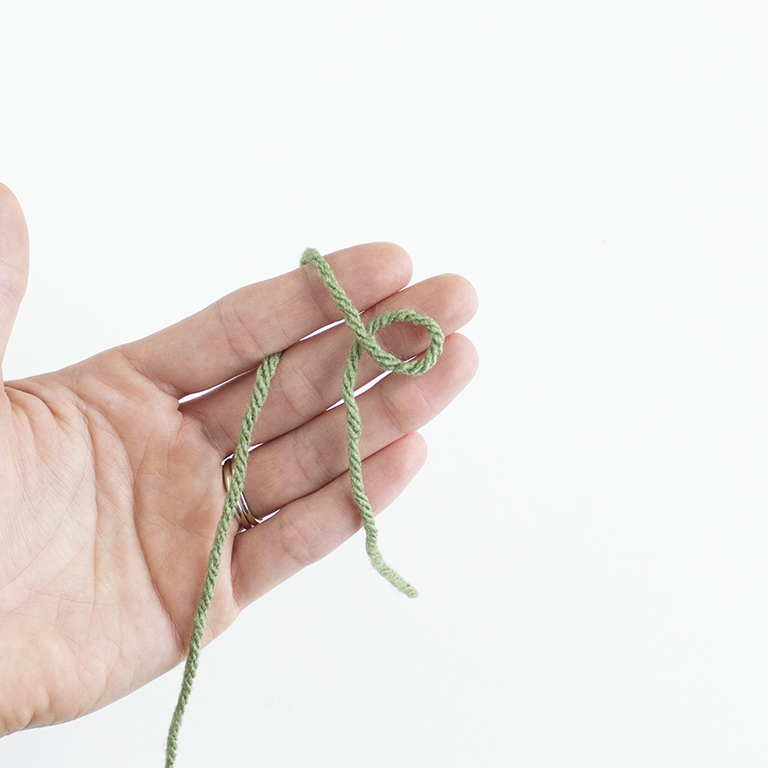
Step 2: Insert hook into loop, grabbing the working yarn with the hook. Pull through the loop.
Step 3: Yarn over and pull hook through loop. This is considered a “Ch 1.”
This next step is where you will start making single crochets into the magic ring.
Step 4: Insert the hook back into the ring. Make sure to go under both strands.
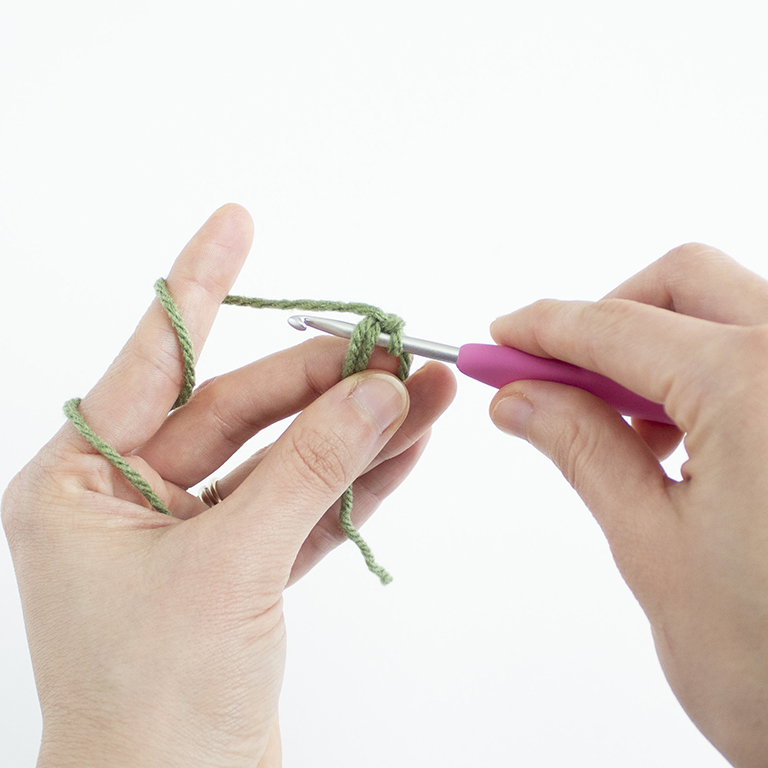
Step 5: Yarn over and pull through ring. 2 loops will be on the hook.
Step 6: Yarn over and pull through both loops. 1 loop will remain on the hook. This completes your first single crochet.
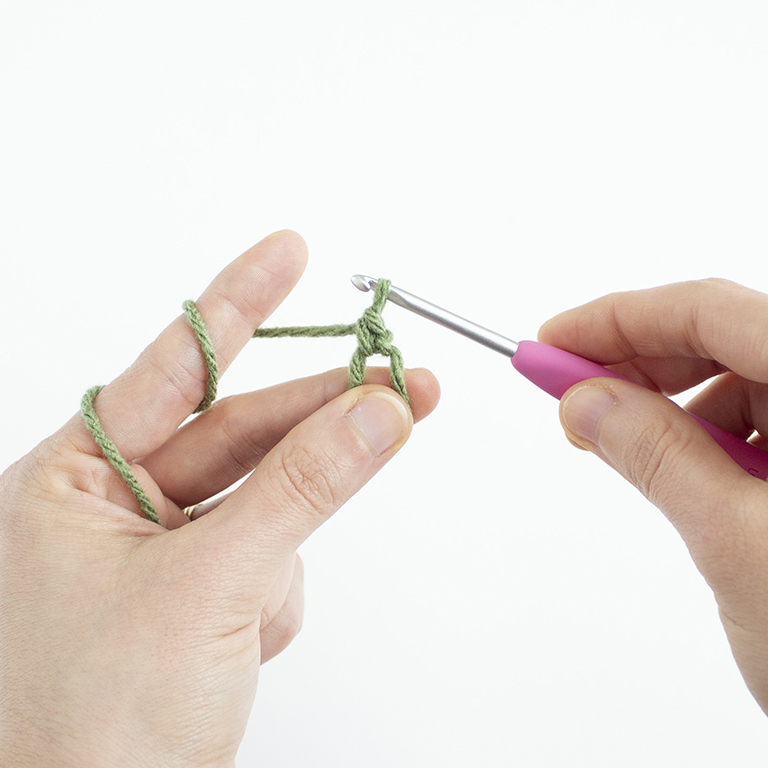
Step 7: Repeat steps 4-6 as many times as the pattern states. Most patterns state 6 single crochet (6 sc) in the magic ring.
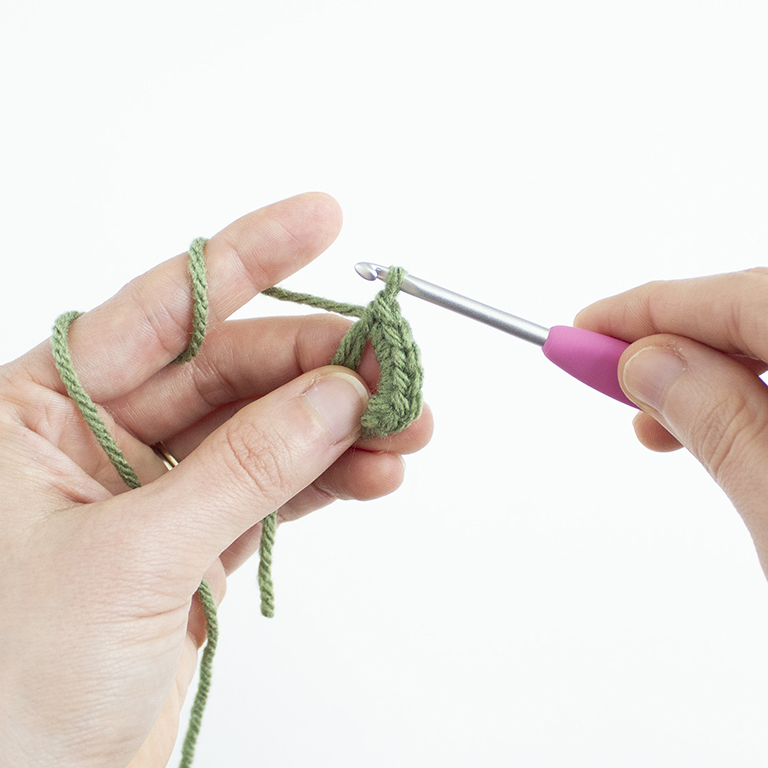
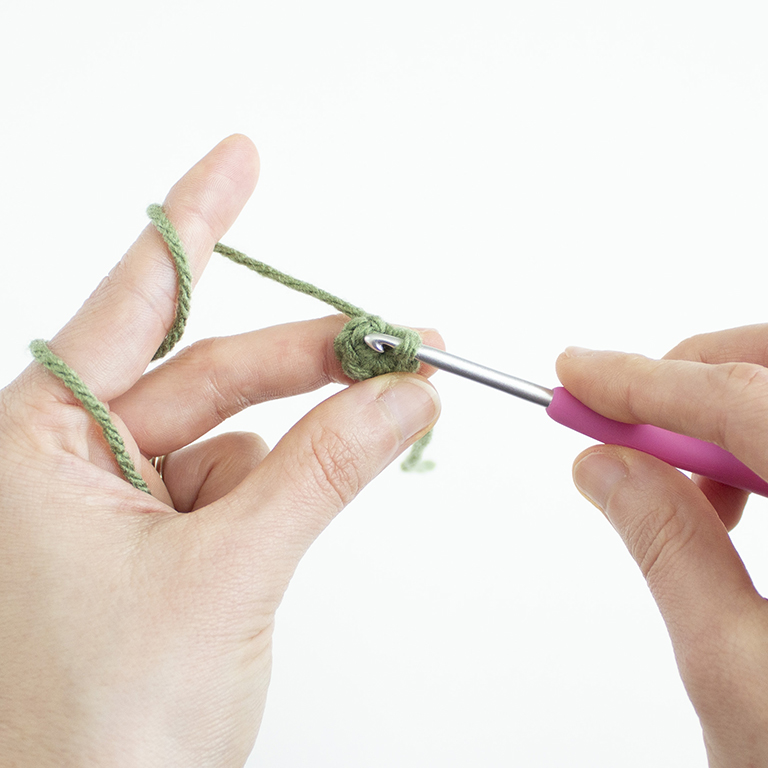
Step 8: Grab the loose tail and pull to close the ring. You now have a completed magic ring.
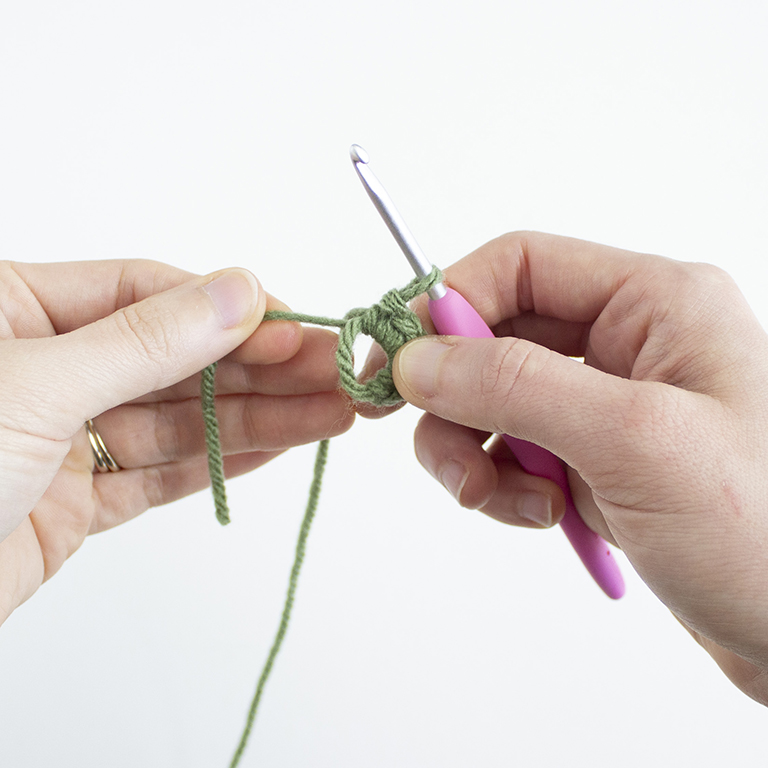
To begin the next round, place the next stitch into the first single crochet made in step 6.
Make sure to check out all my free crochet patterns here!
And there you have it, how to crochet a Magic Ring! If you’d like to learn more about crocheting, here are my other crochet how to stitches and techniques!
If you have any questions, please don’t hesitate to reach out!
Please be sure to tag me in your posts on Instagram @ameangerieofstitches and use the hashtag #amenagerieofstitches
Happy Crocheting!
Lauren

